LESSON 1

what is biodiversity documentation and why is it important?

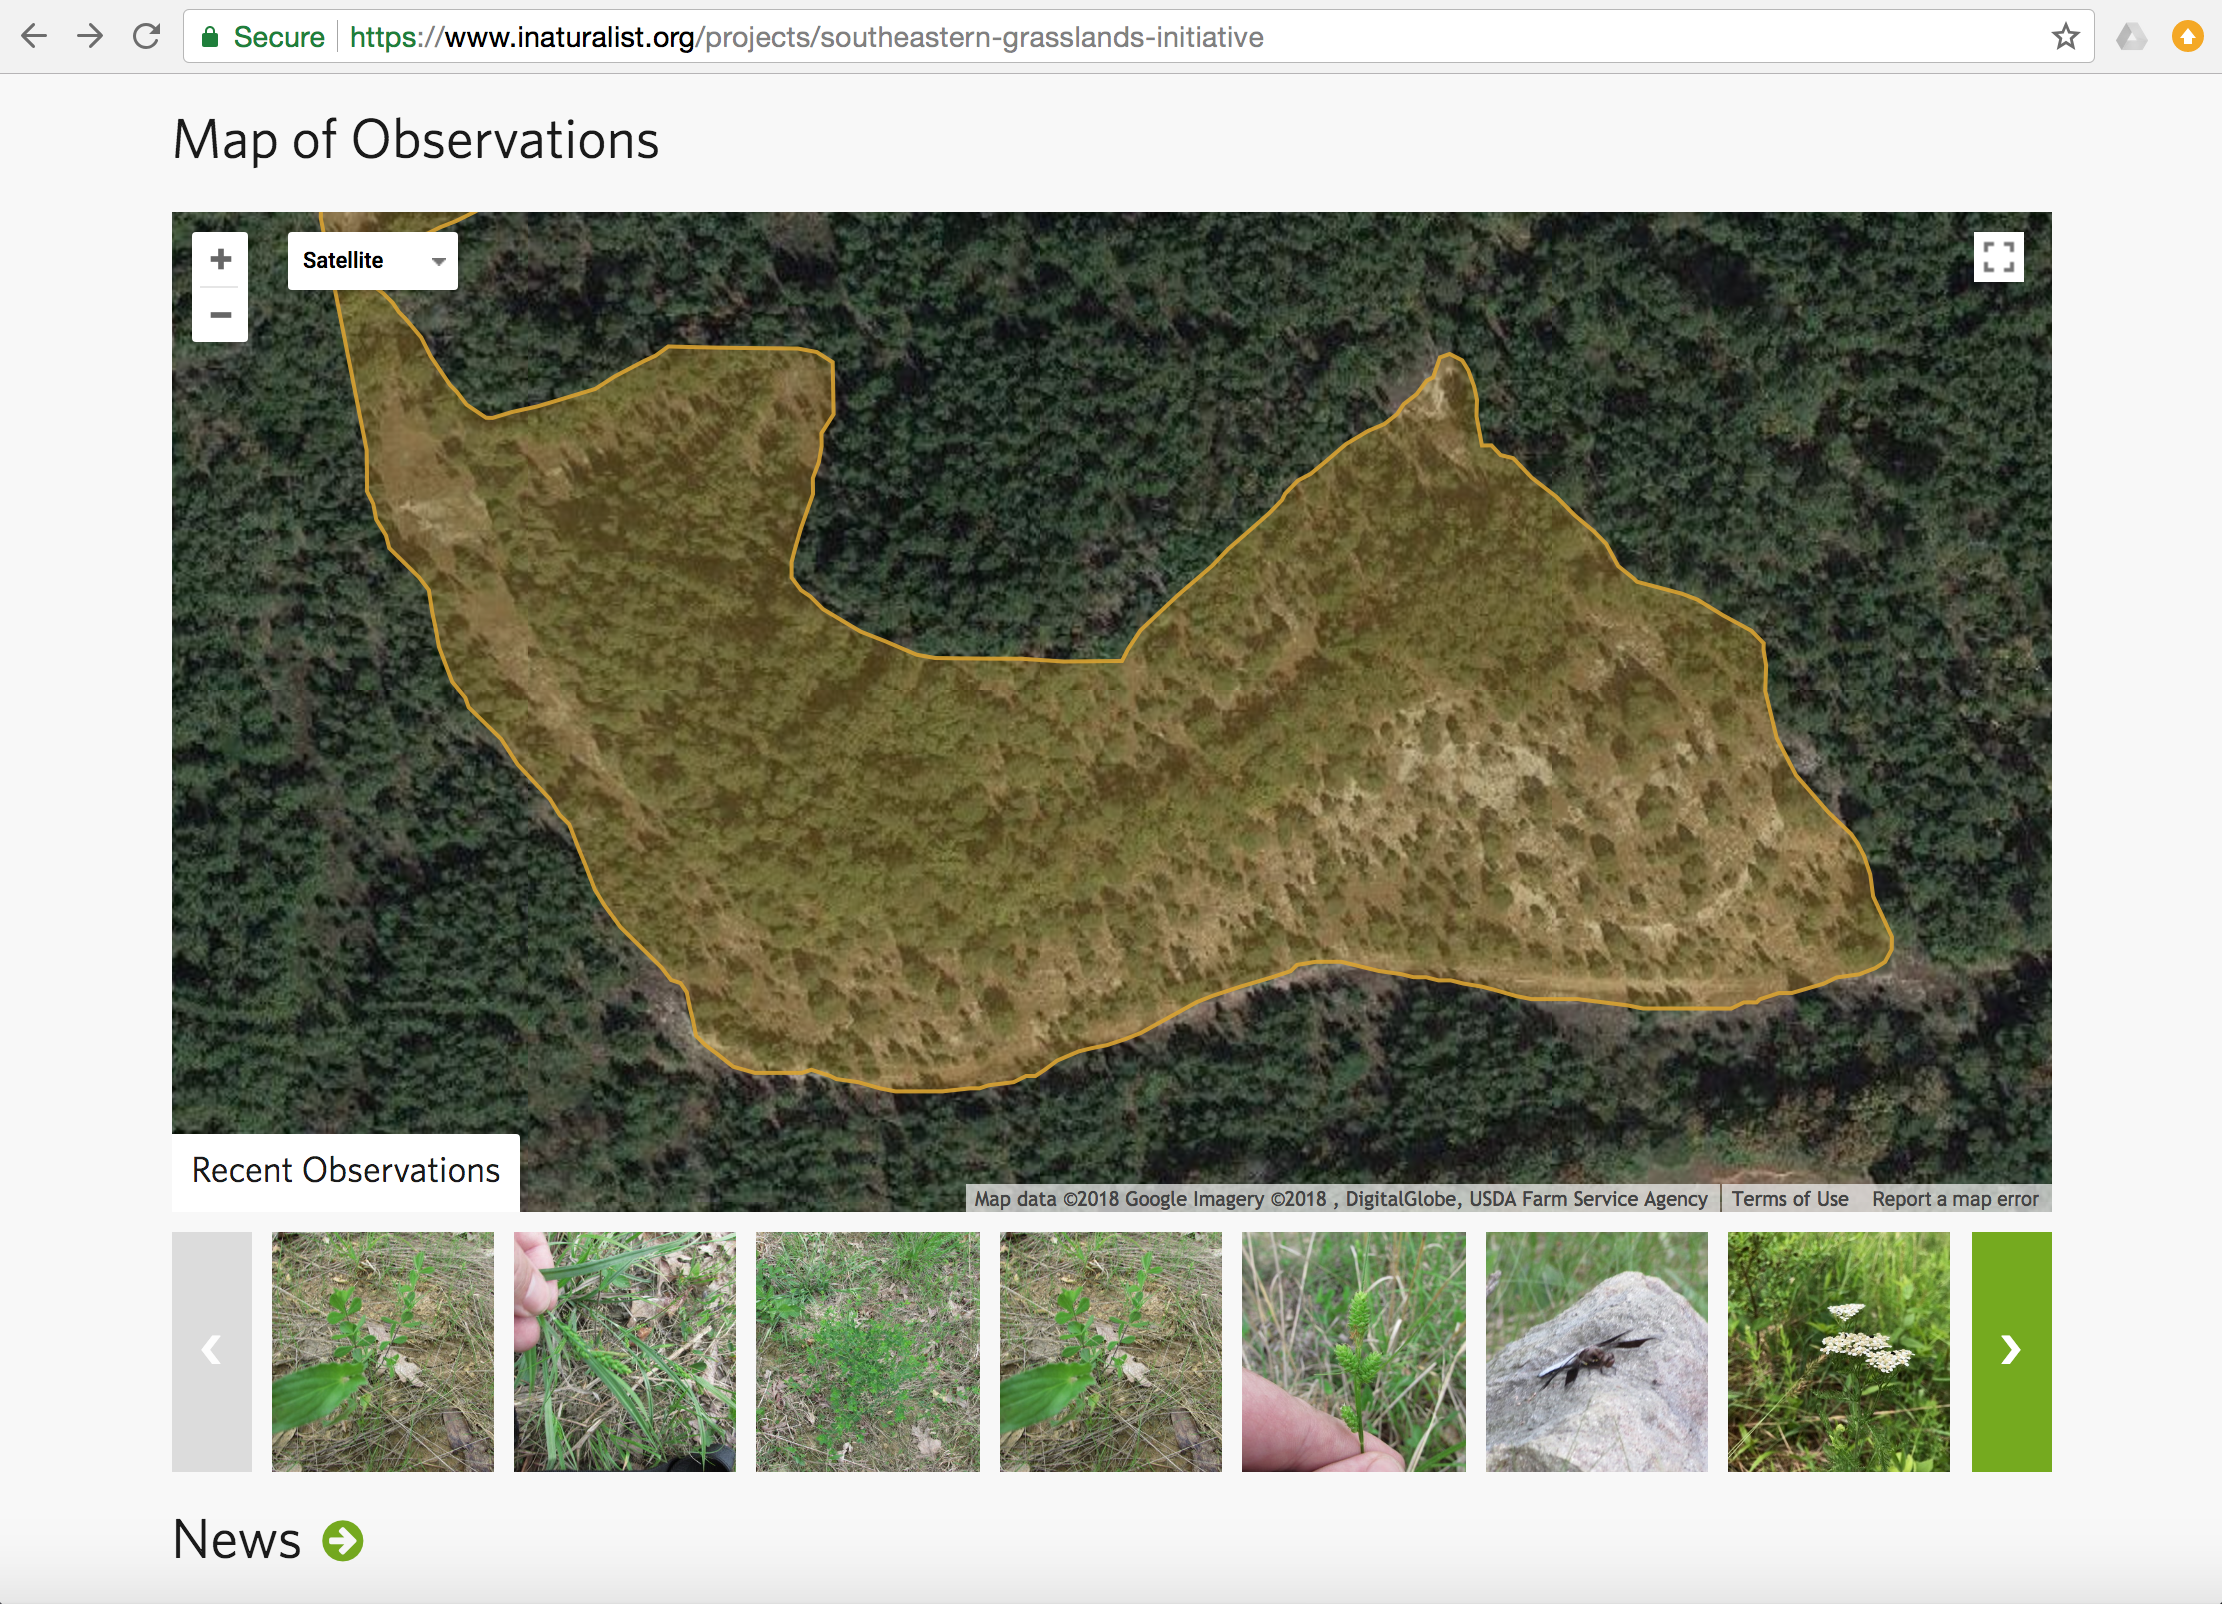
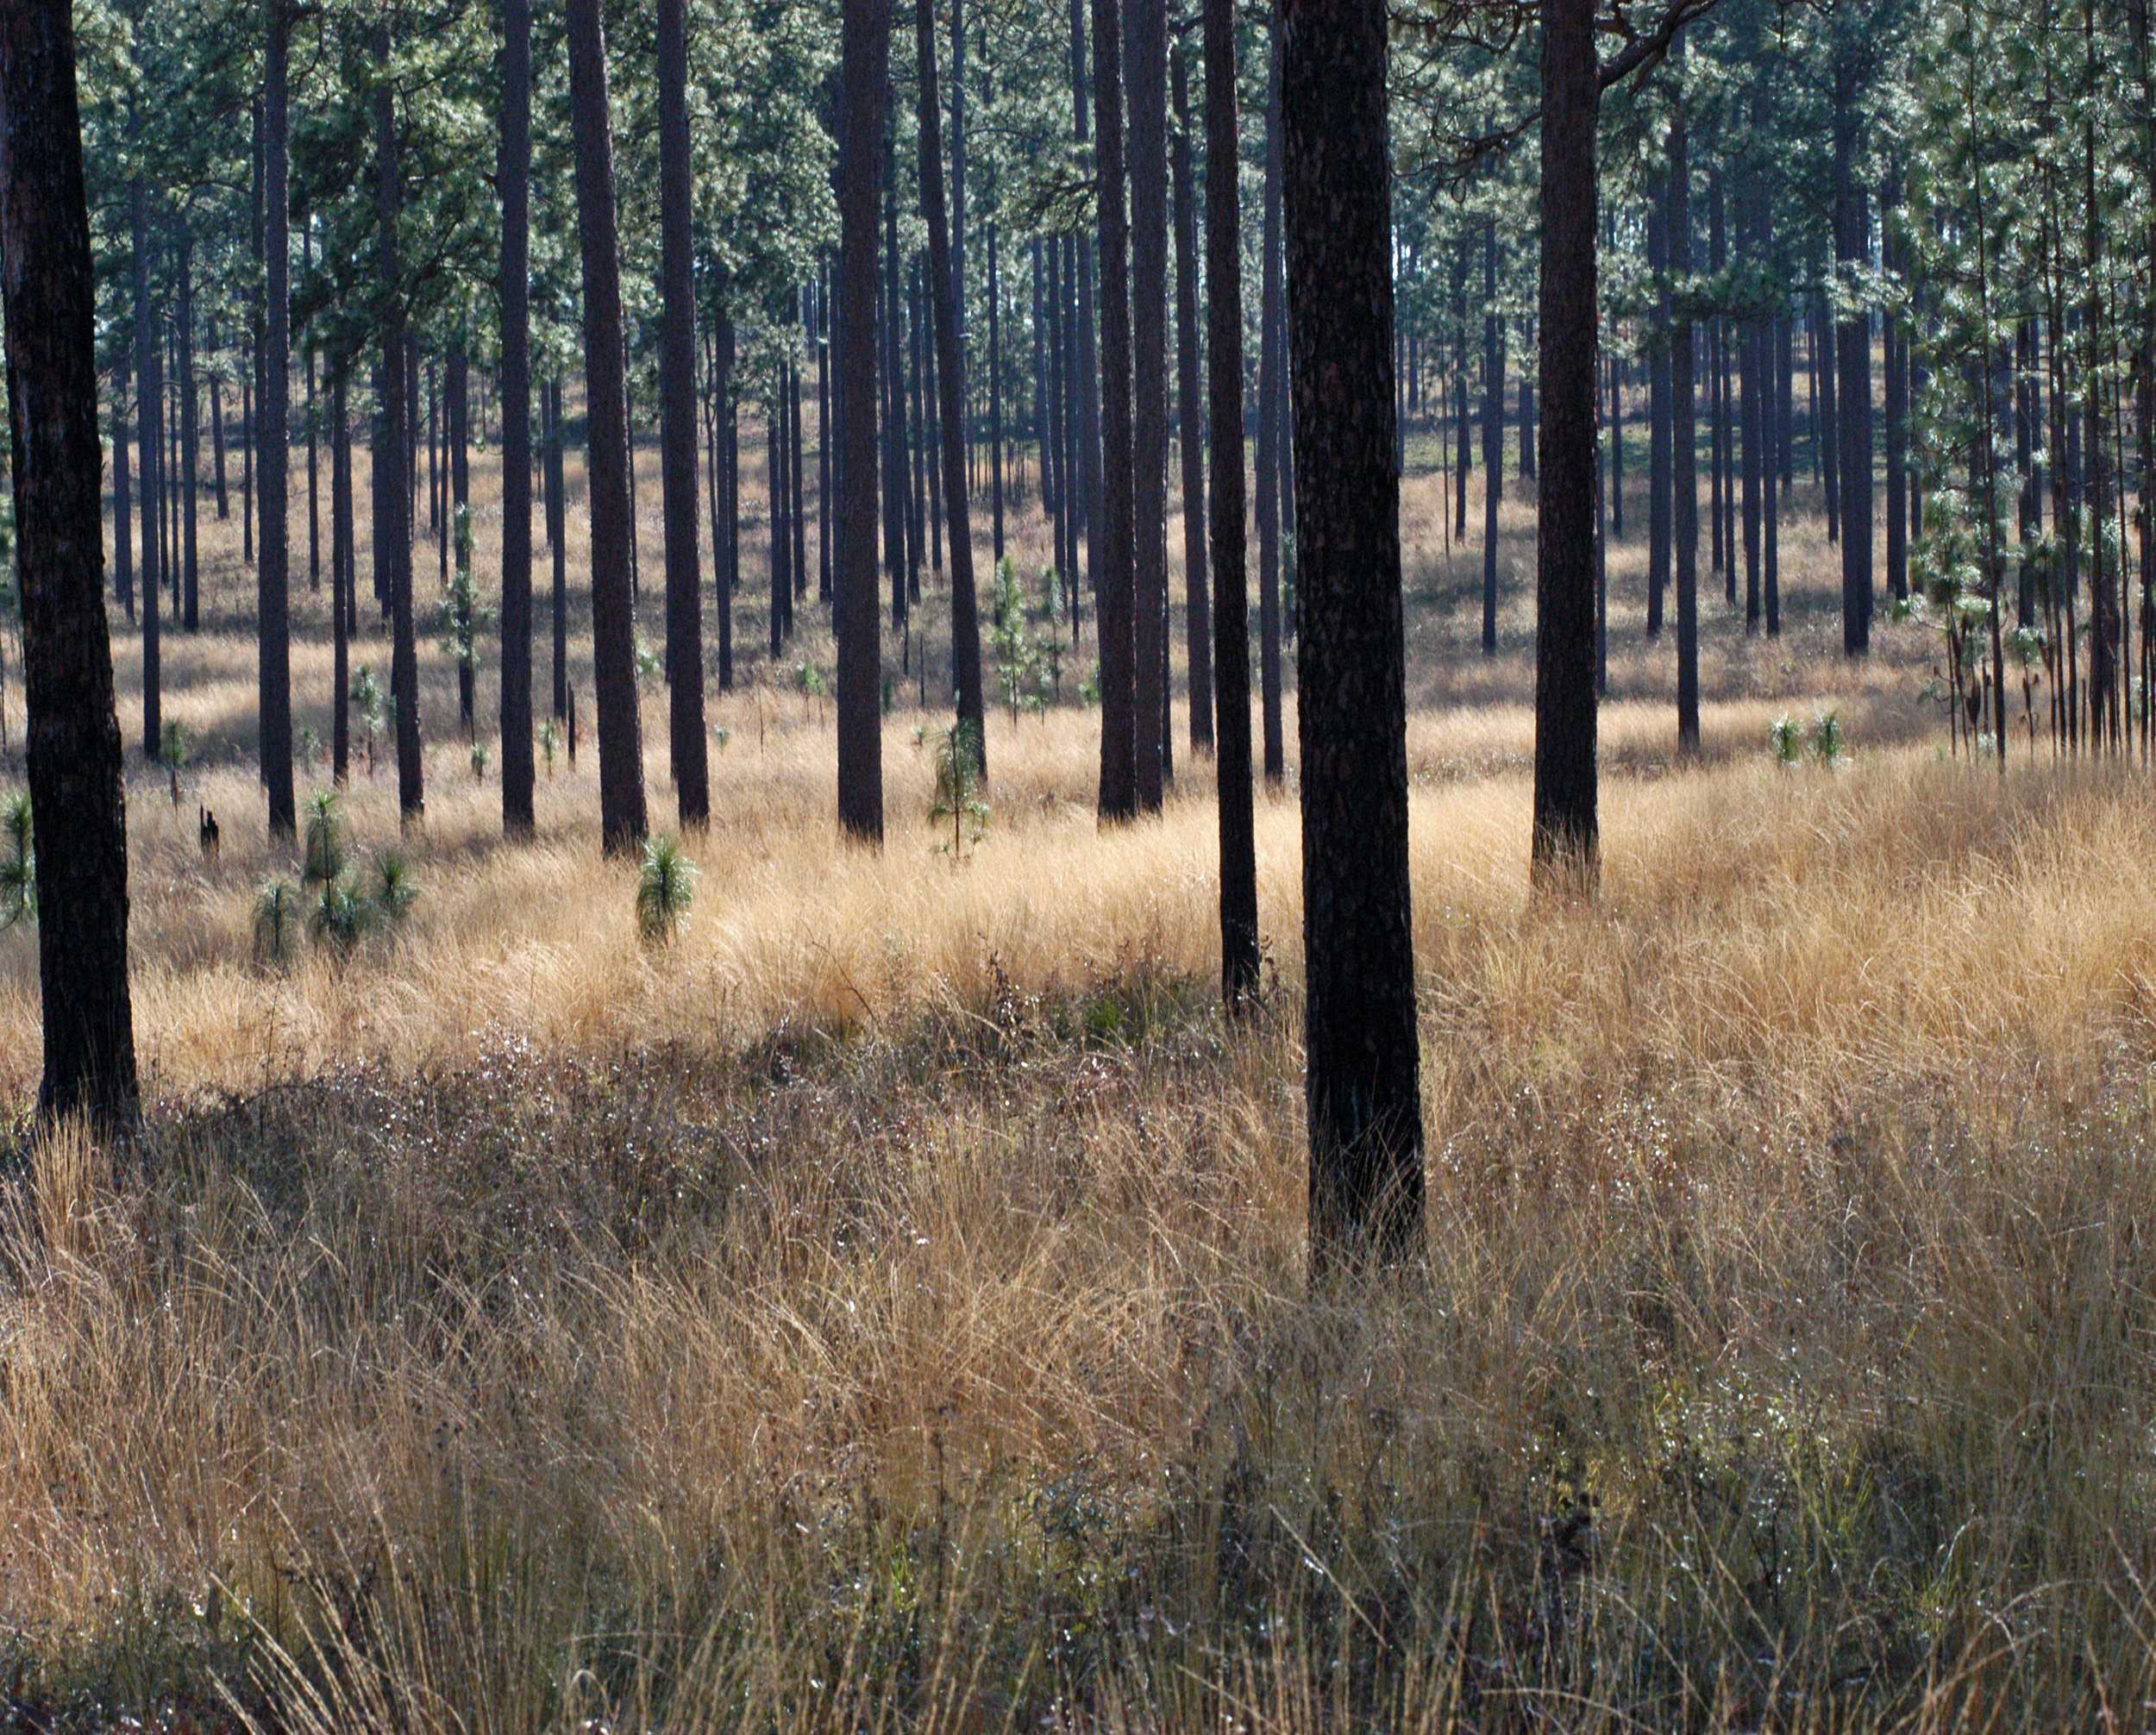
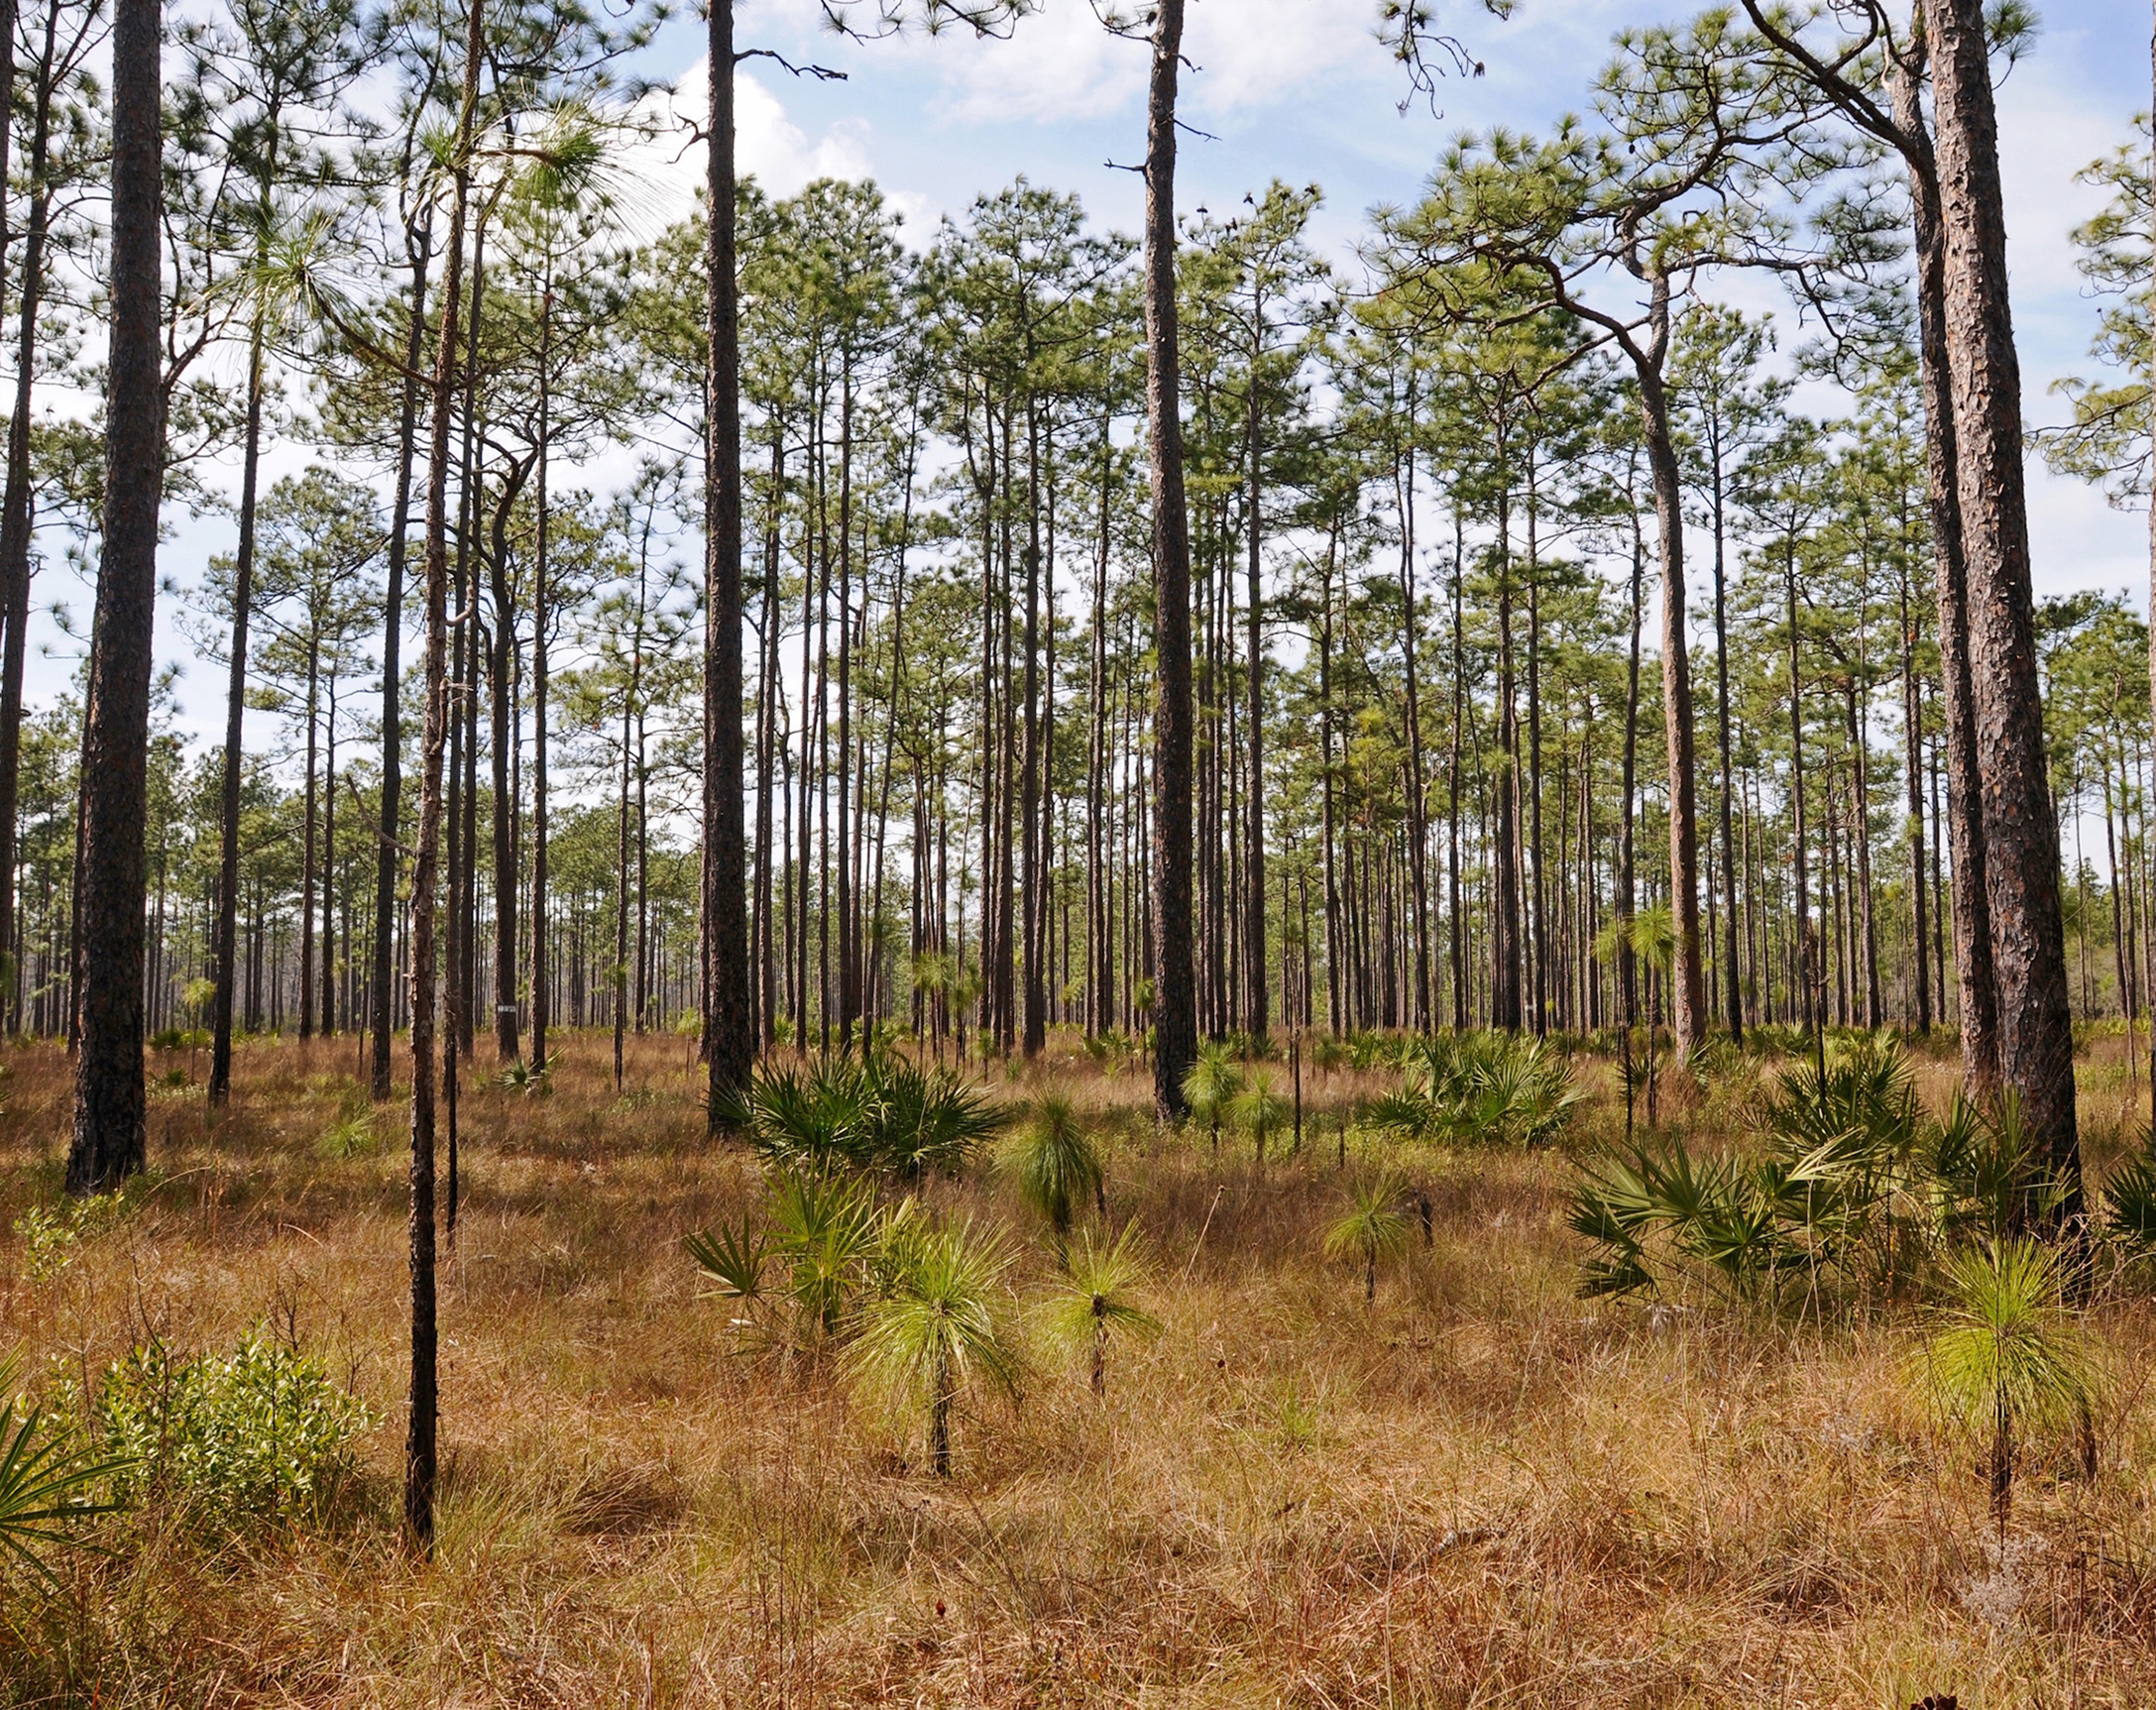
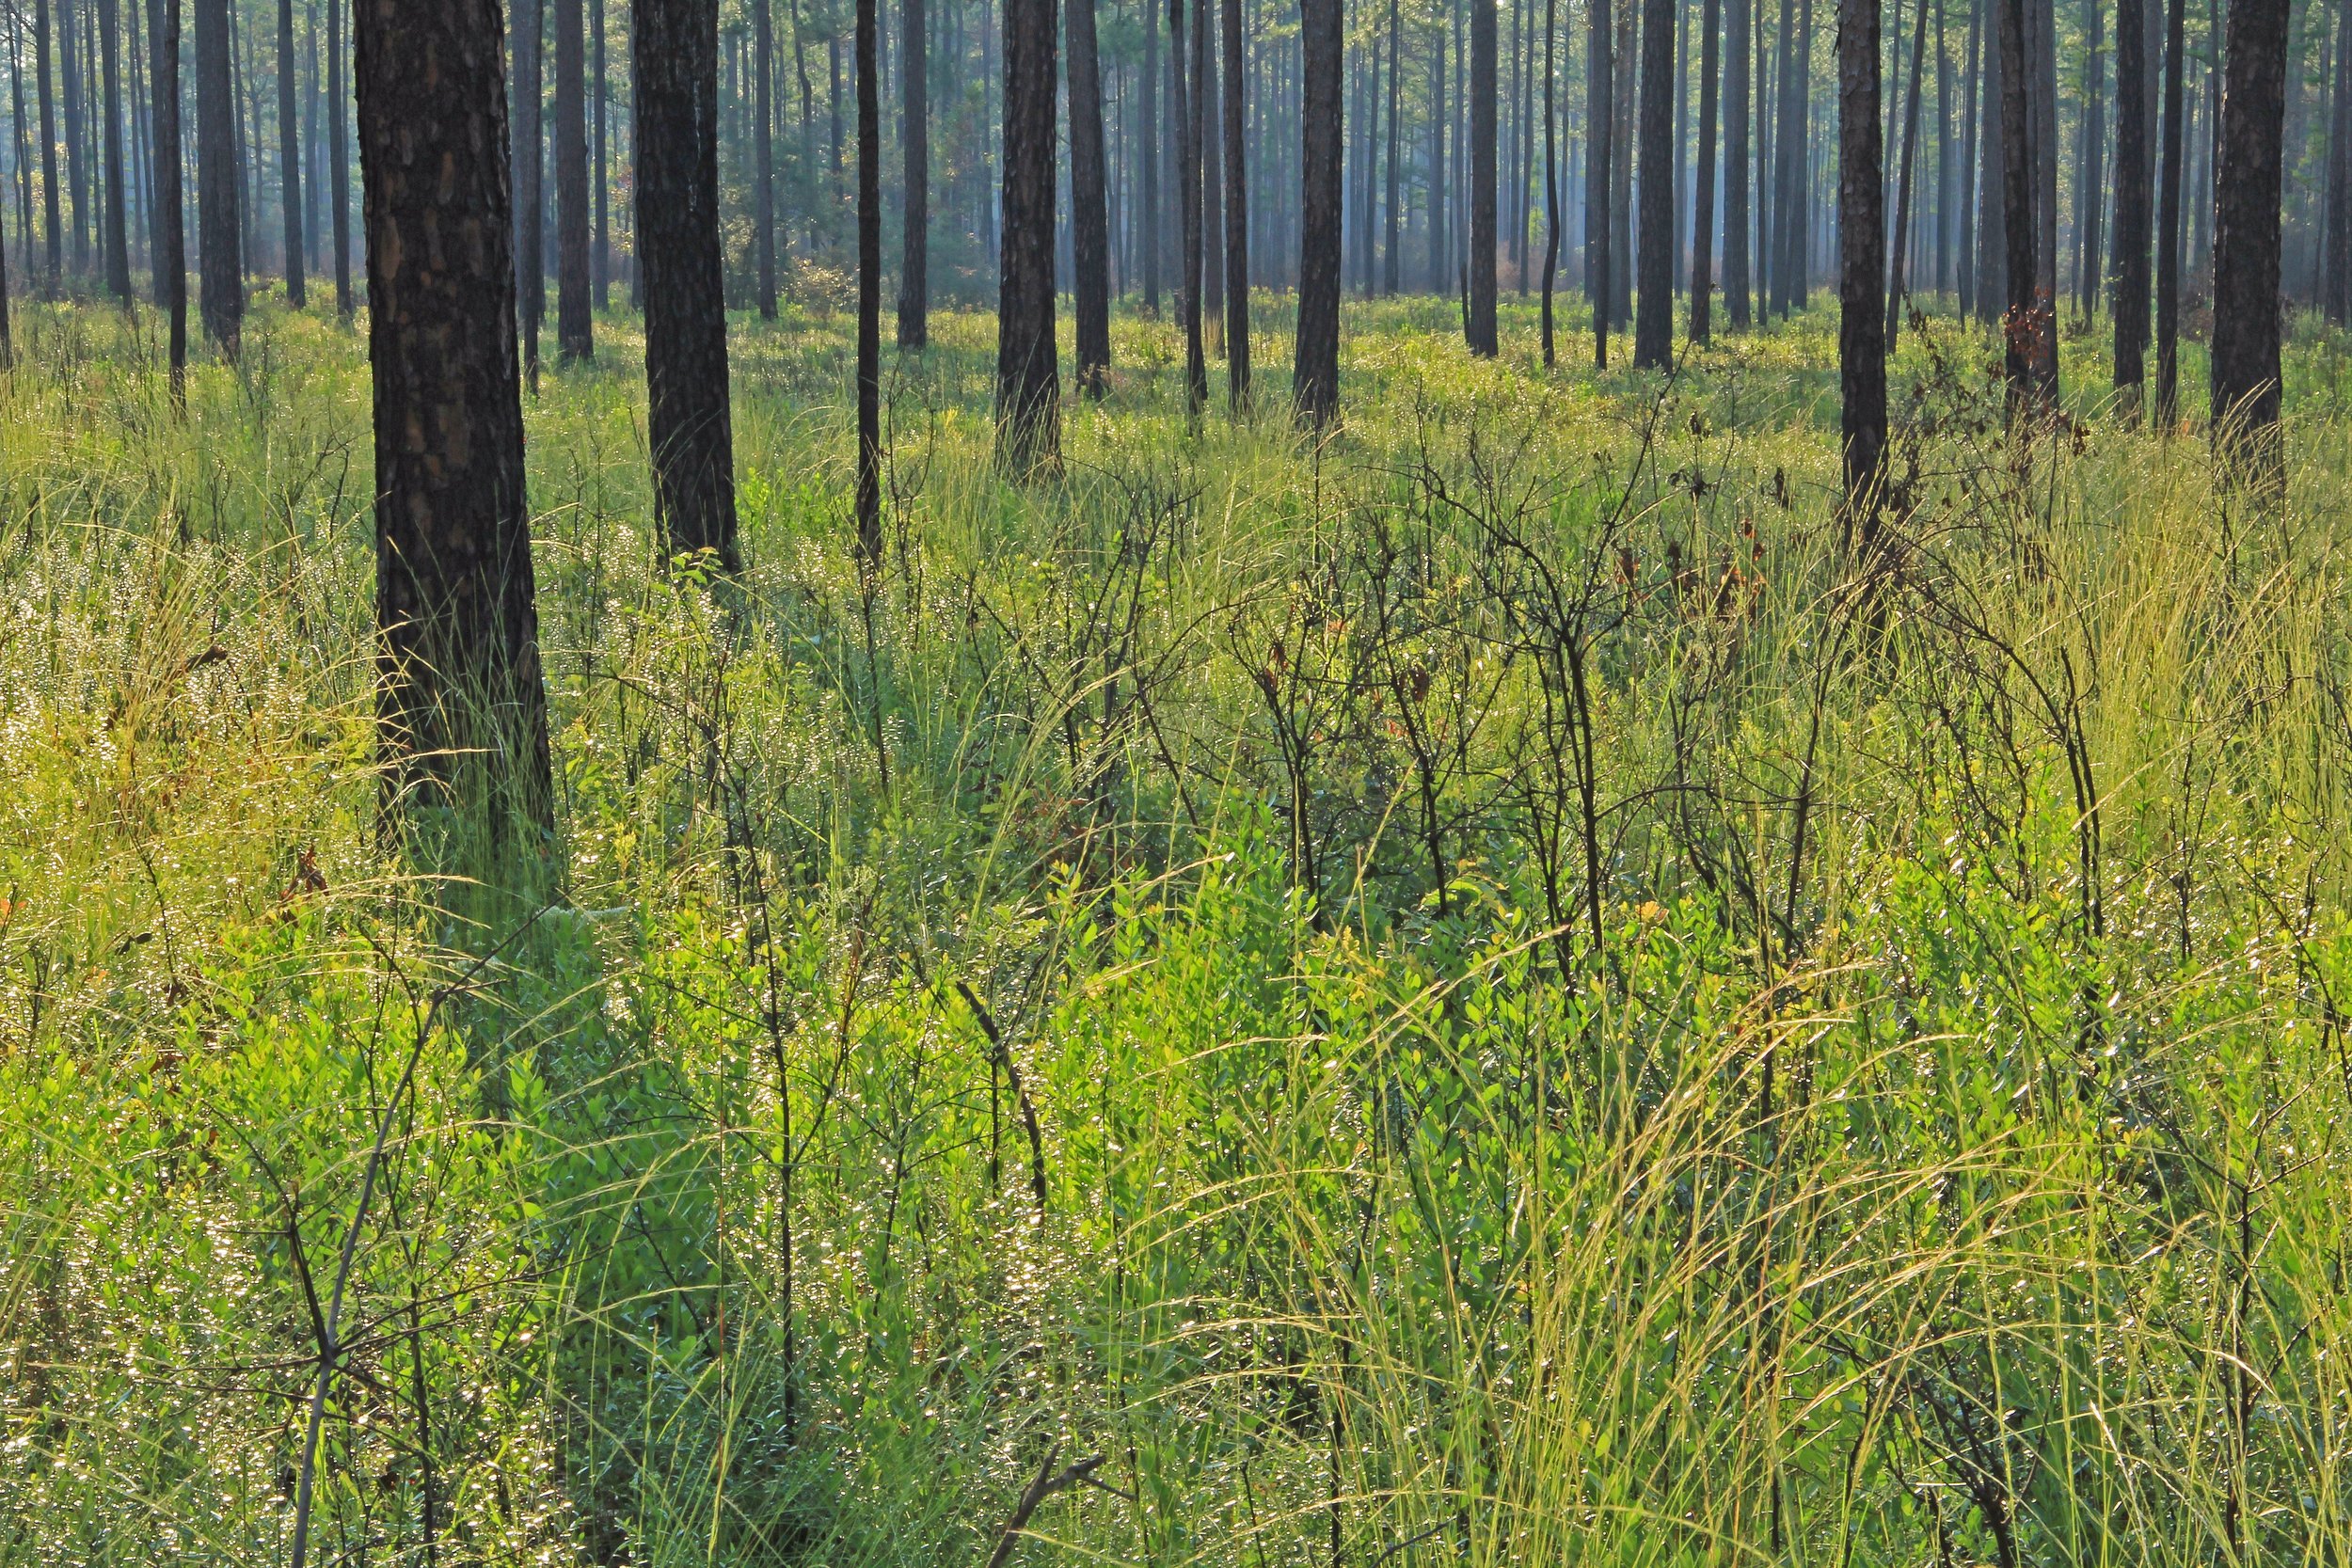
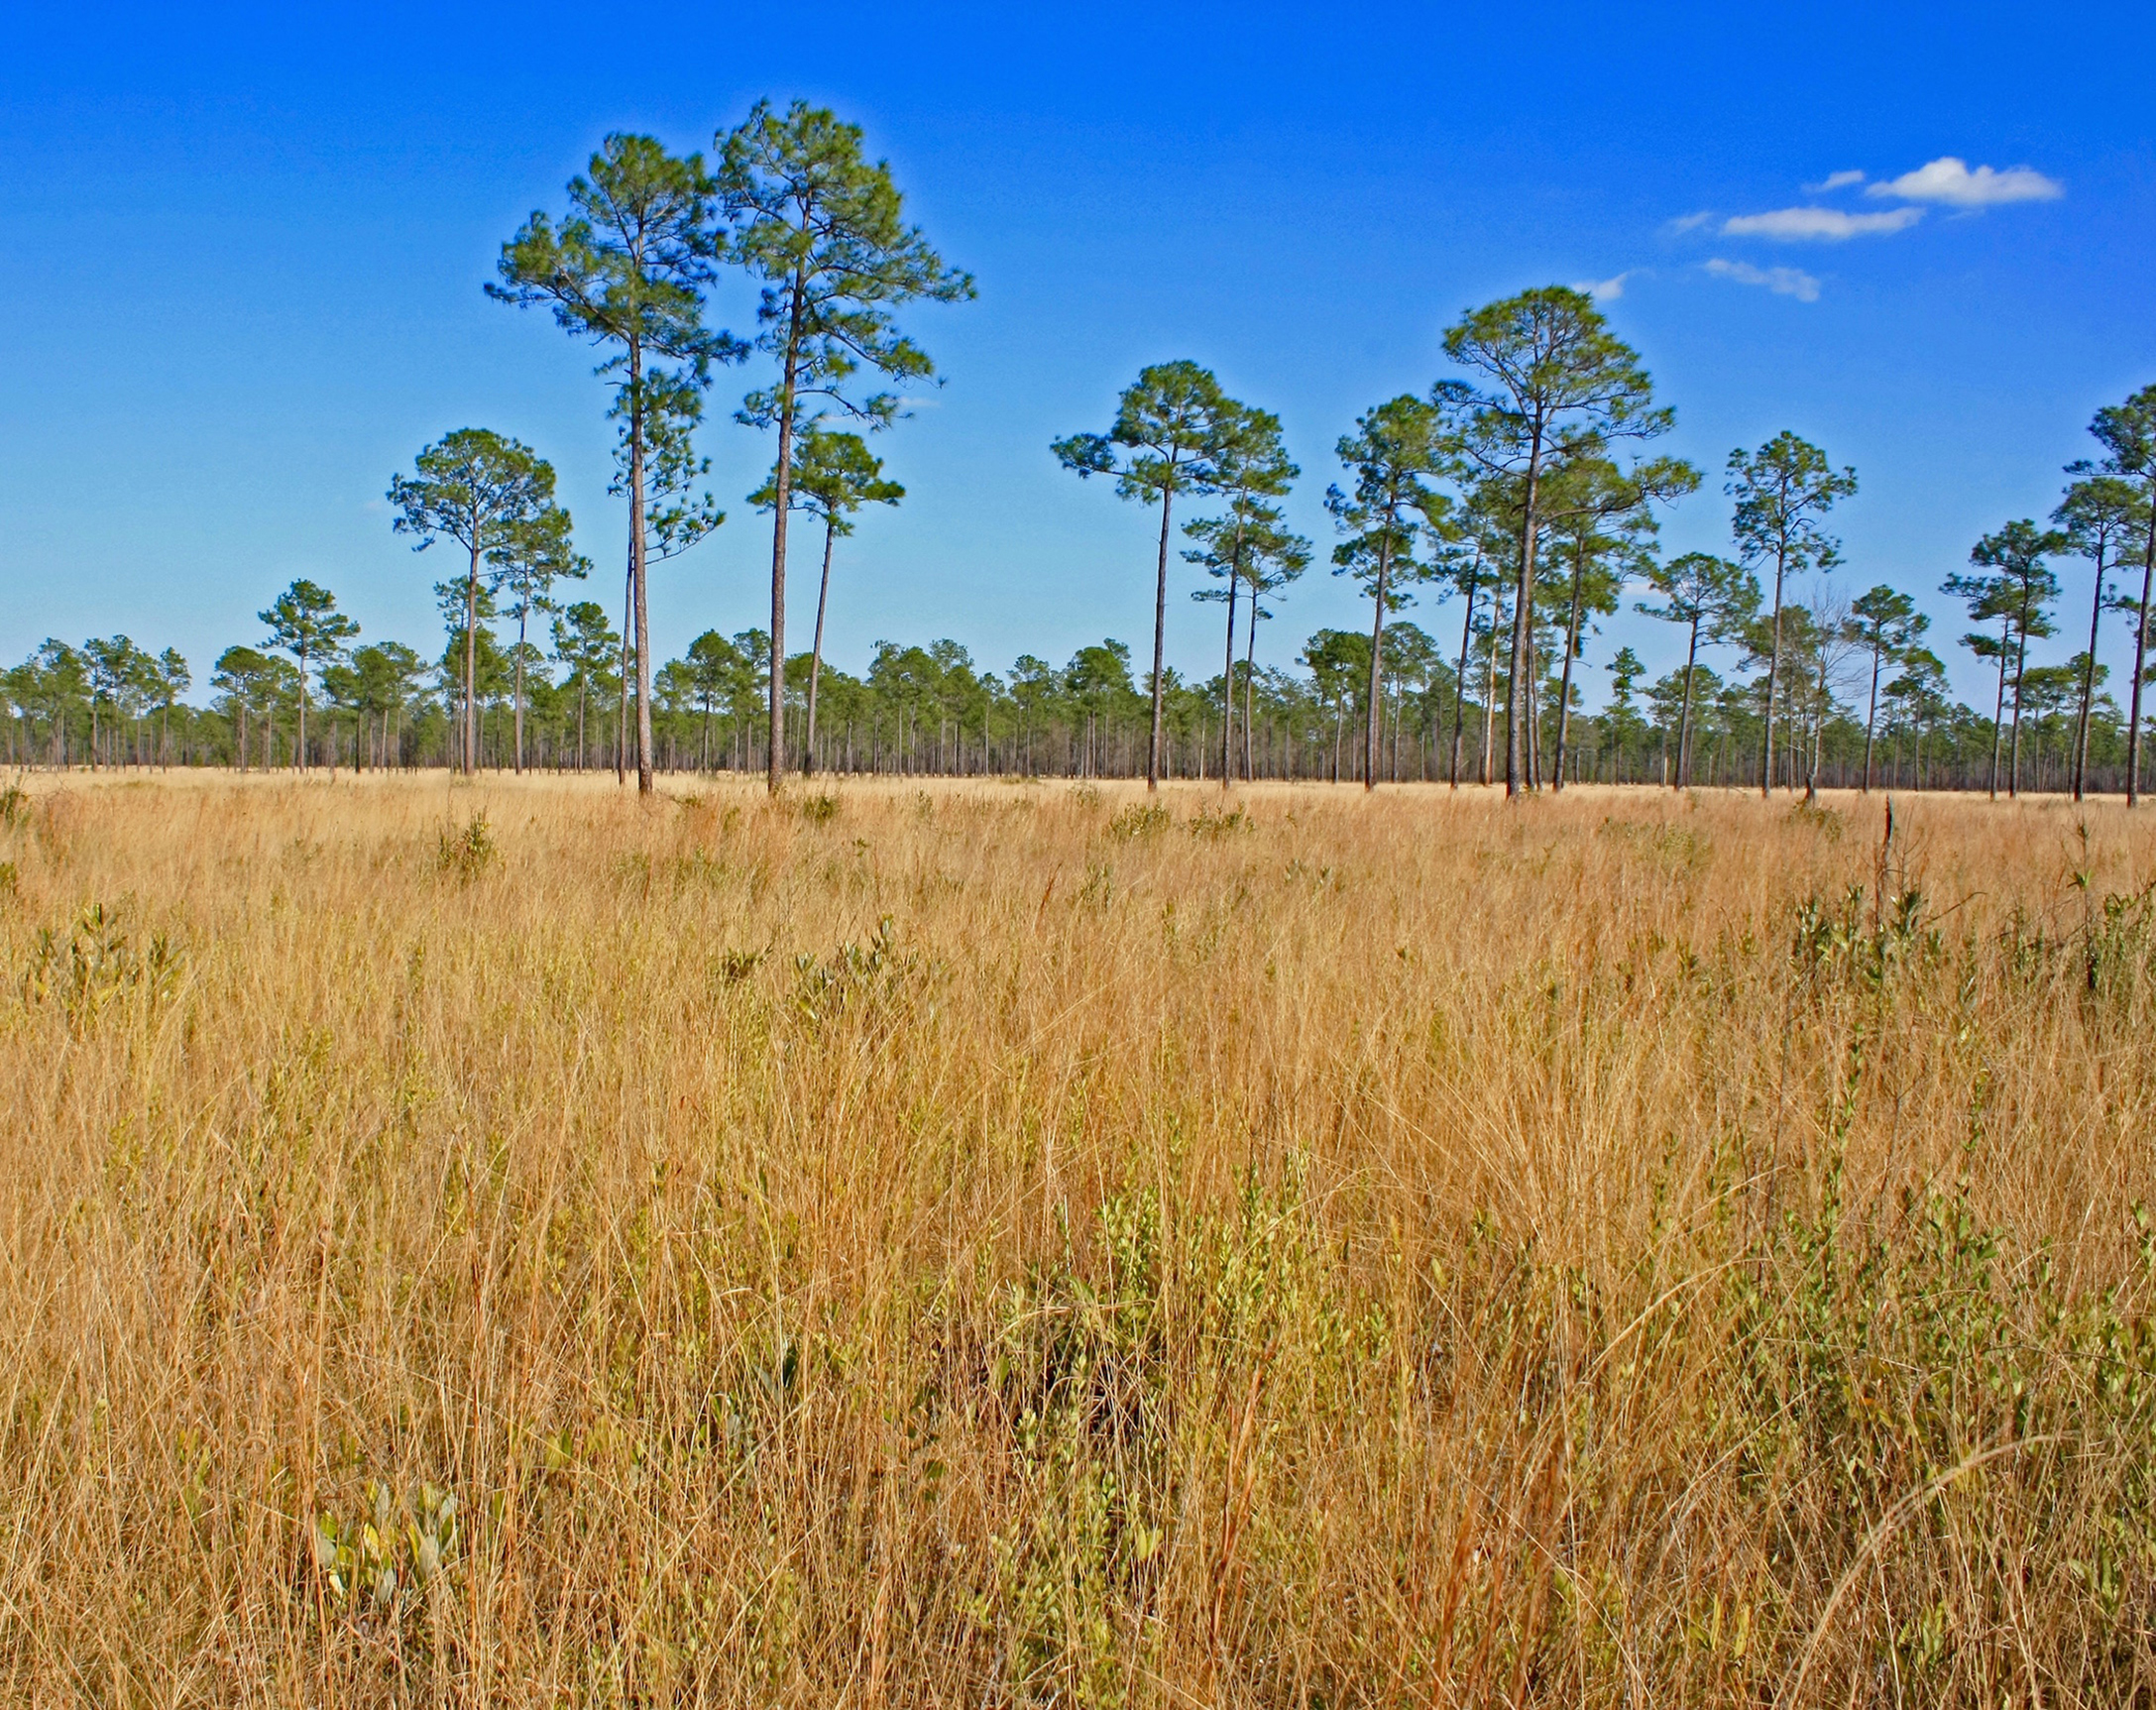
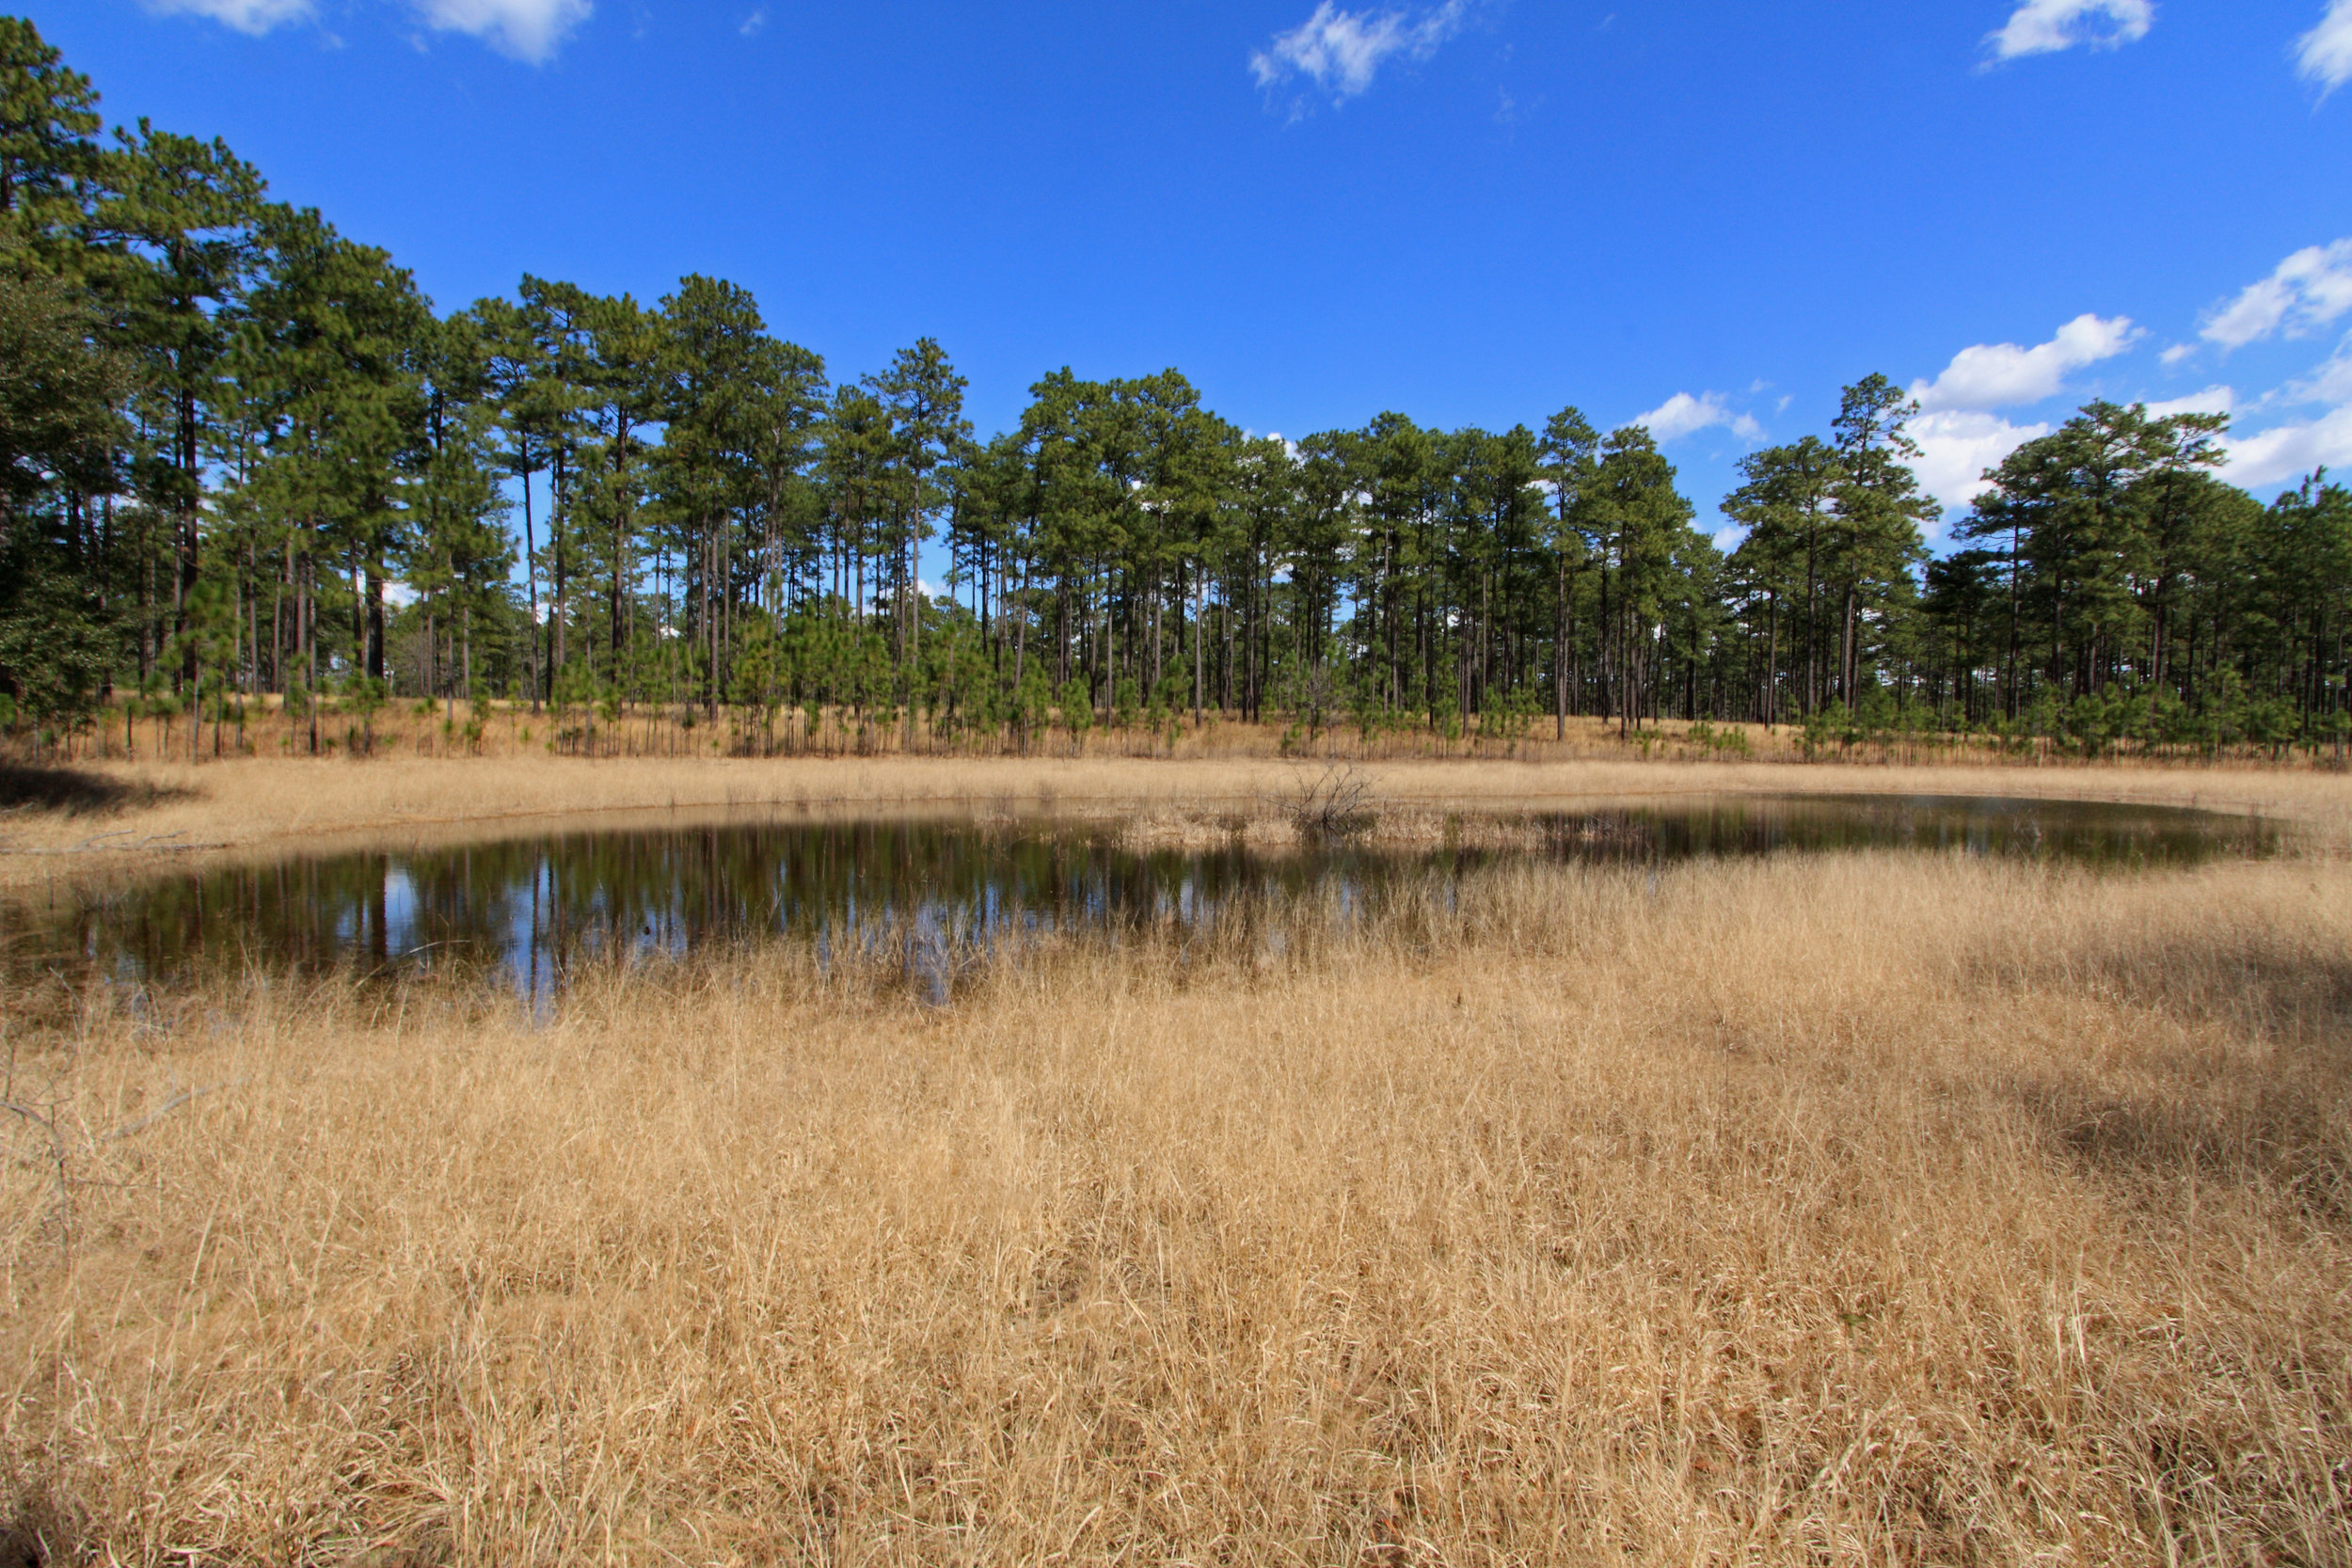
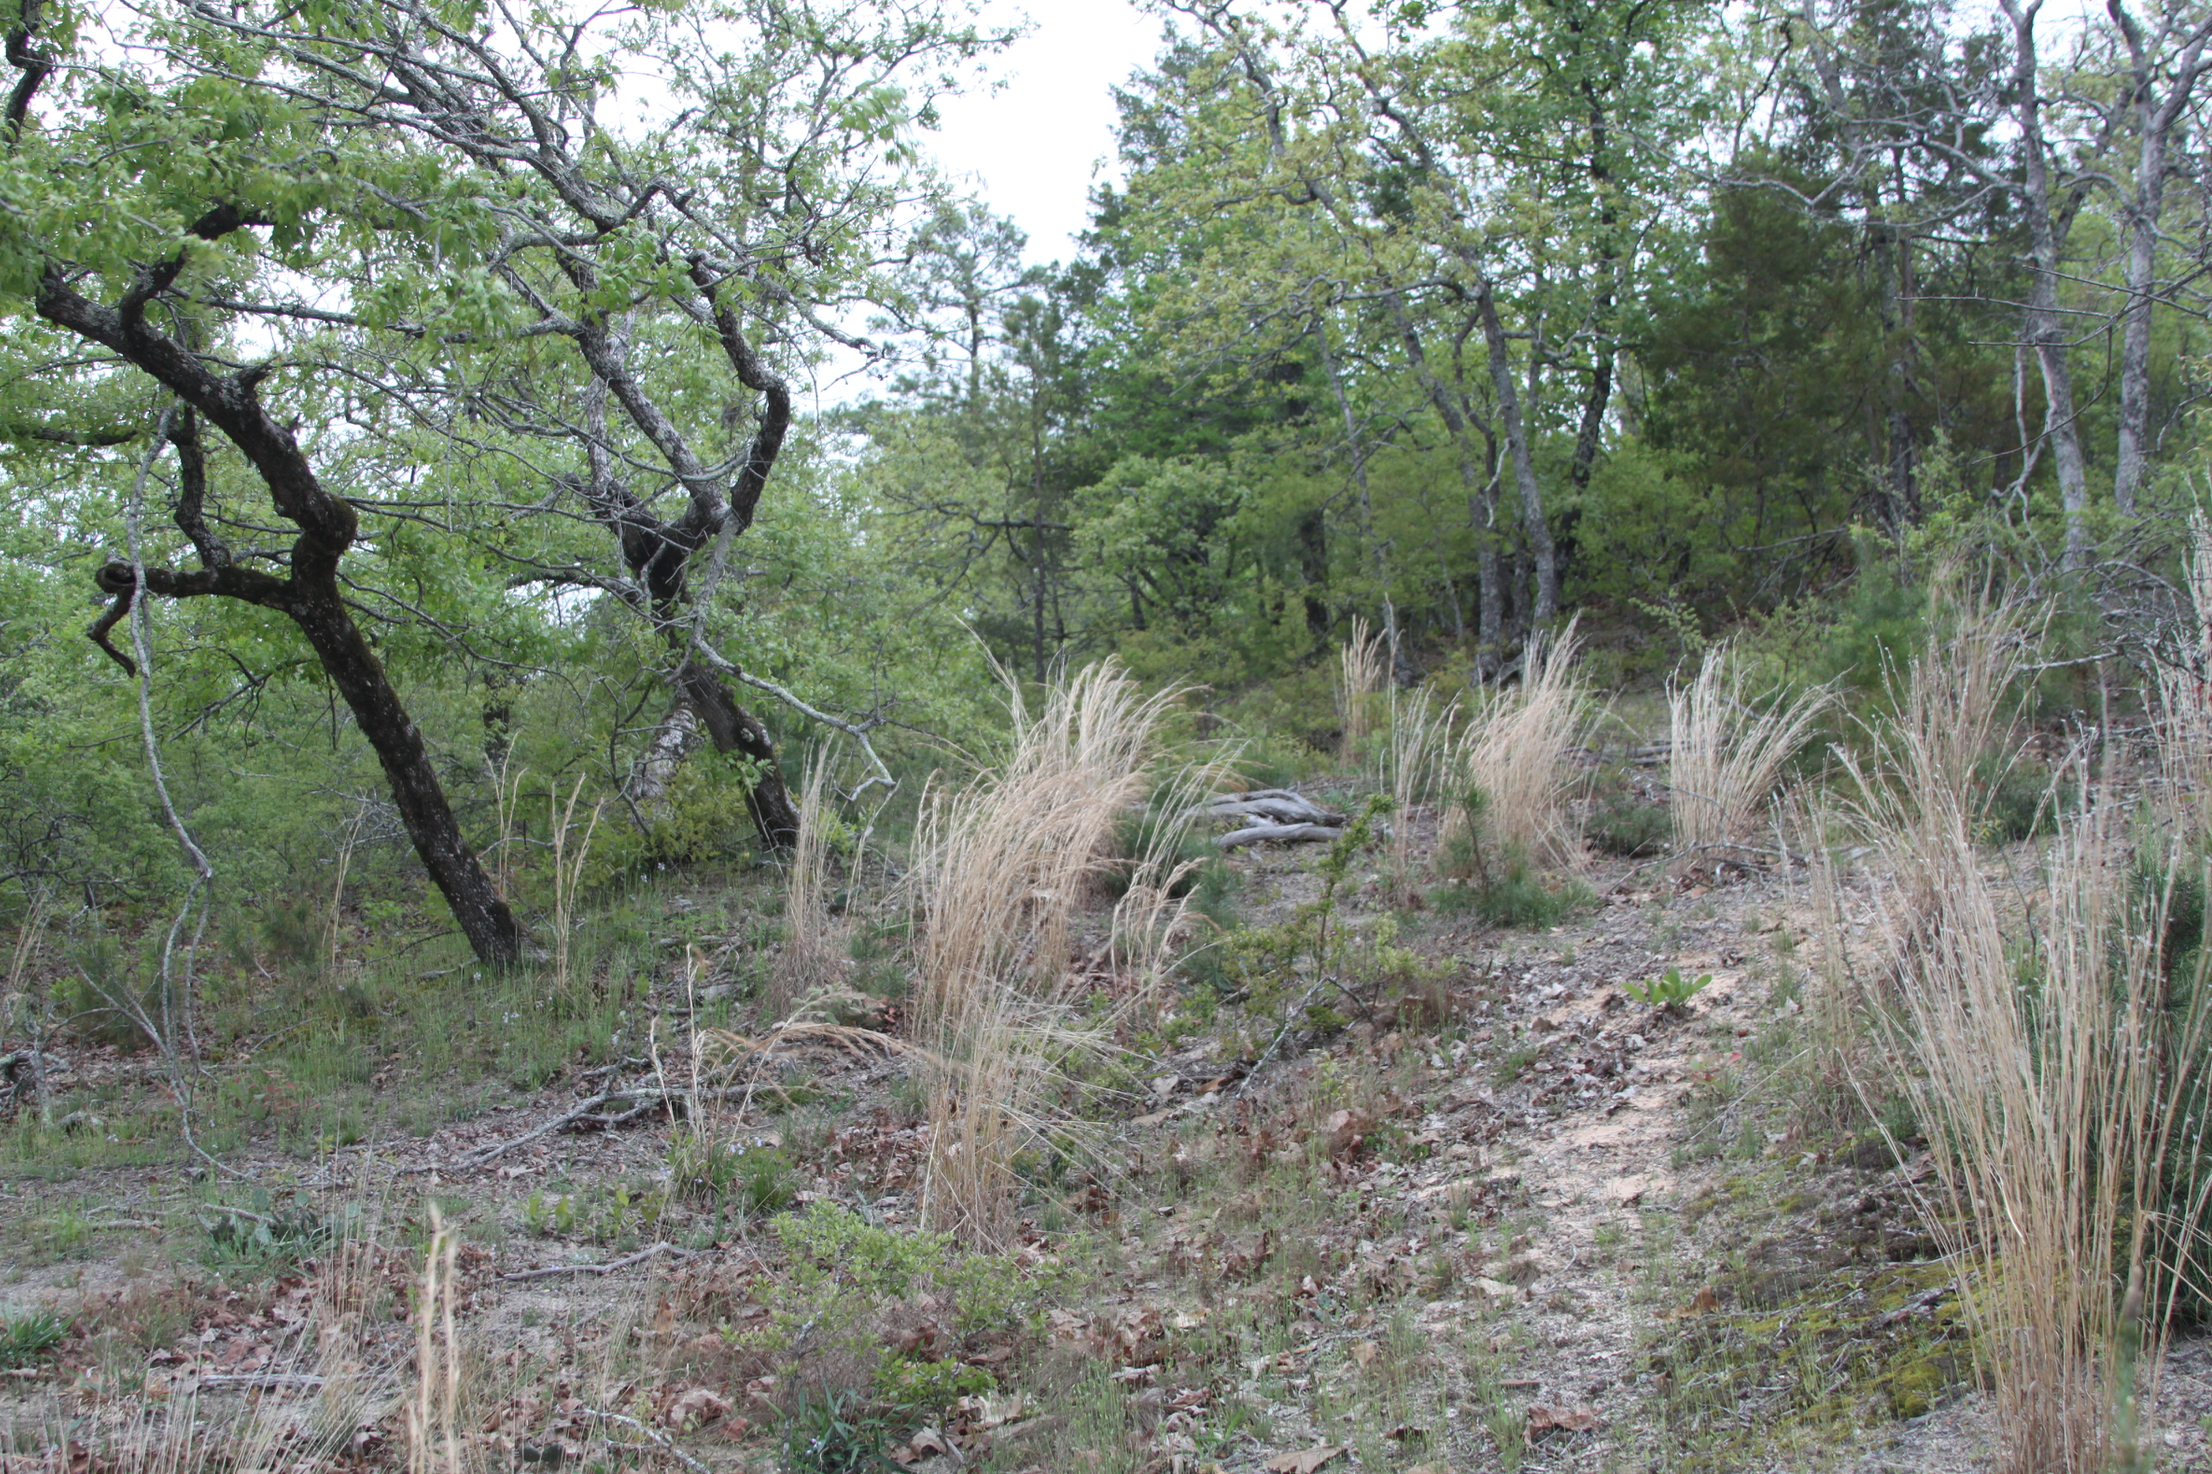
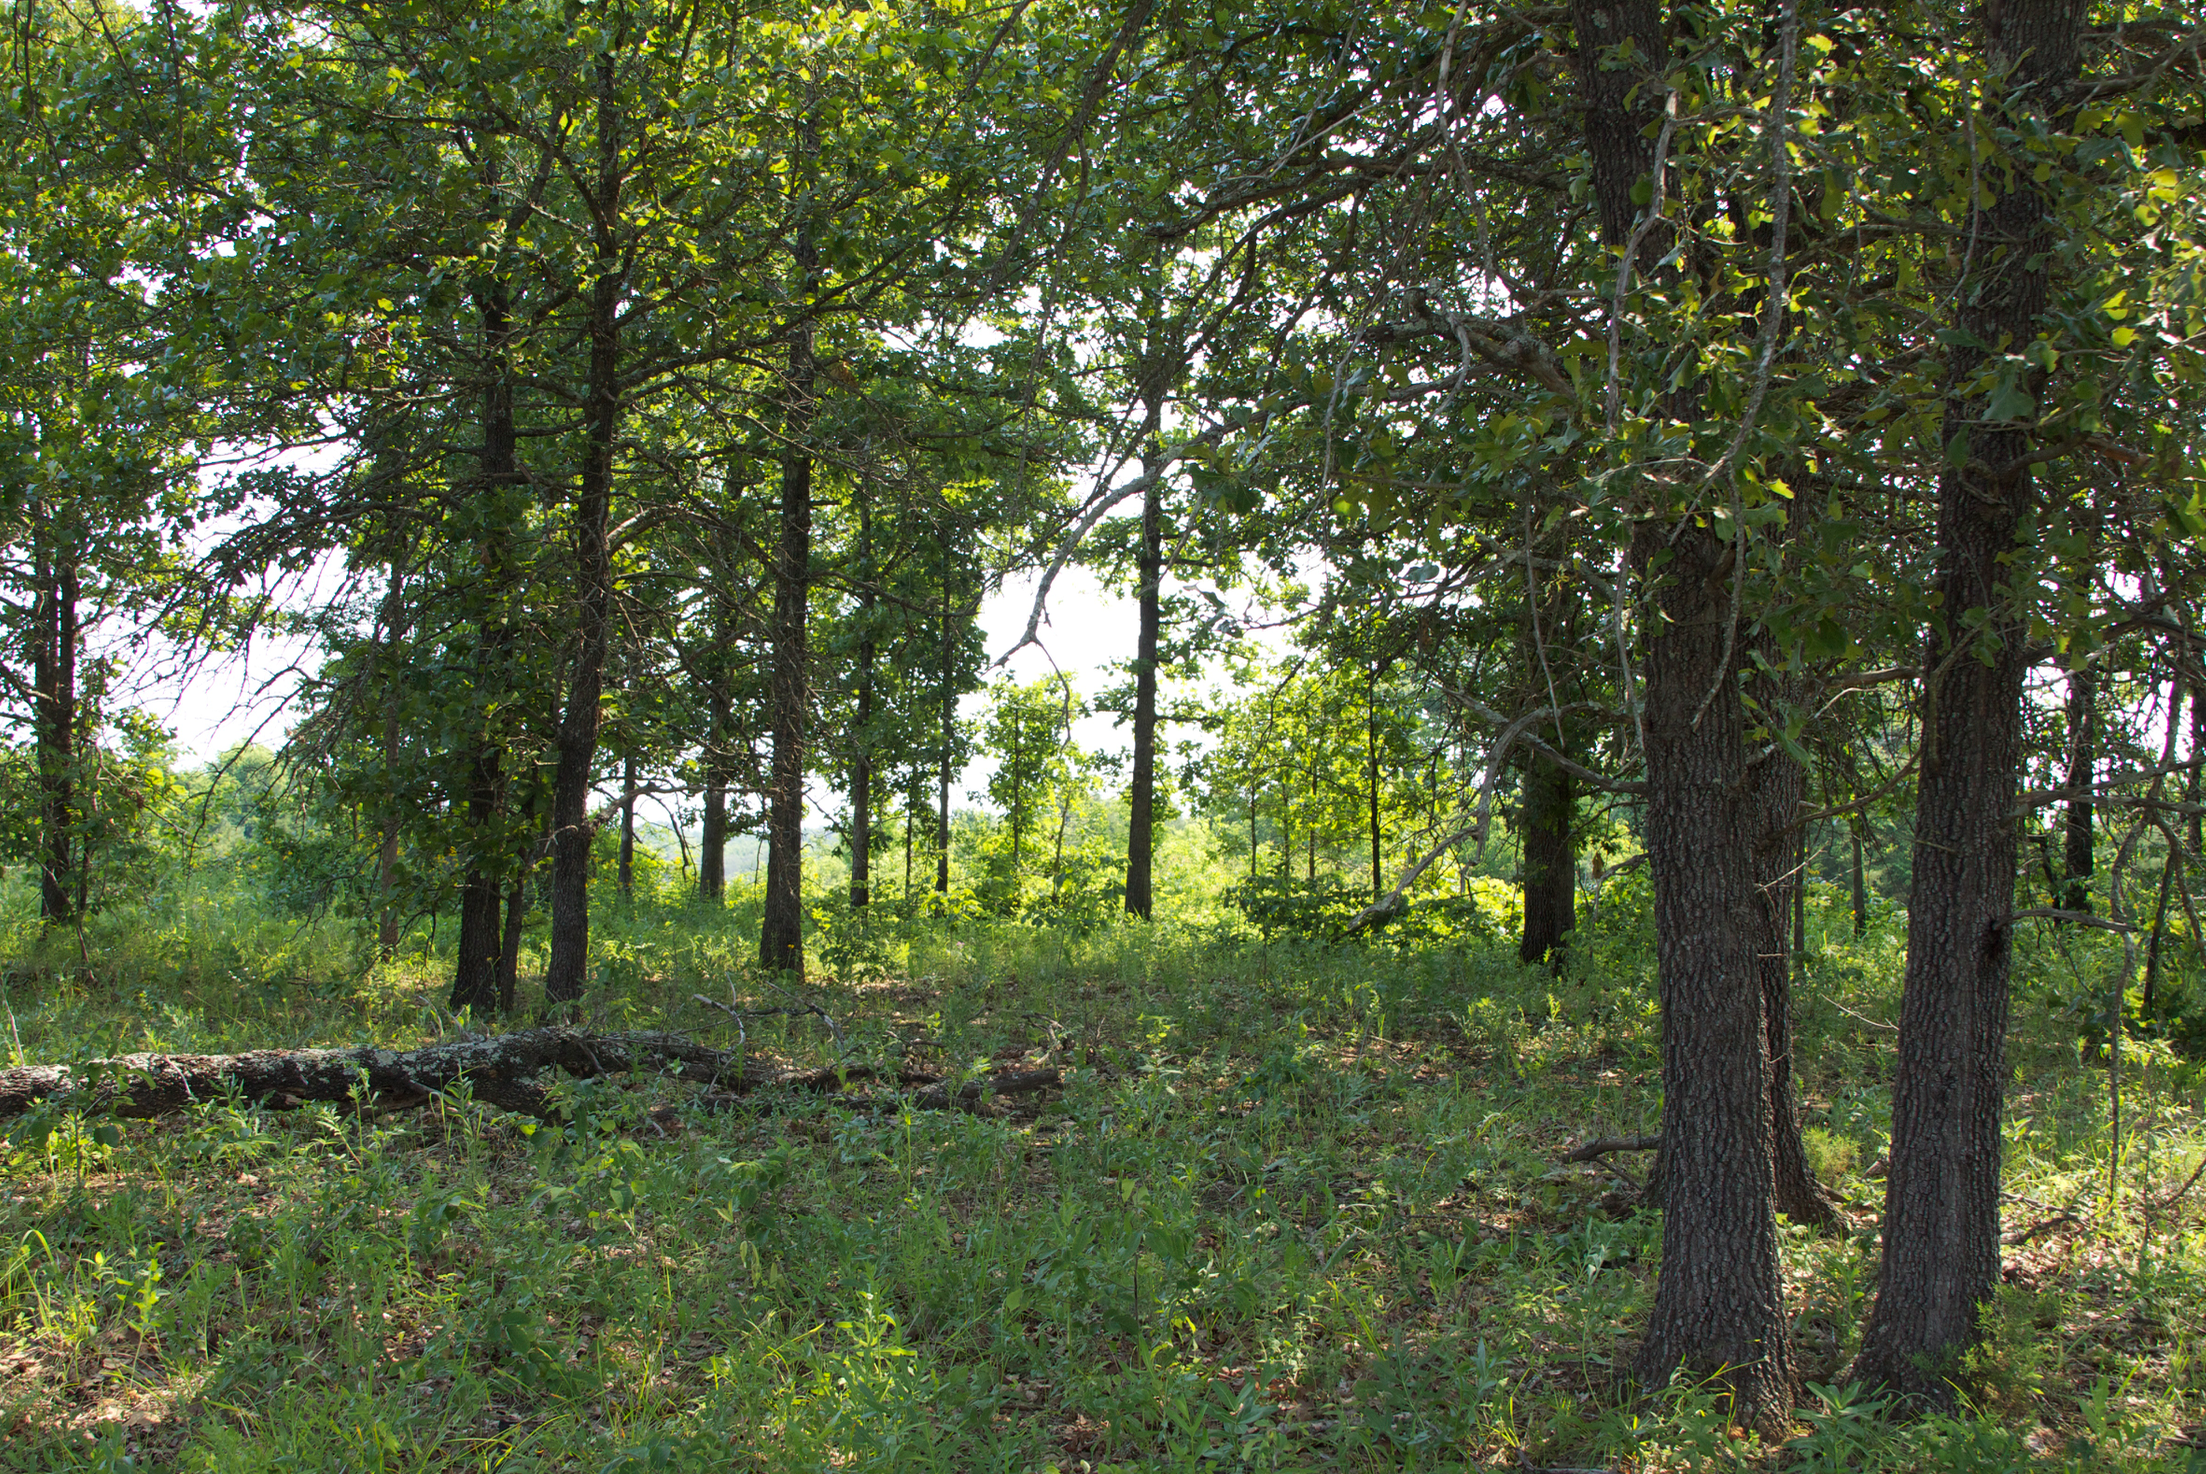
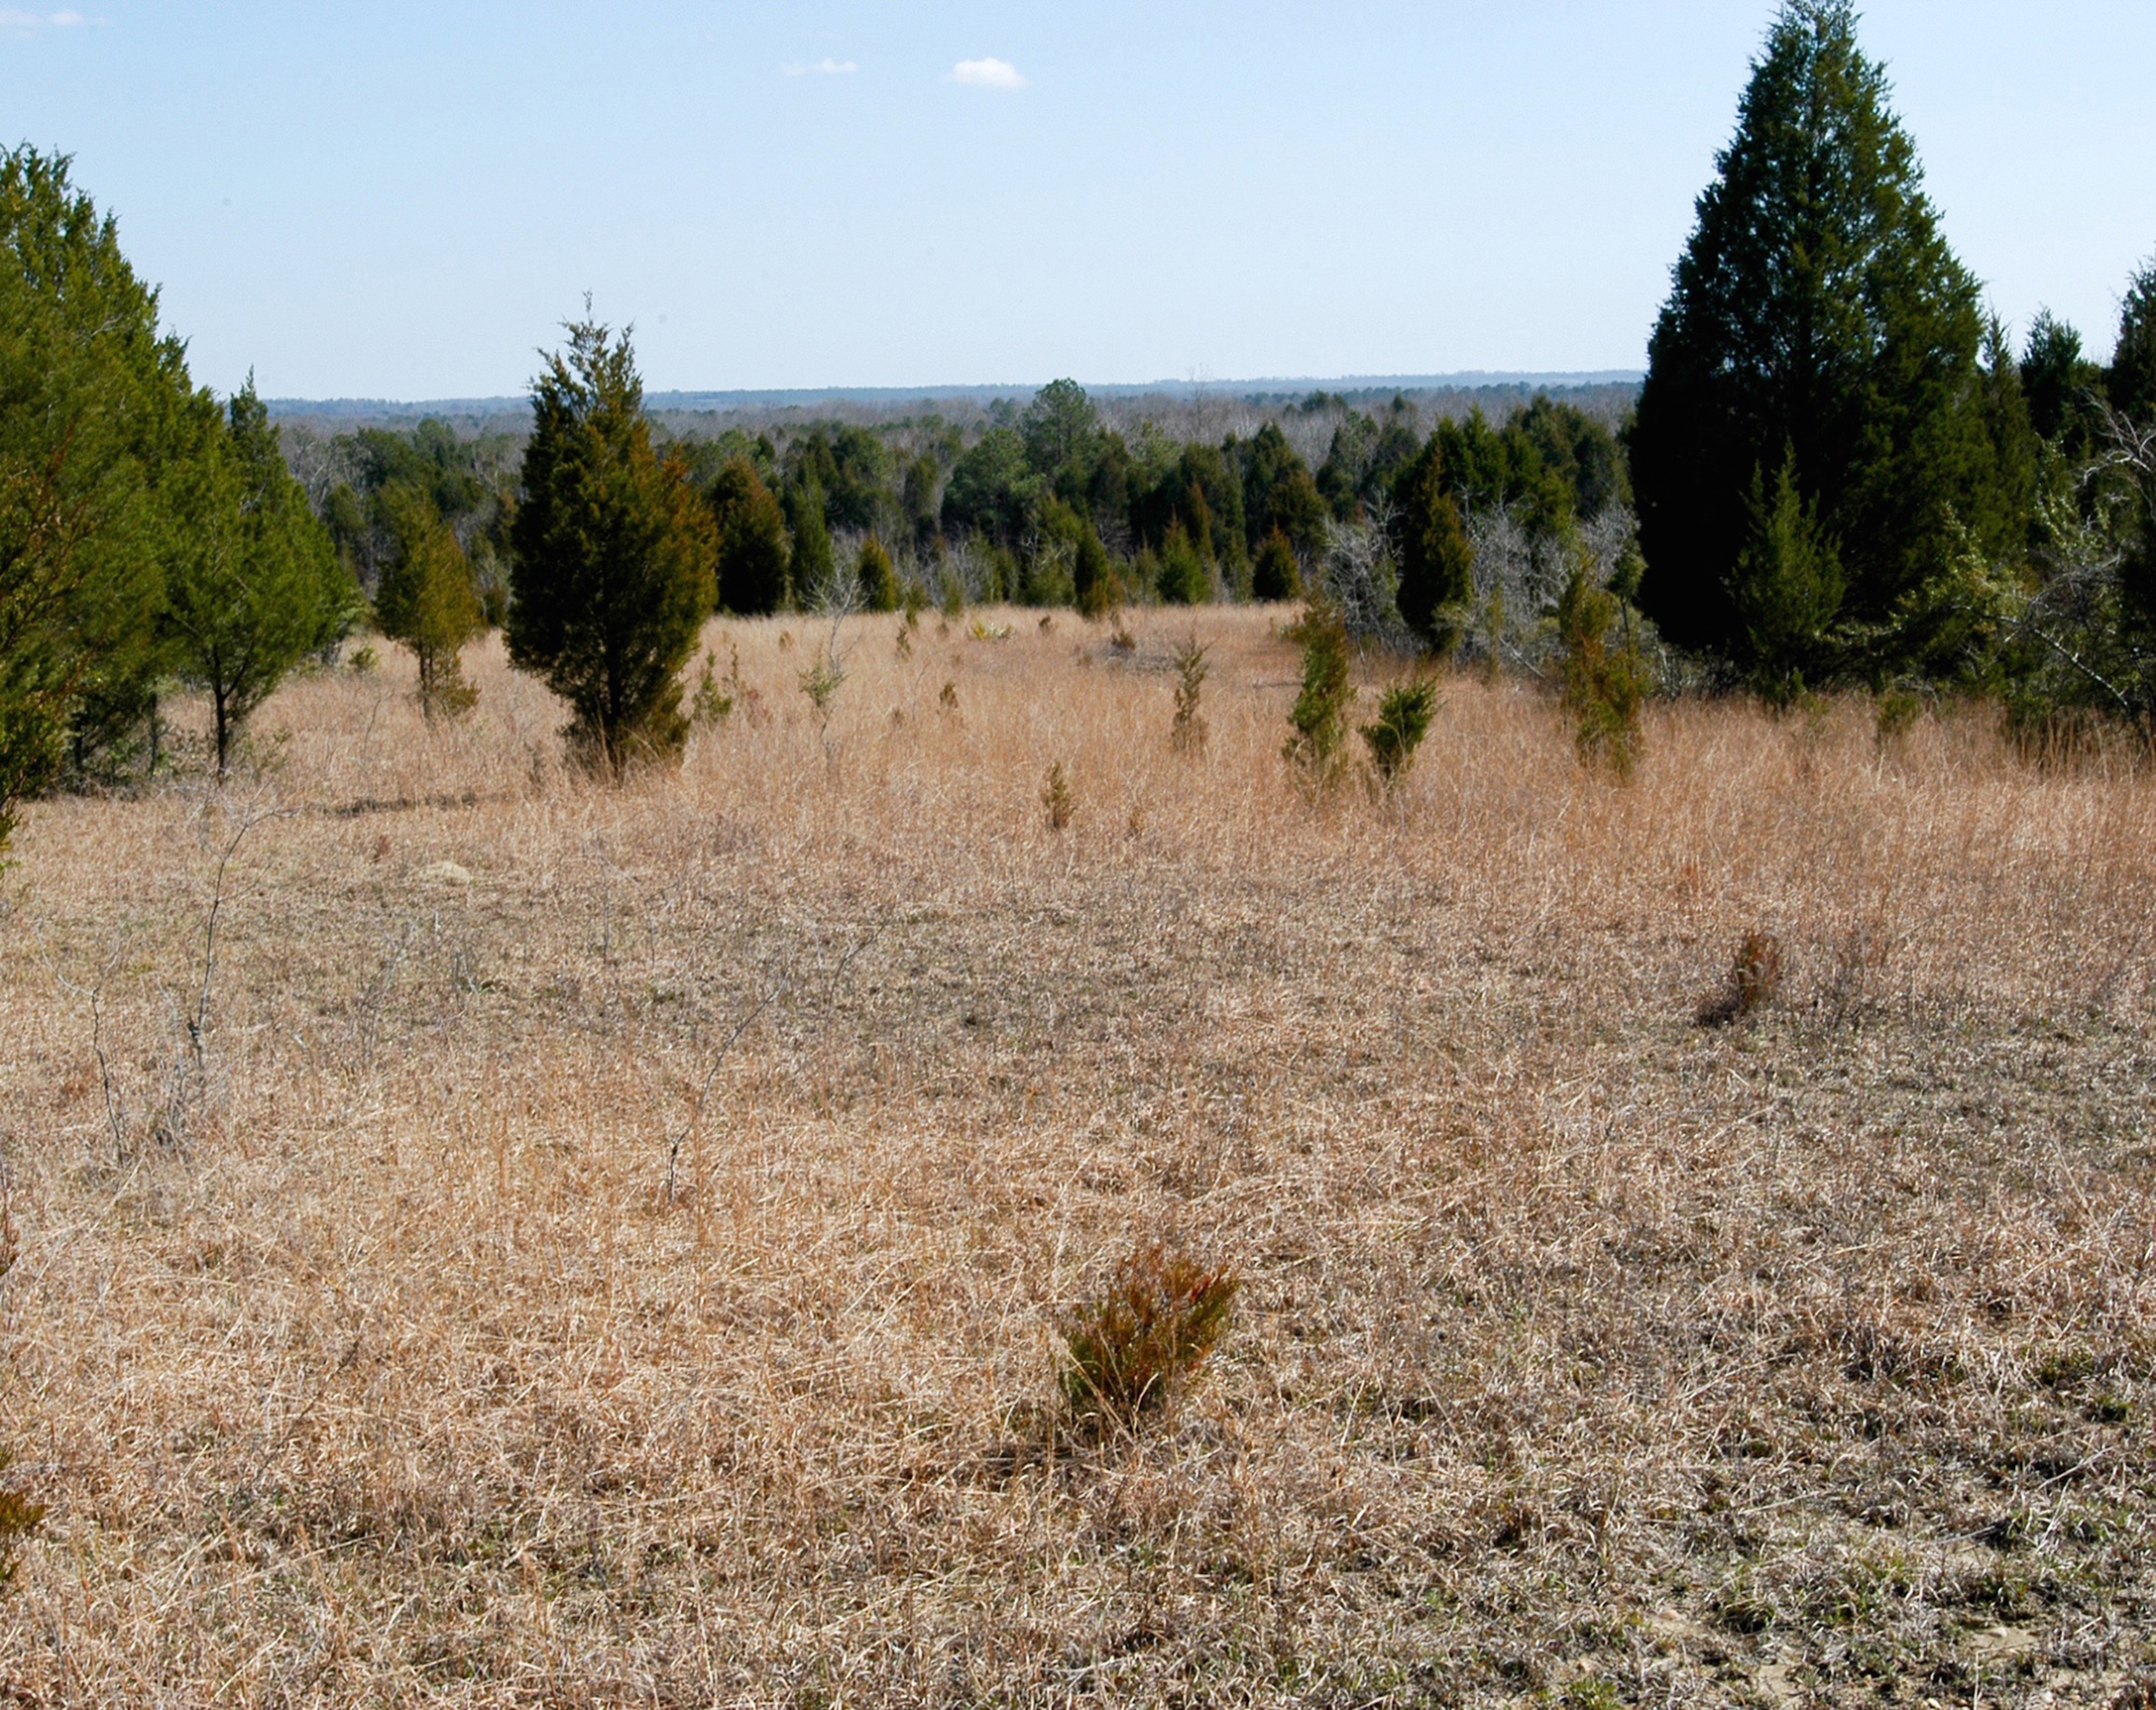
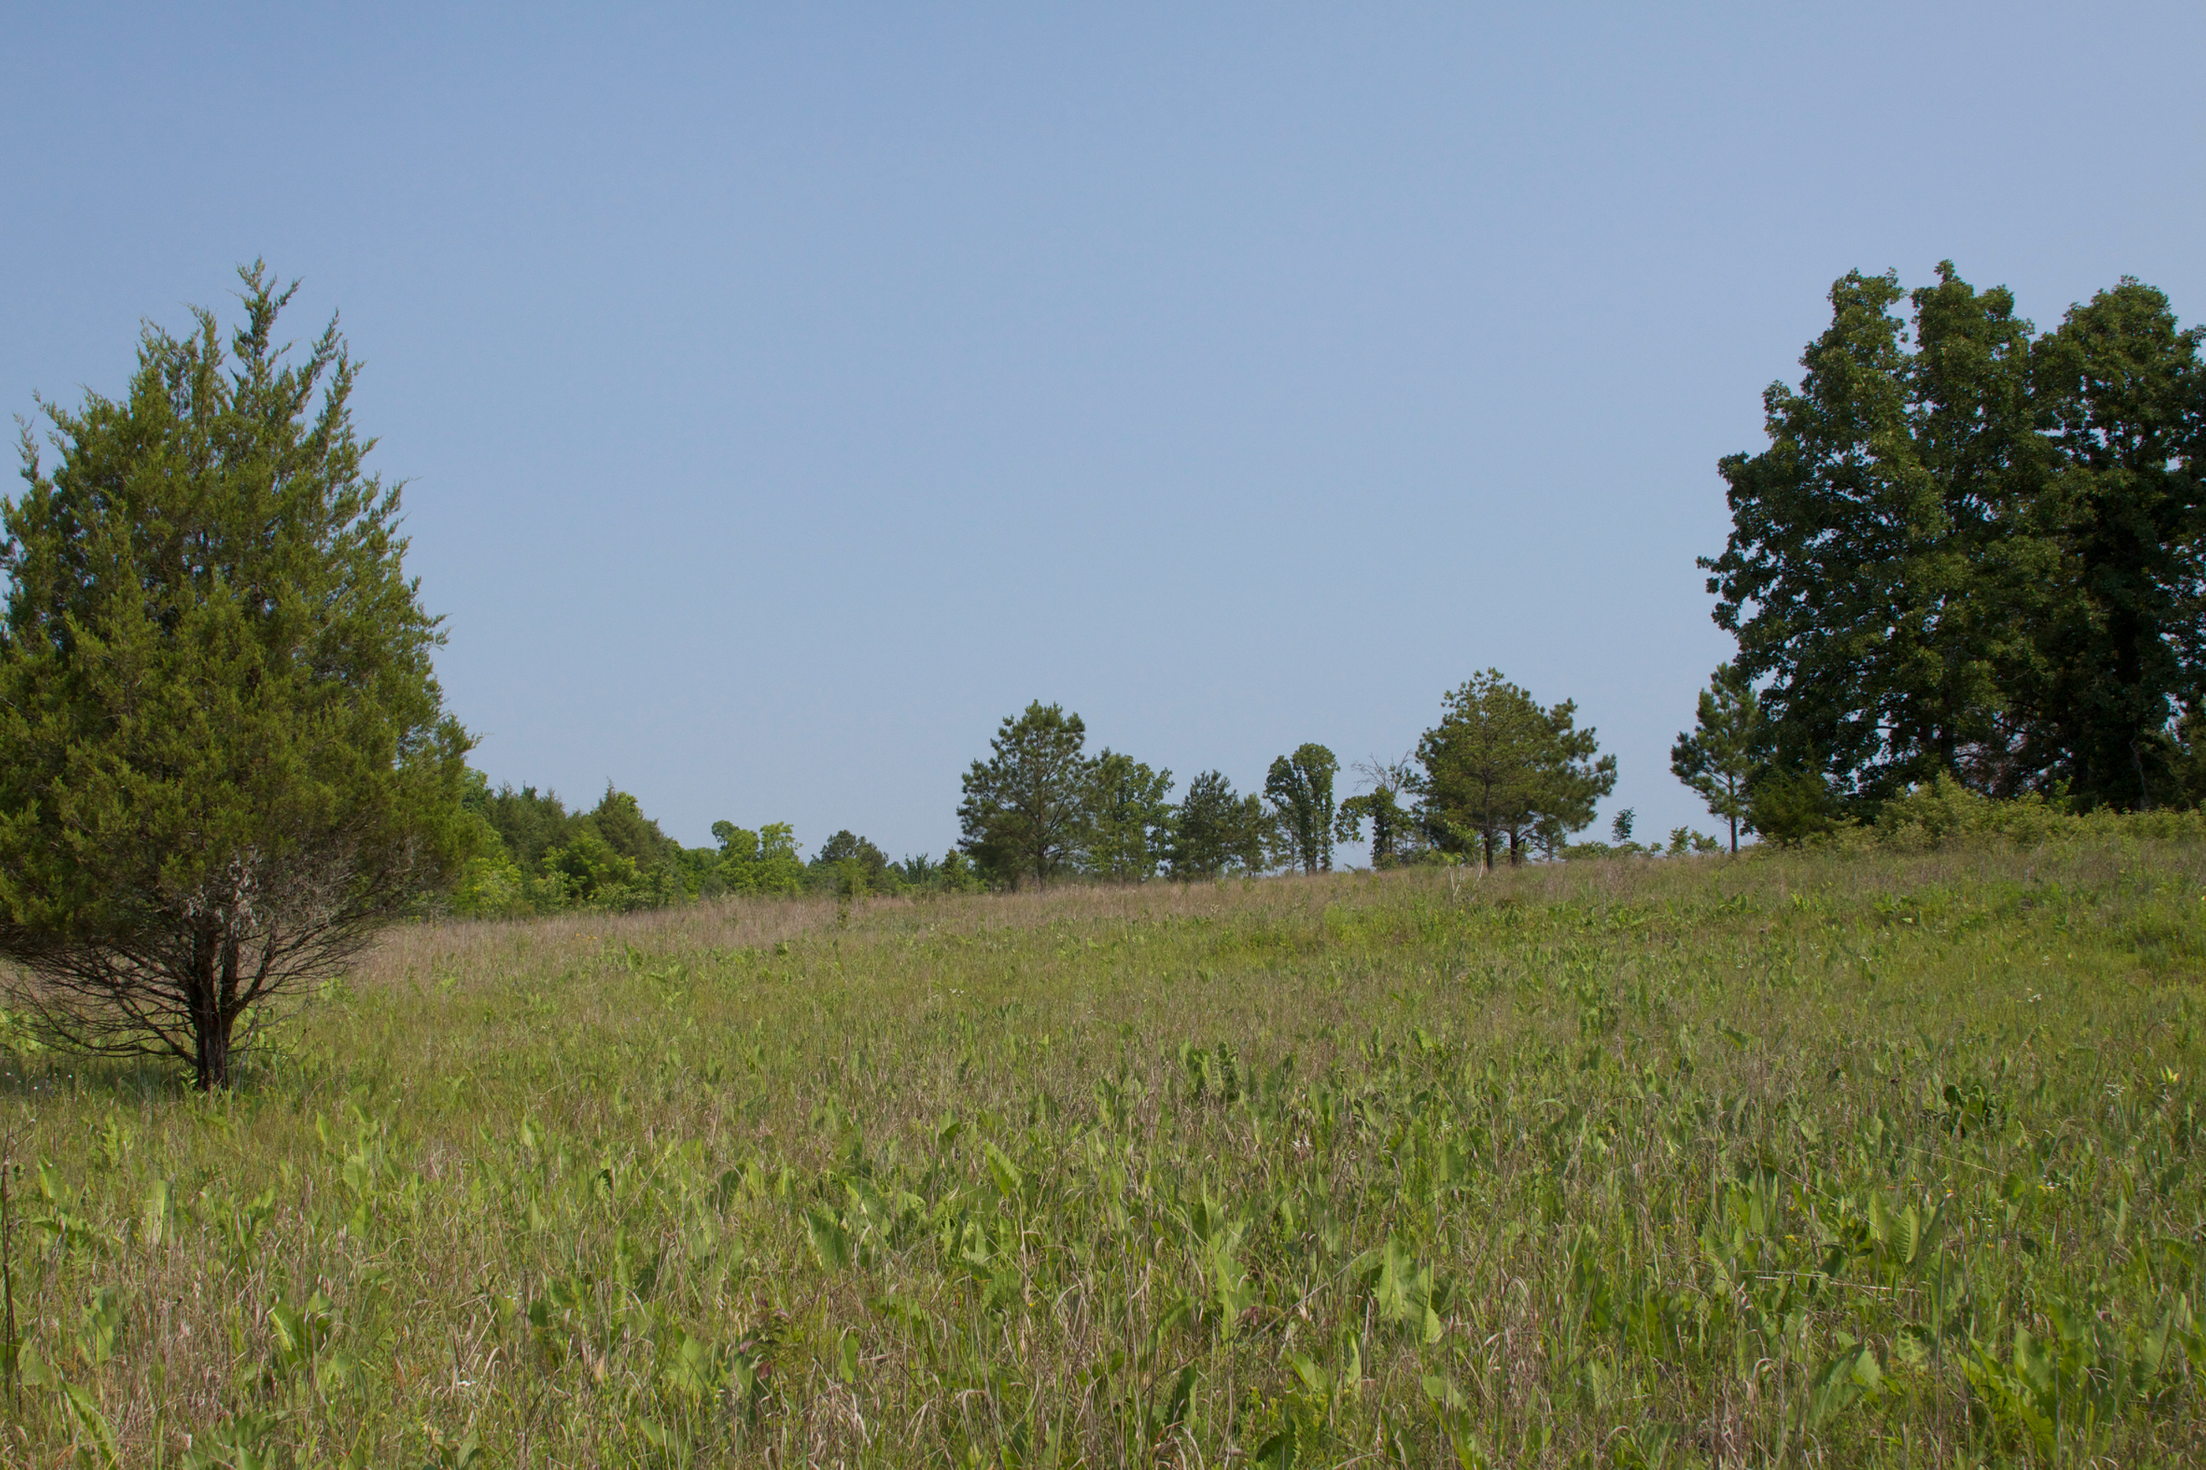
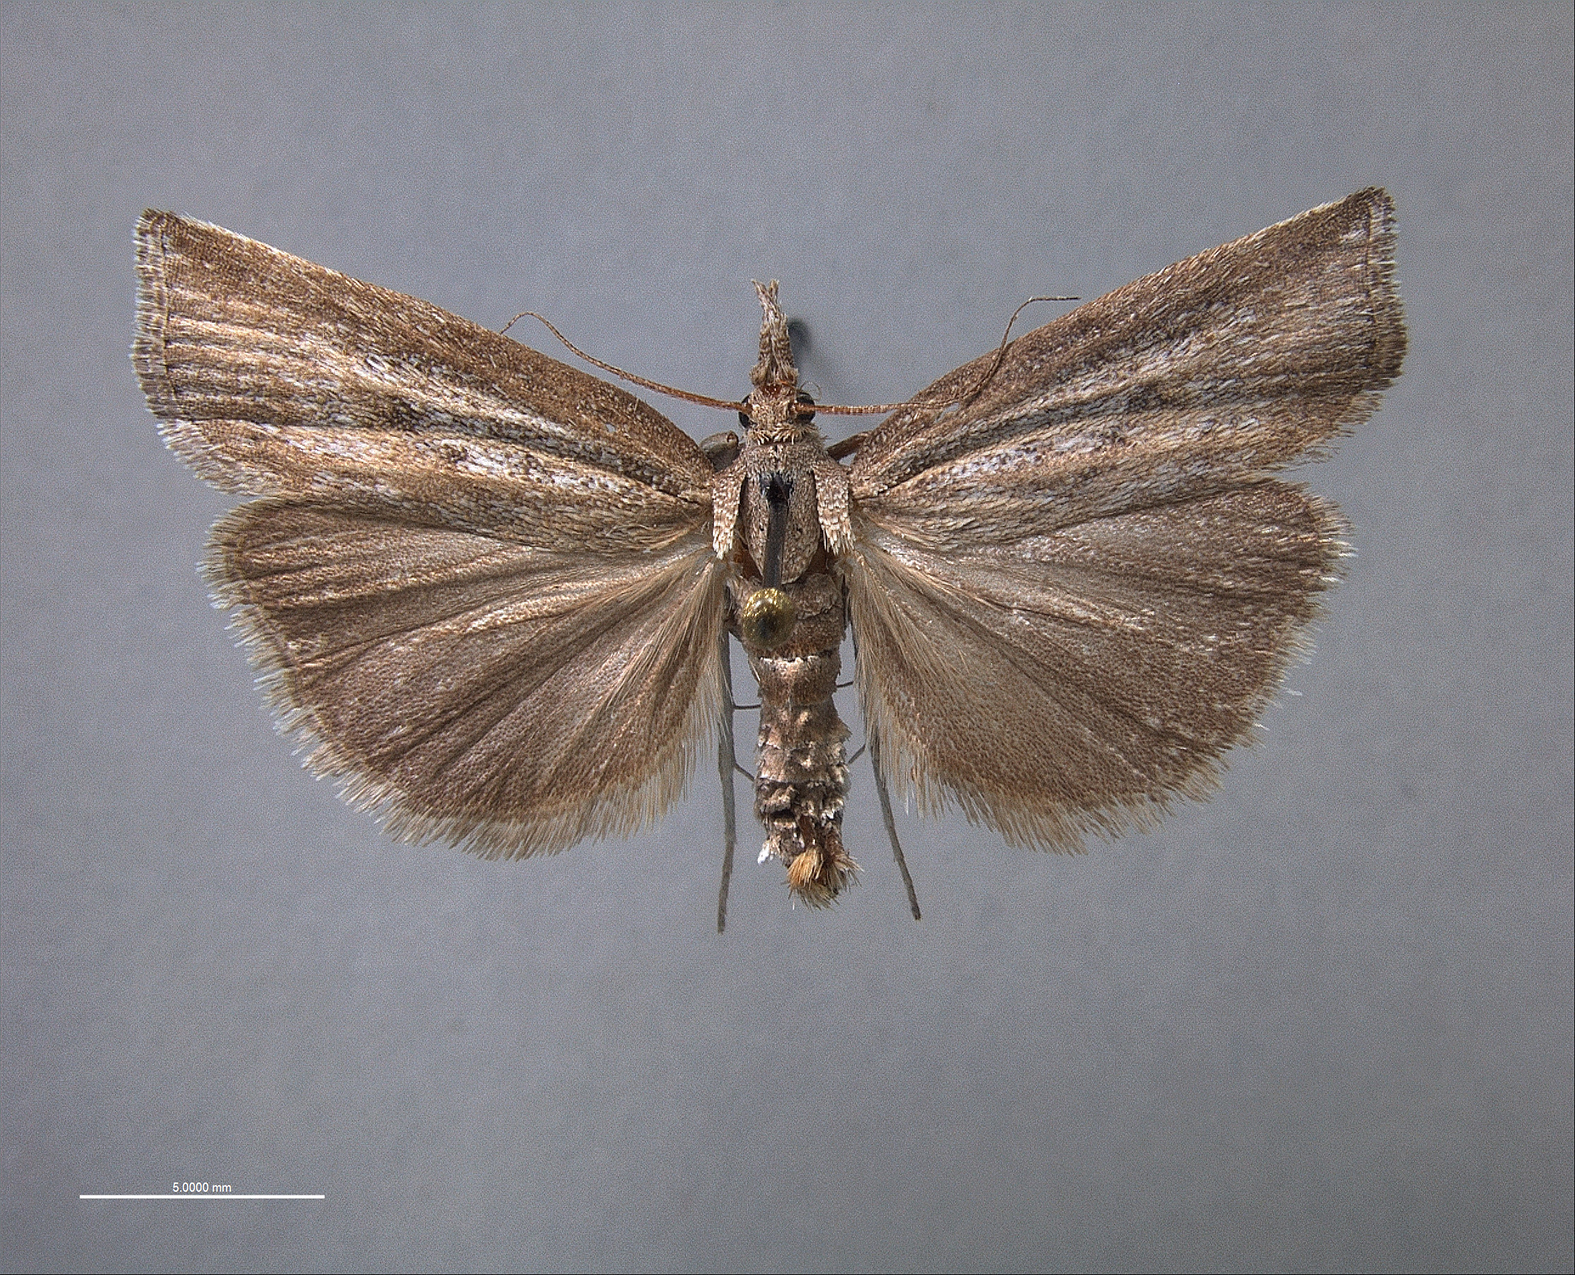
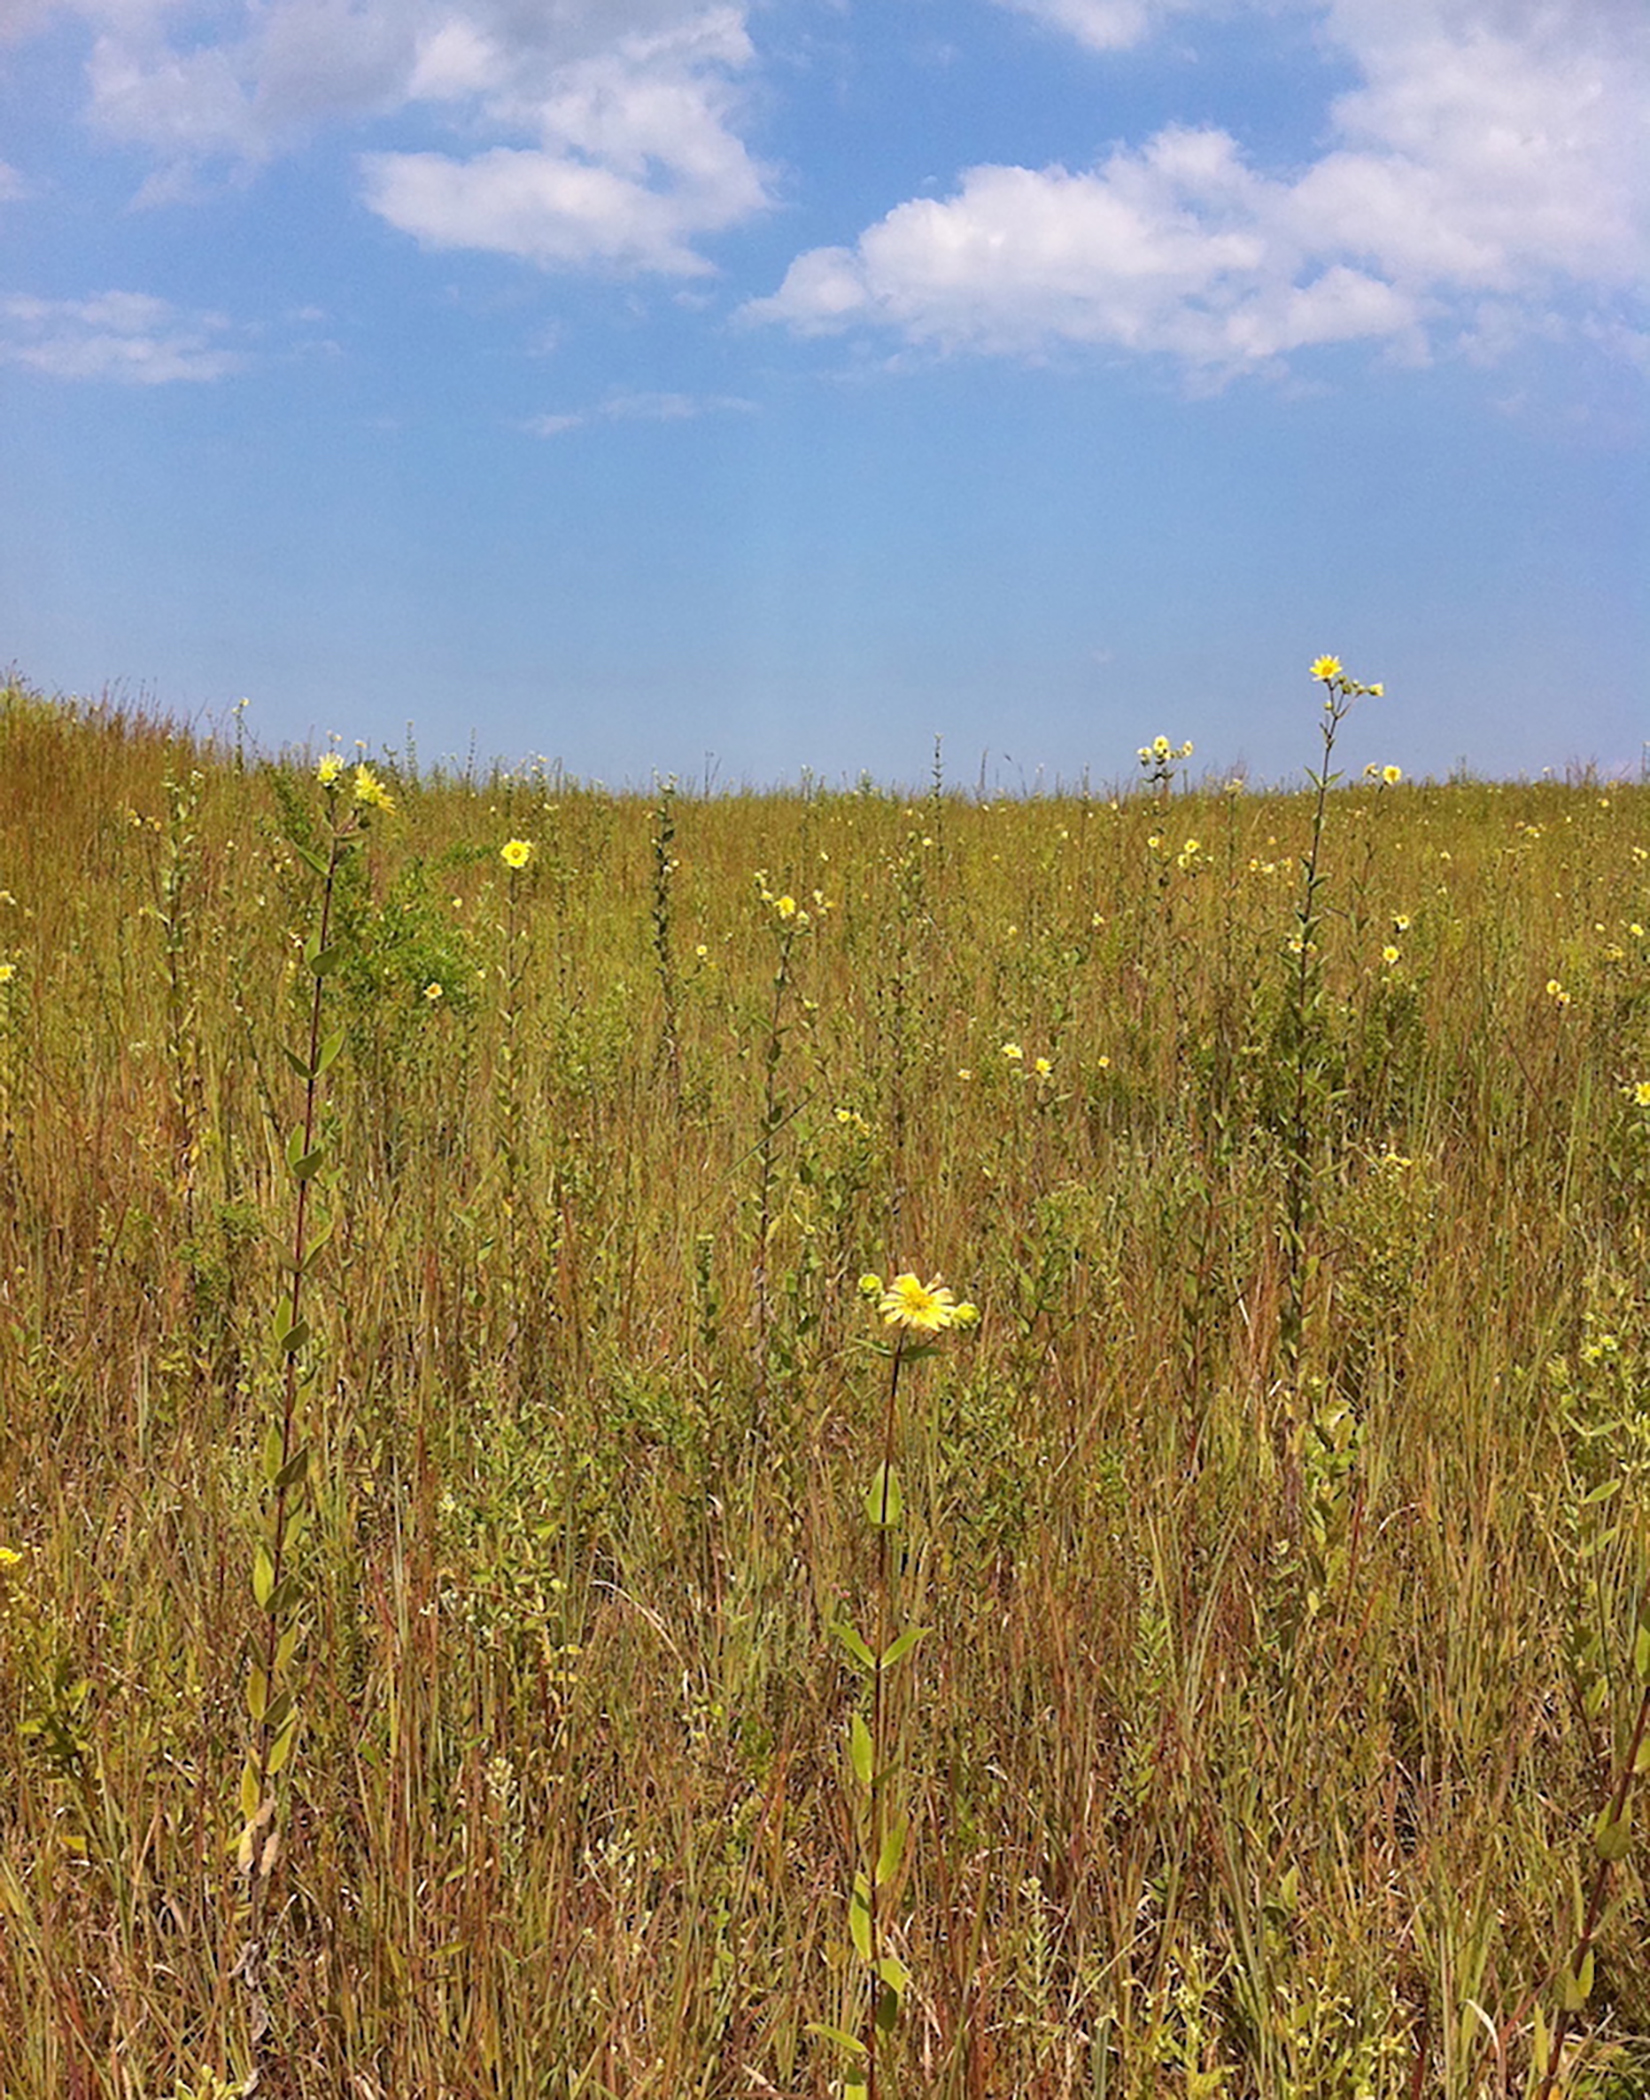
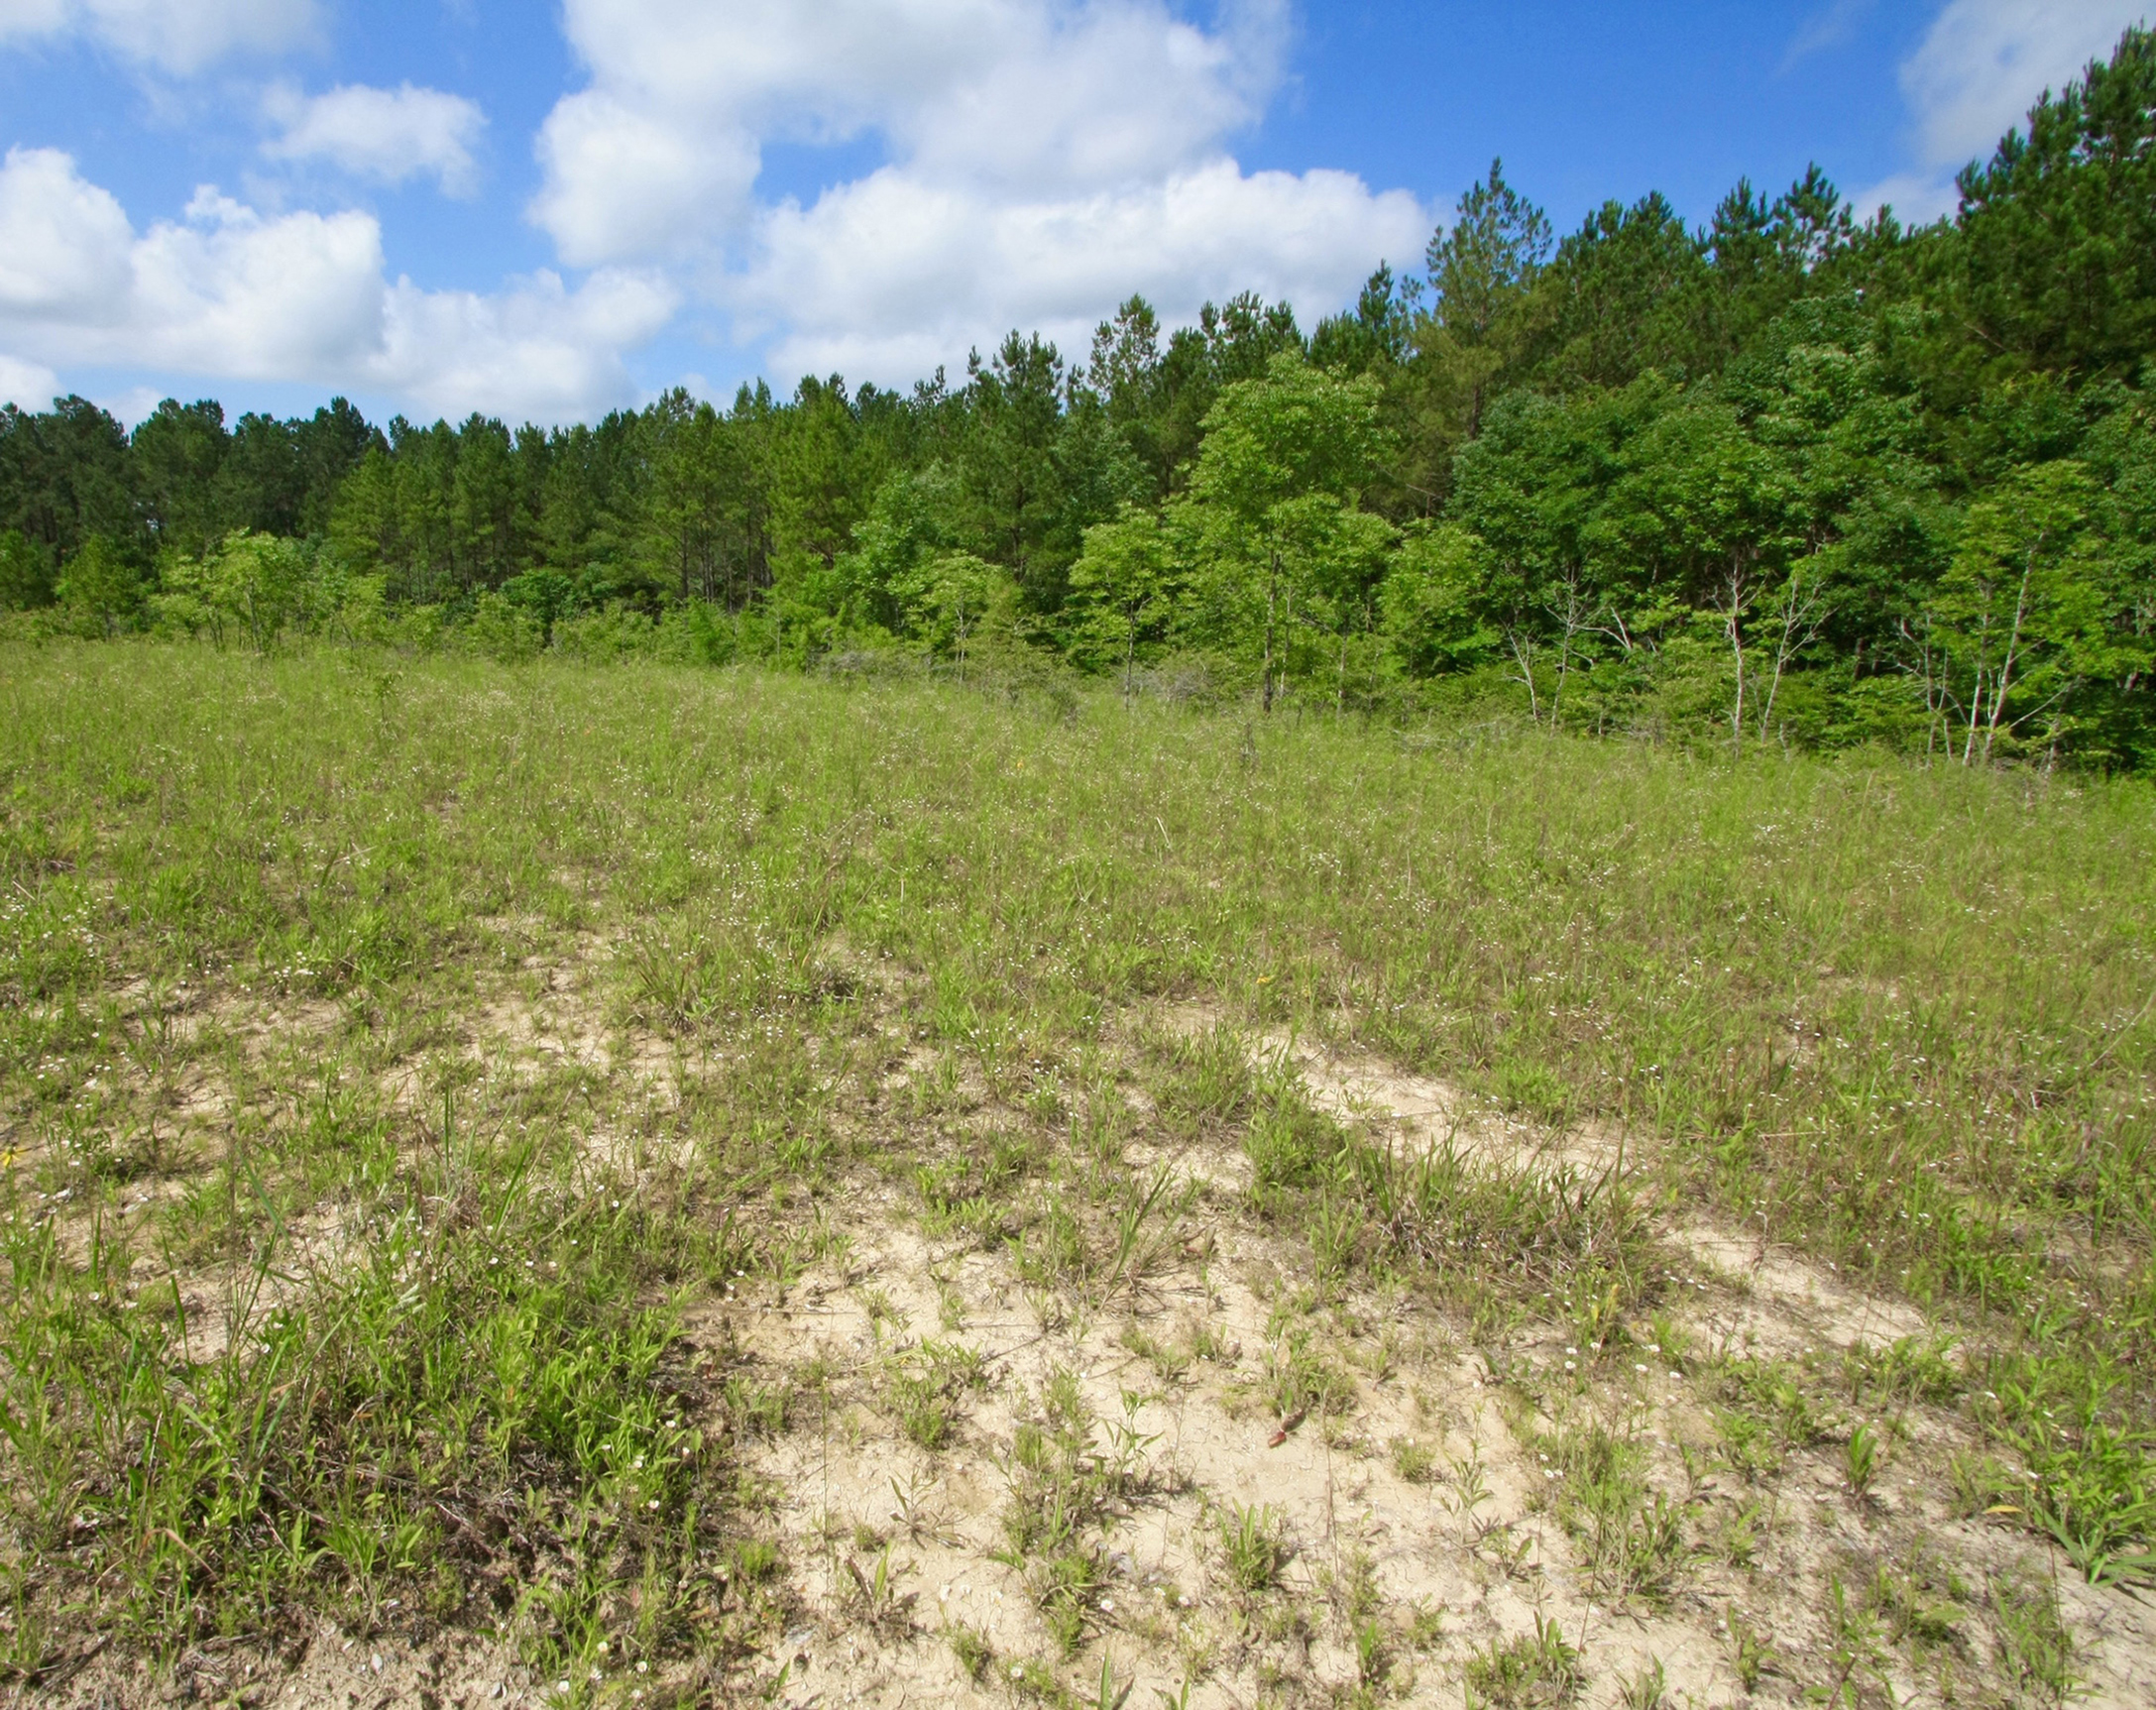
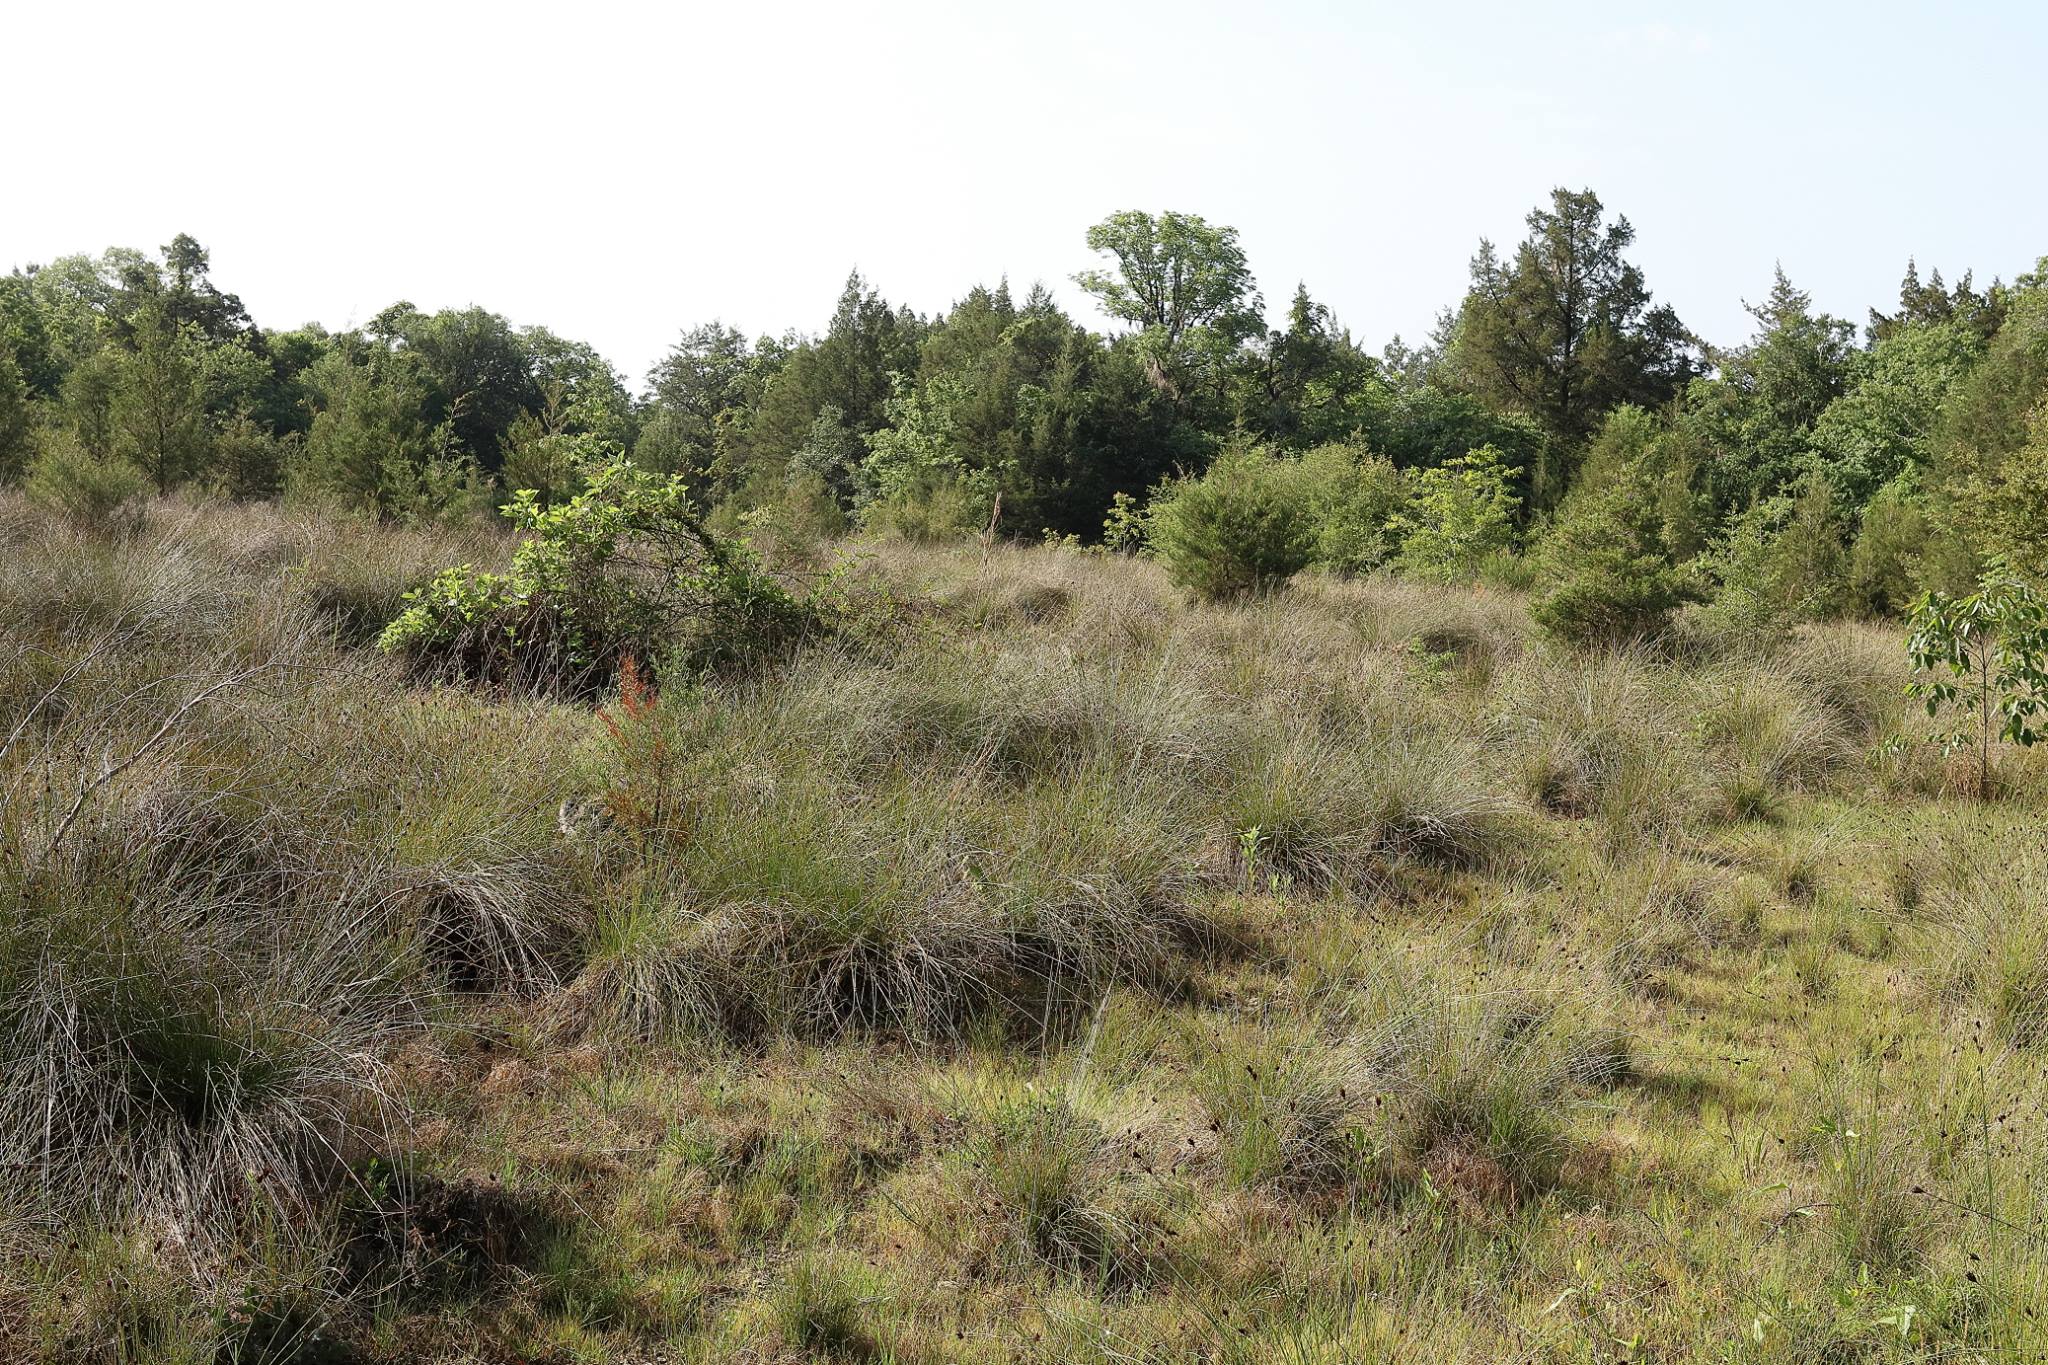
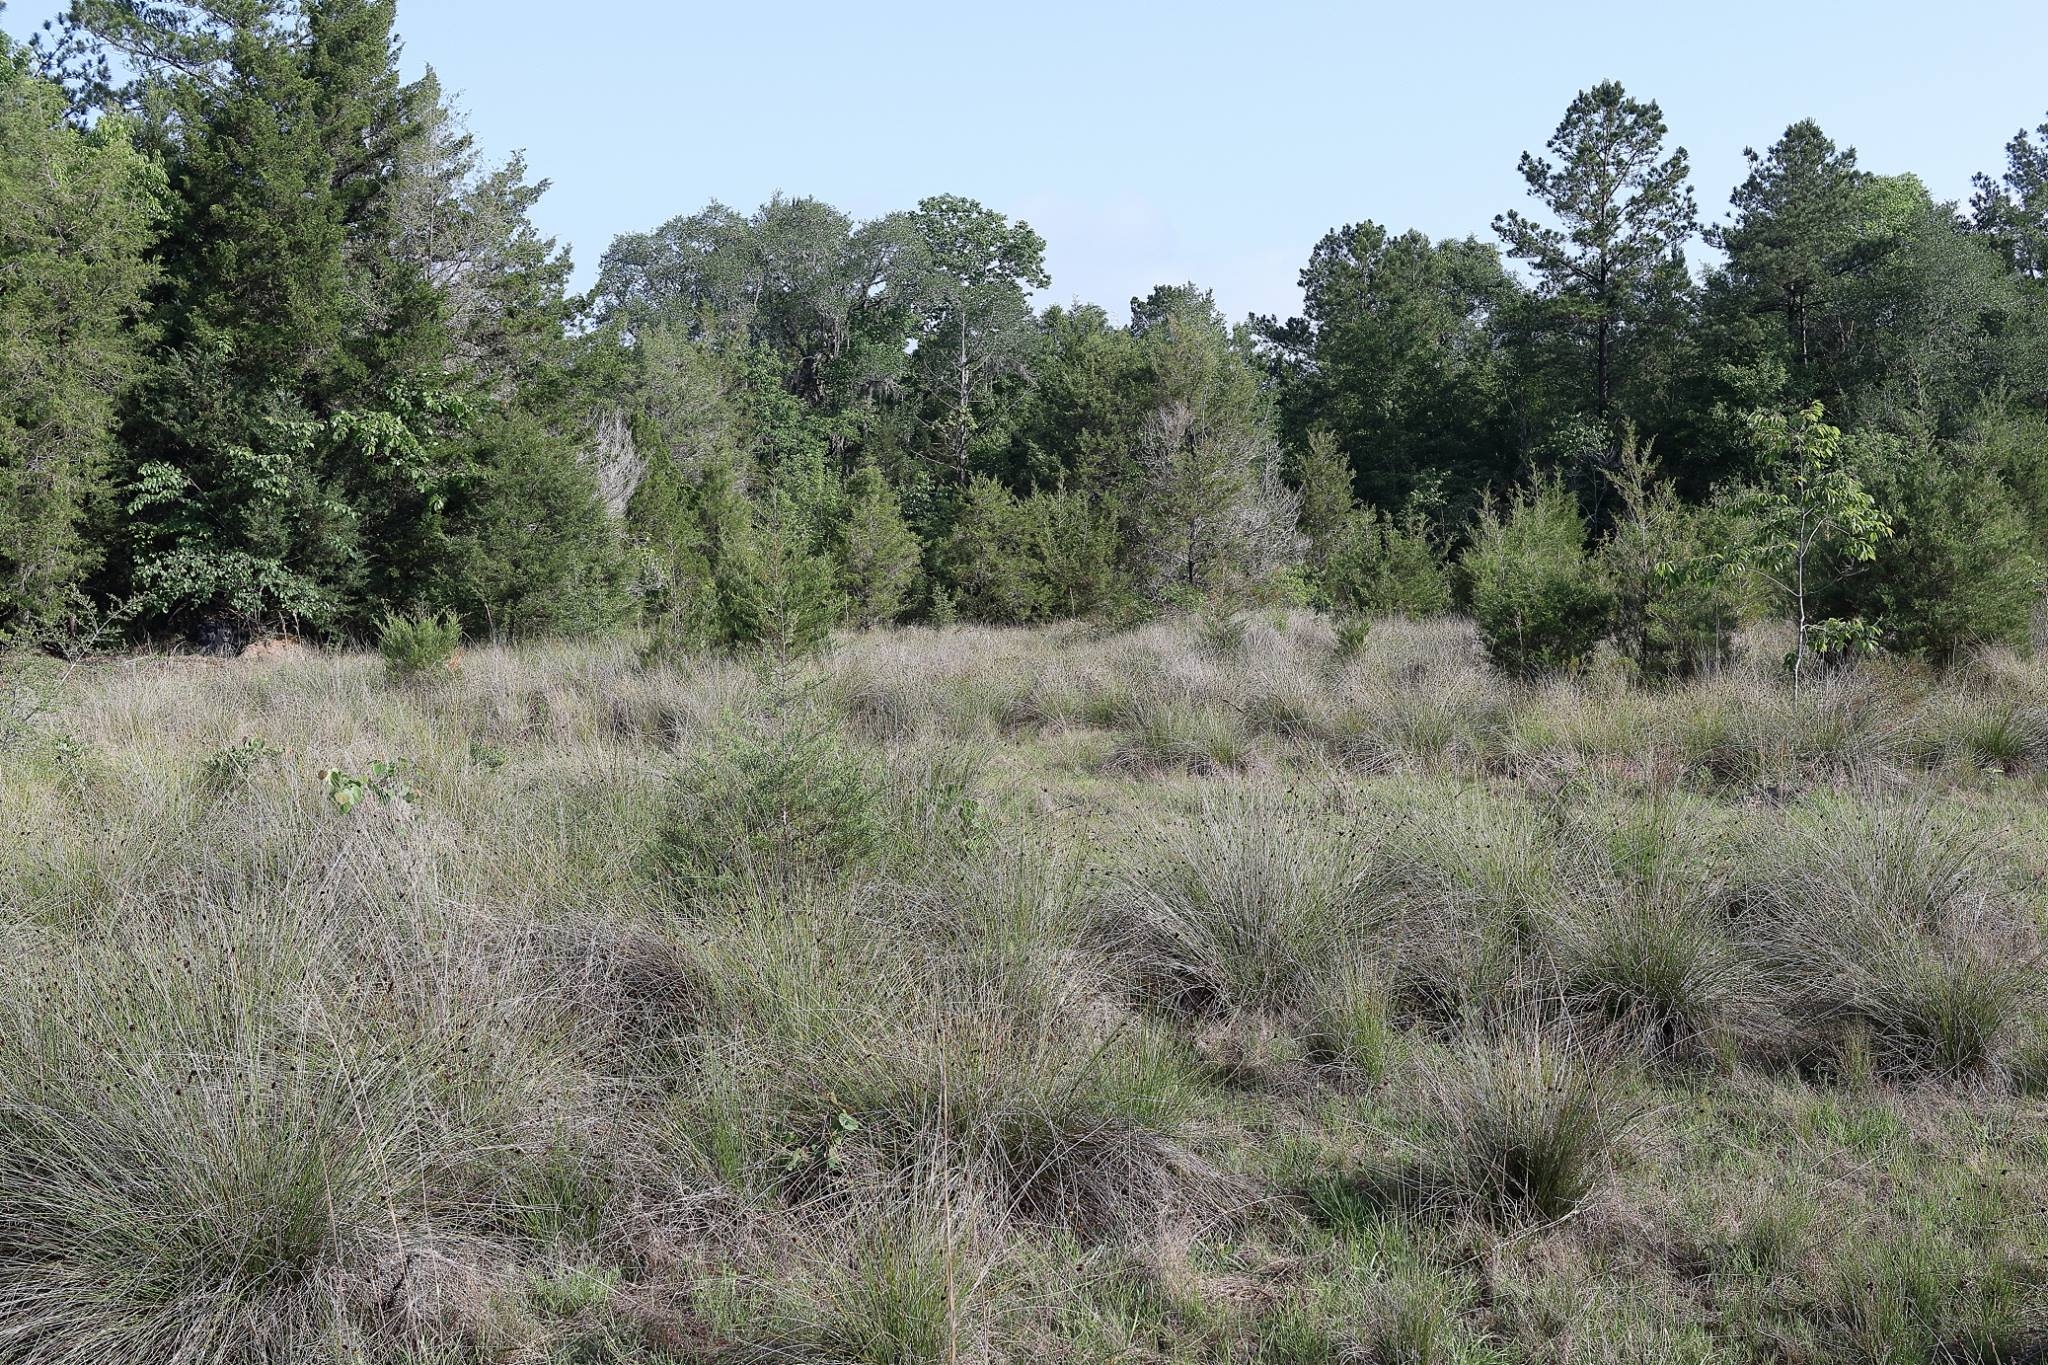
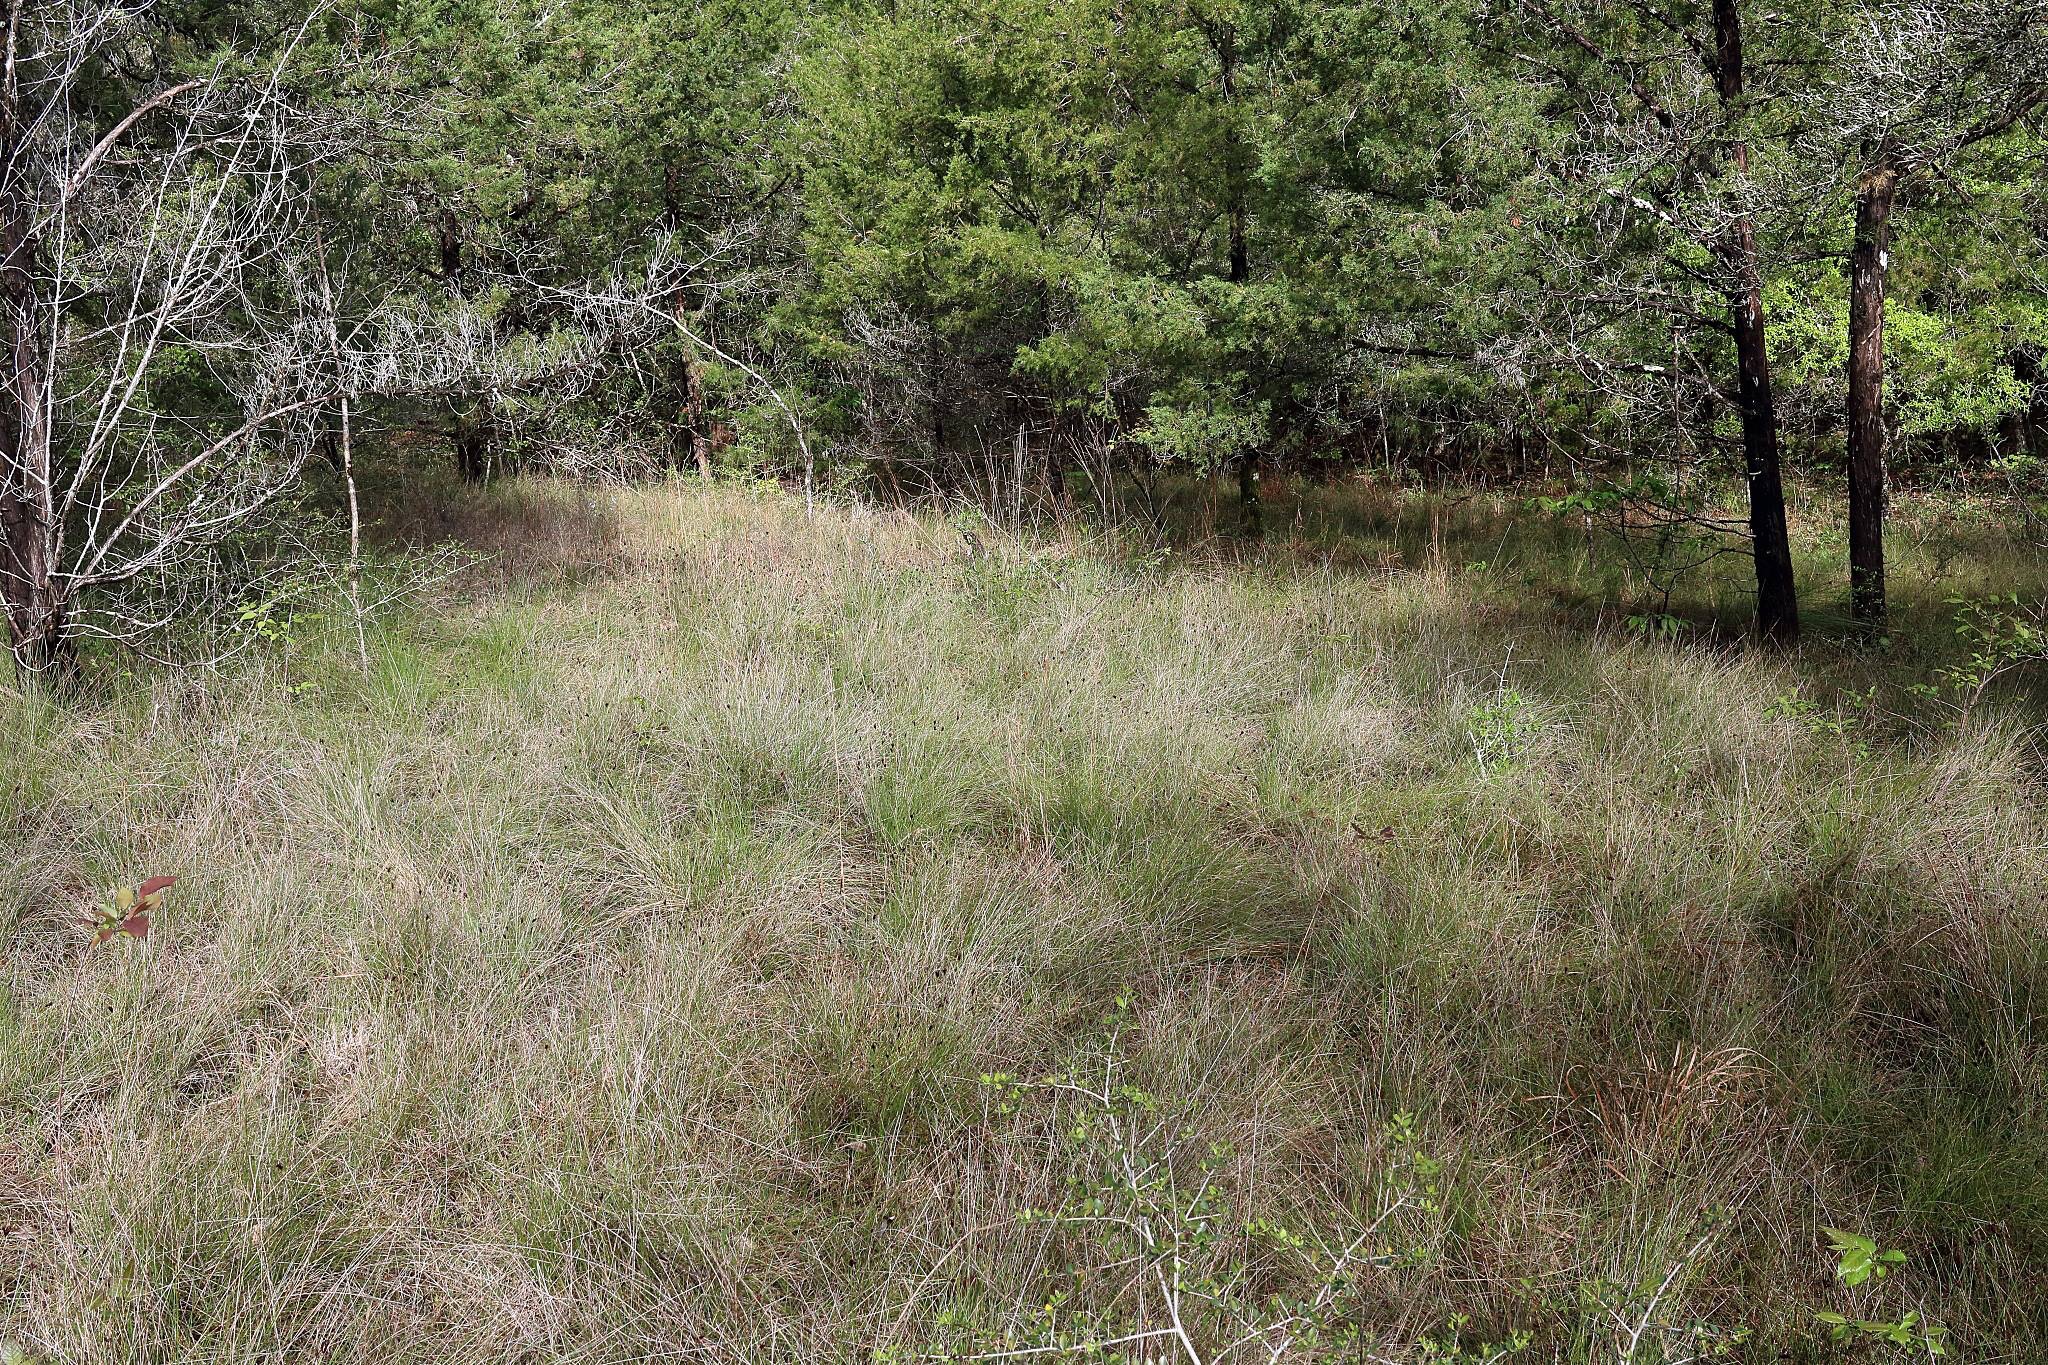
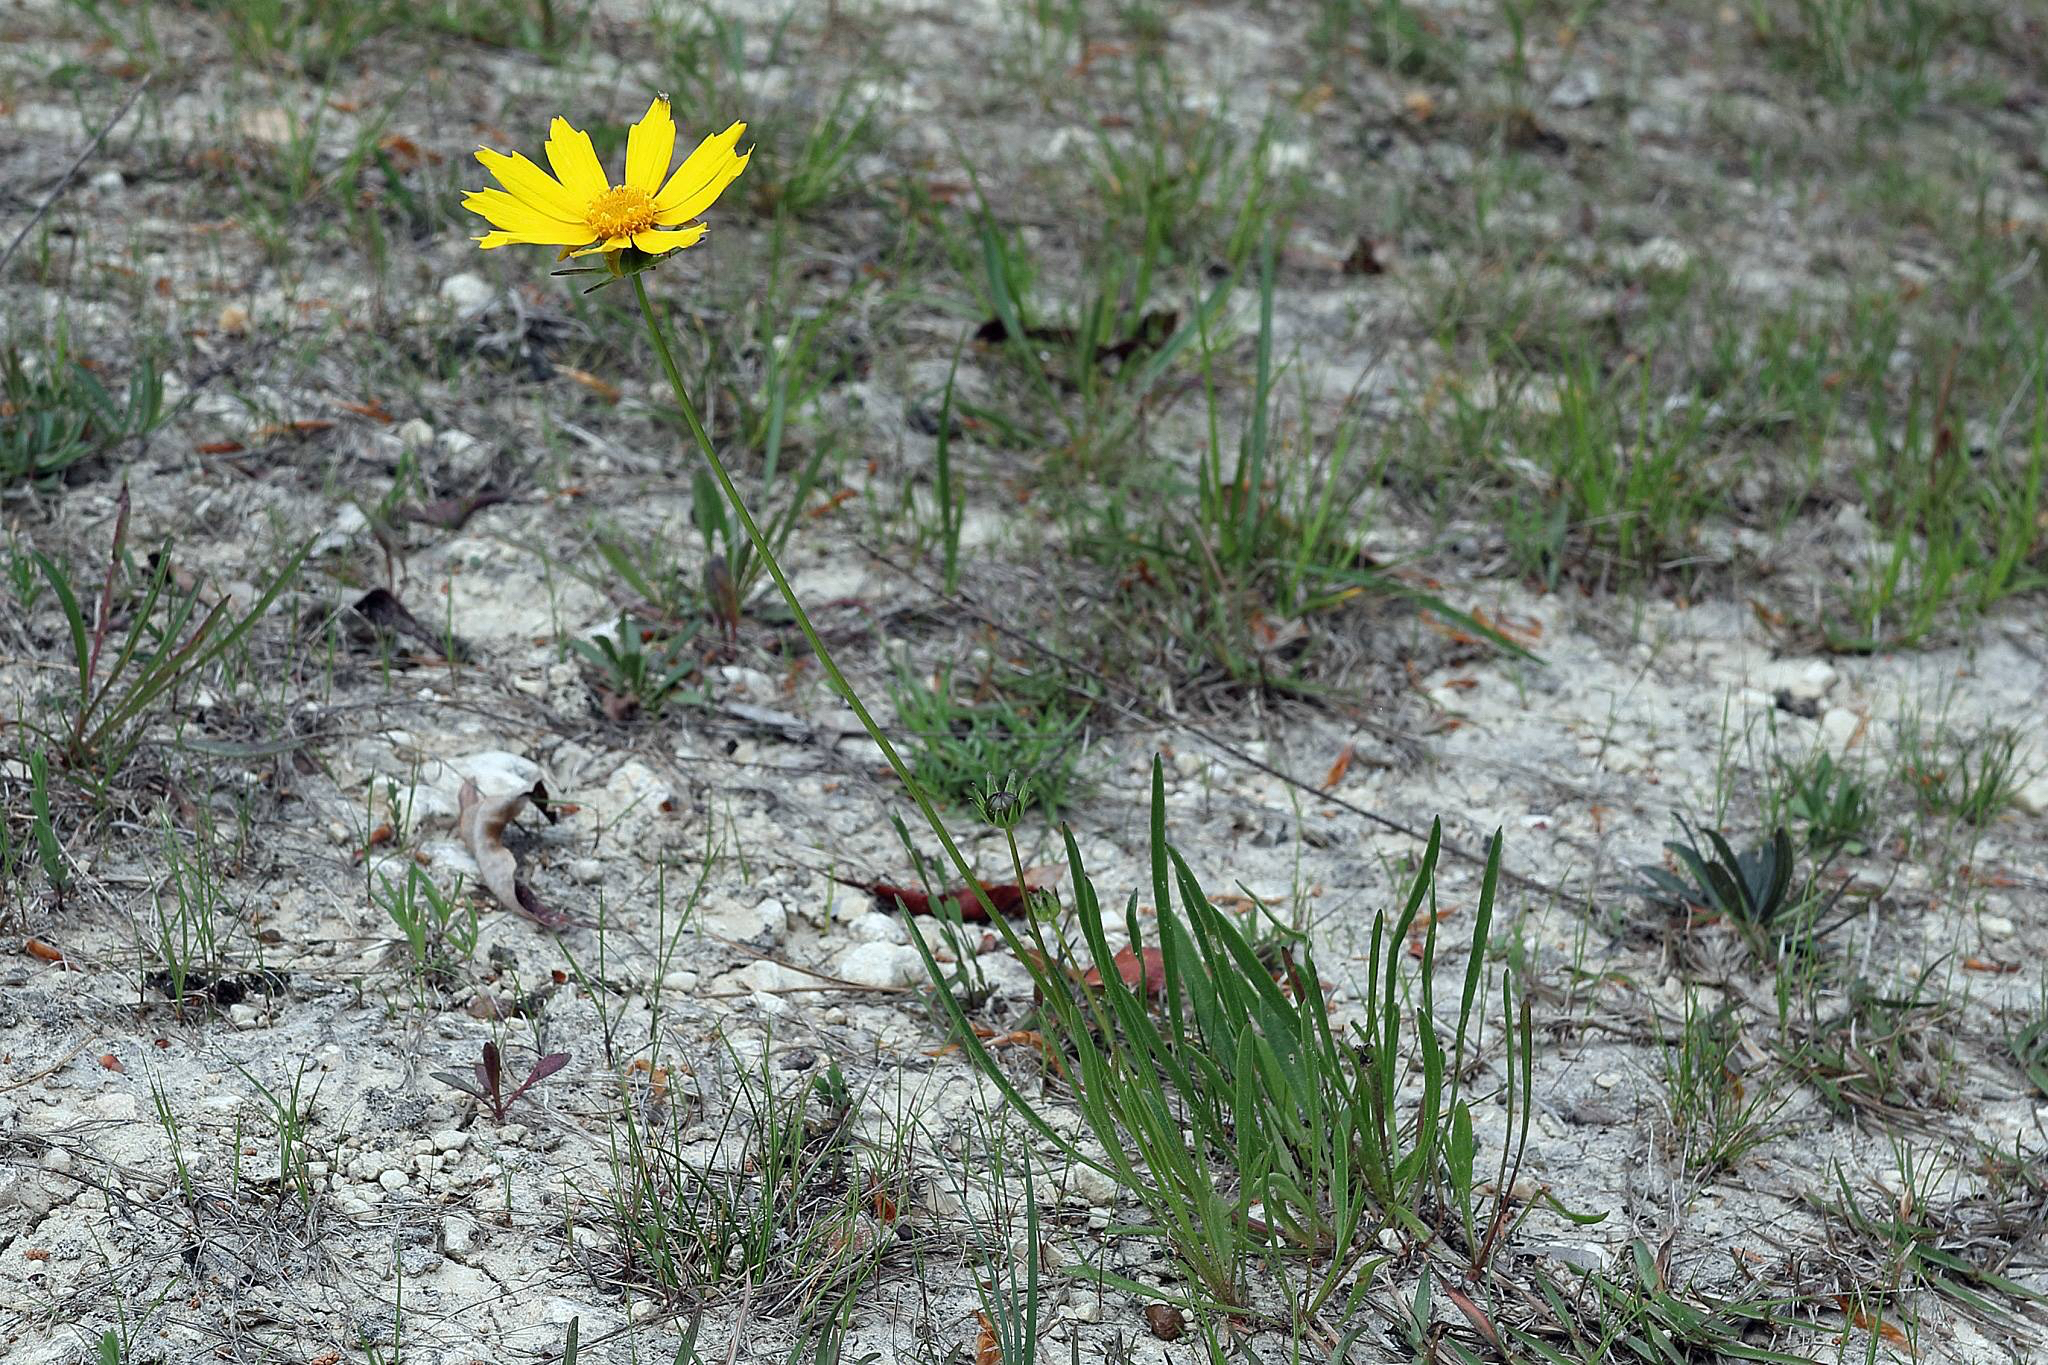
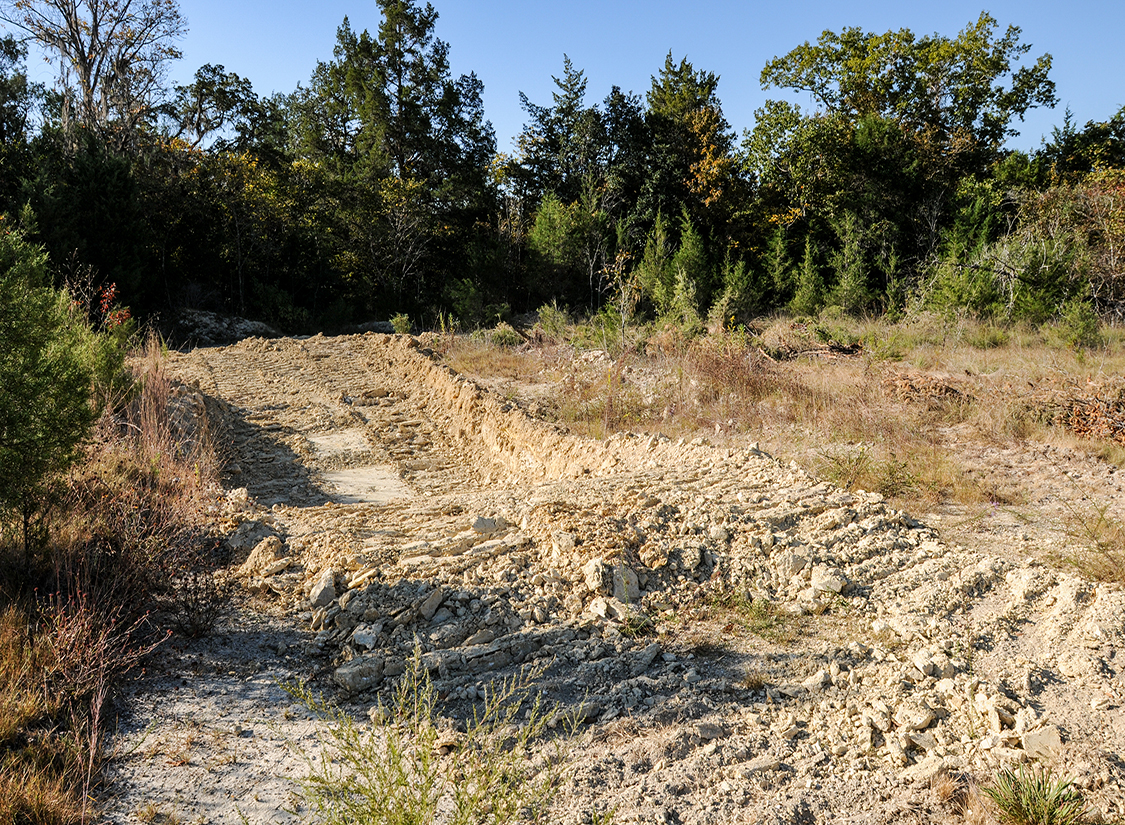
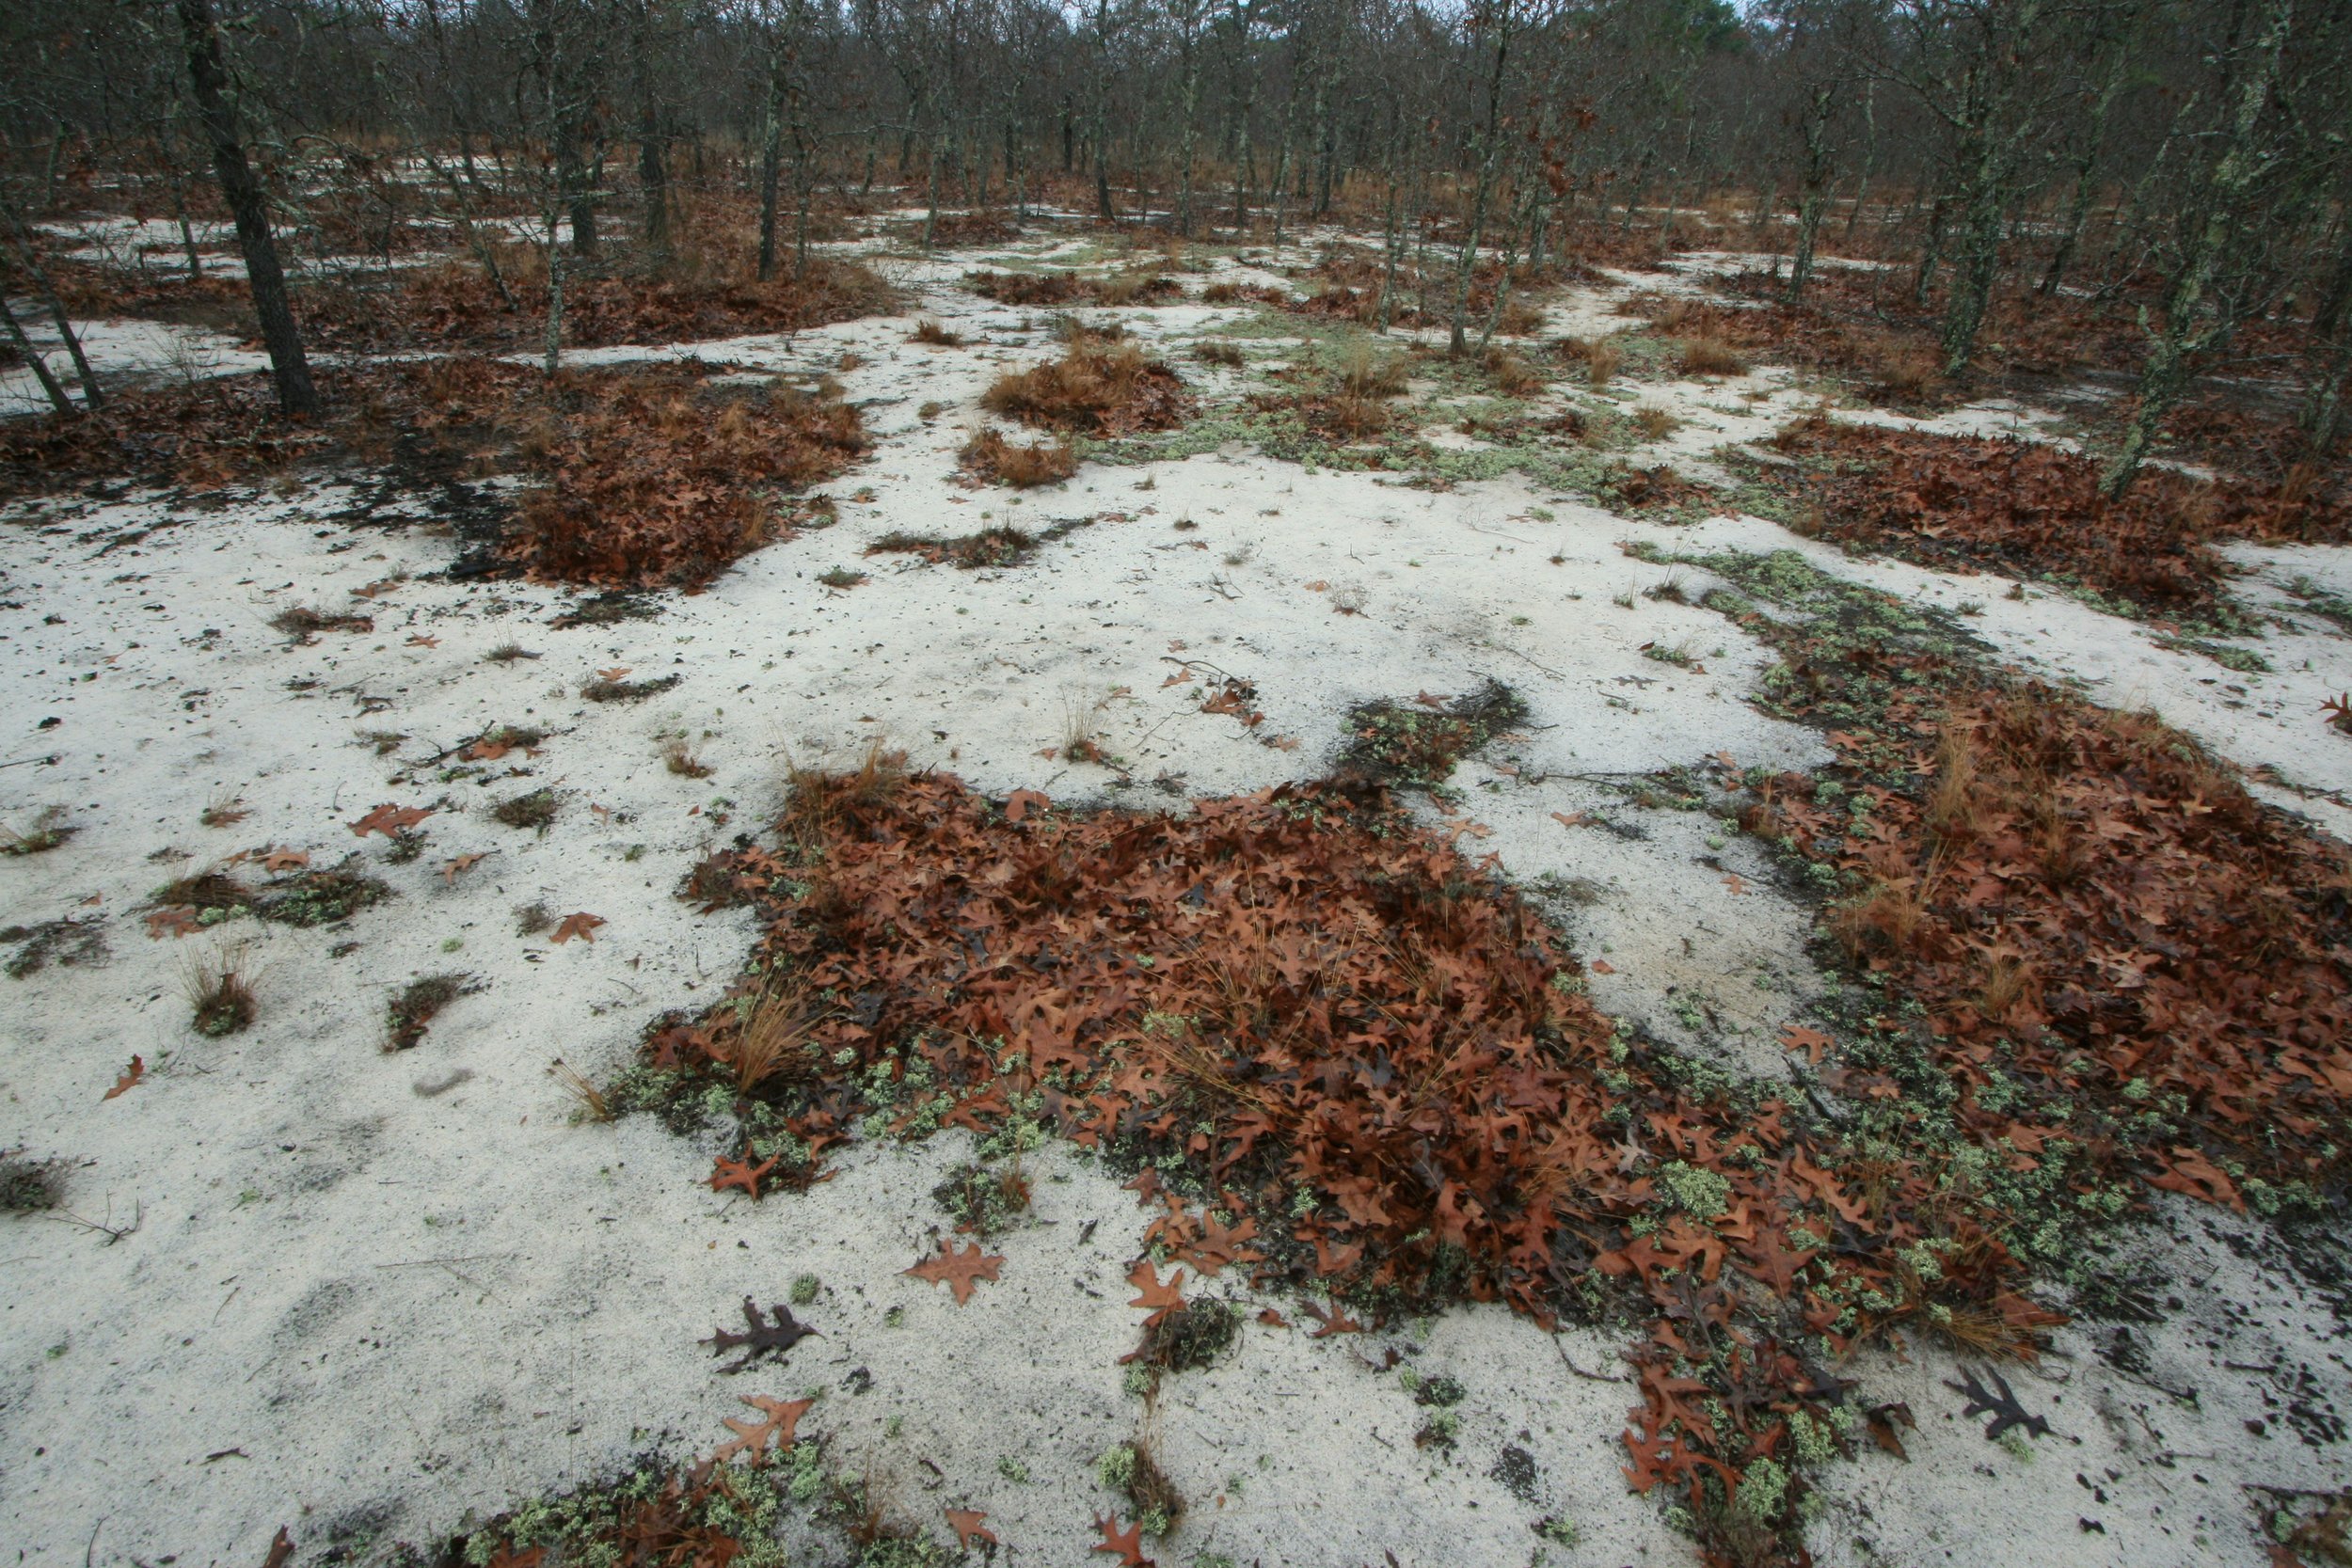
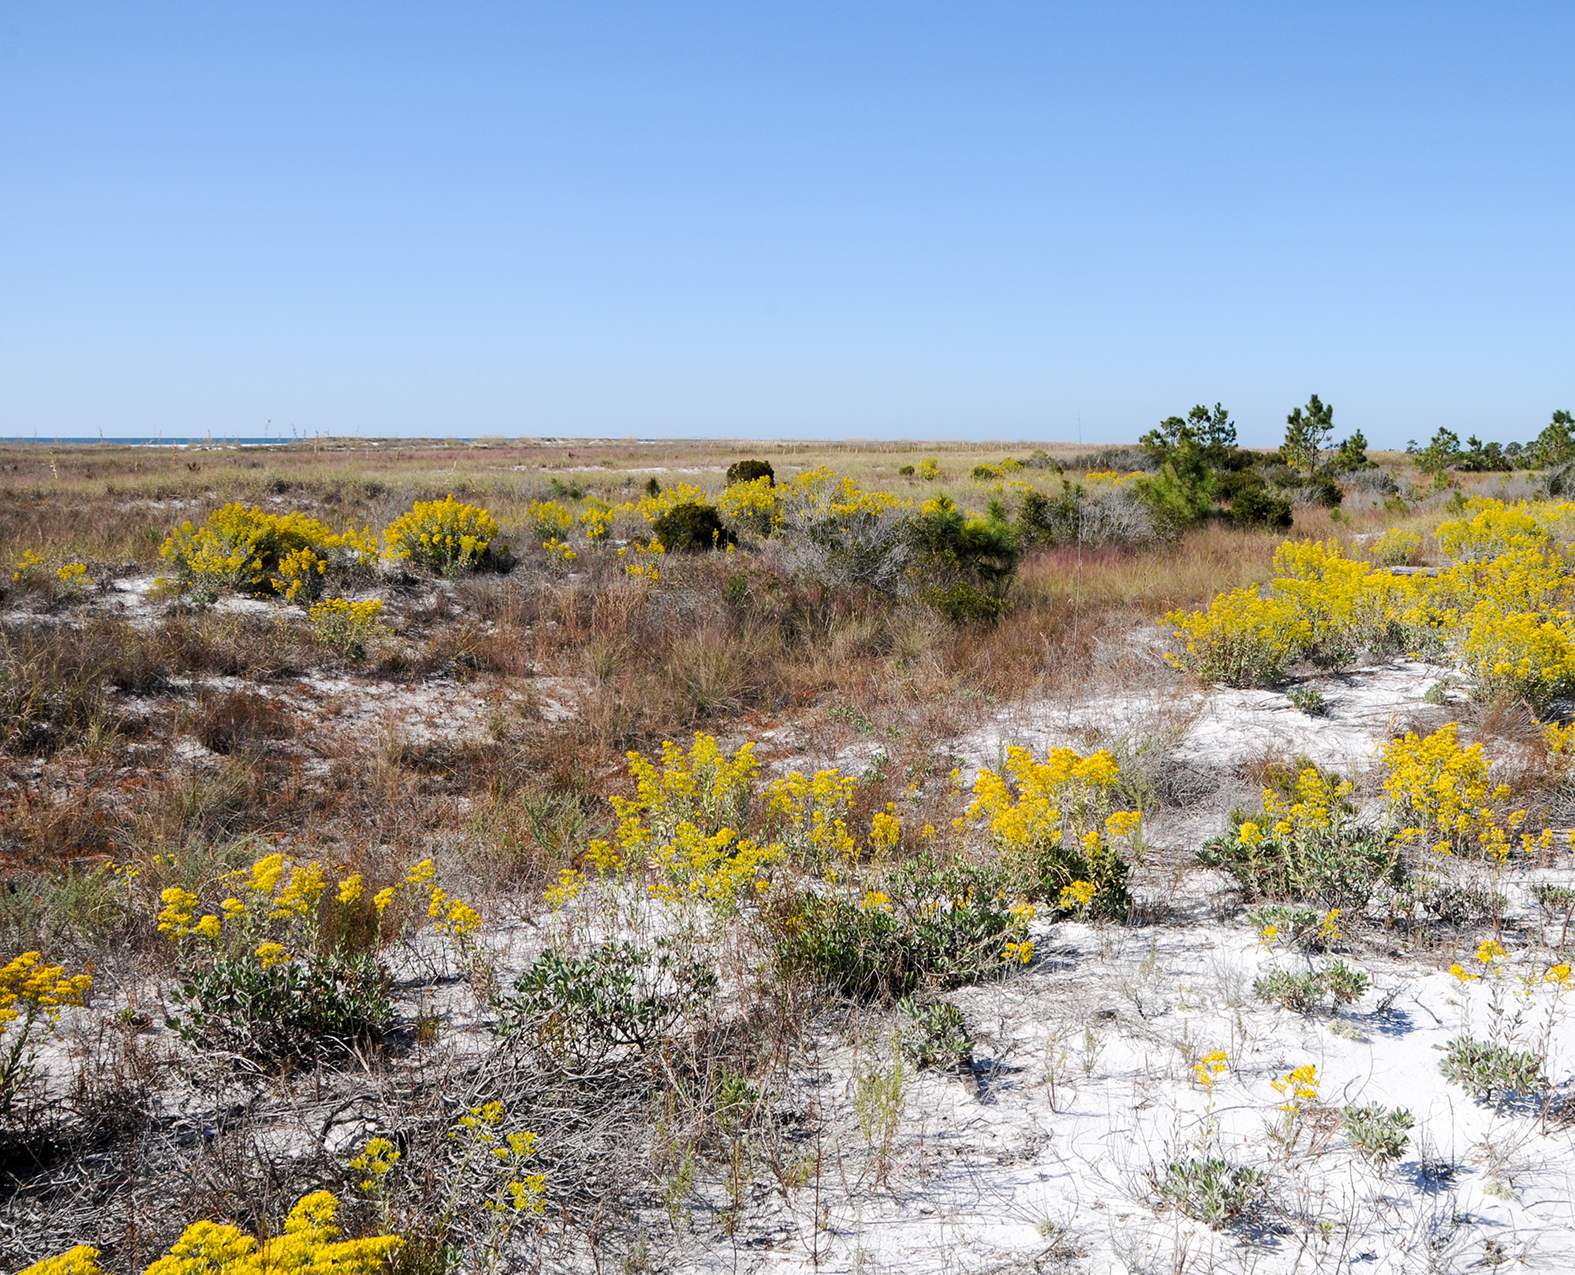
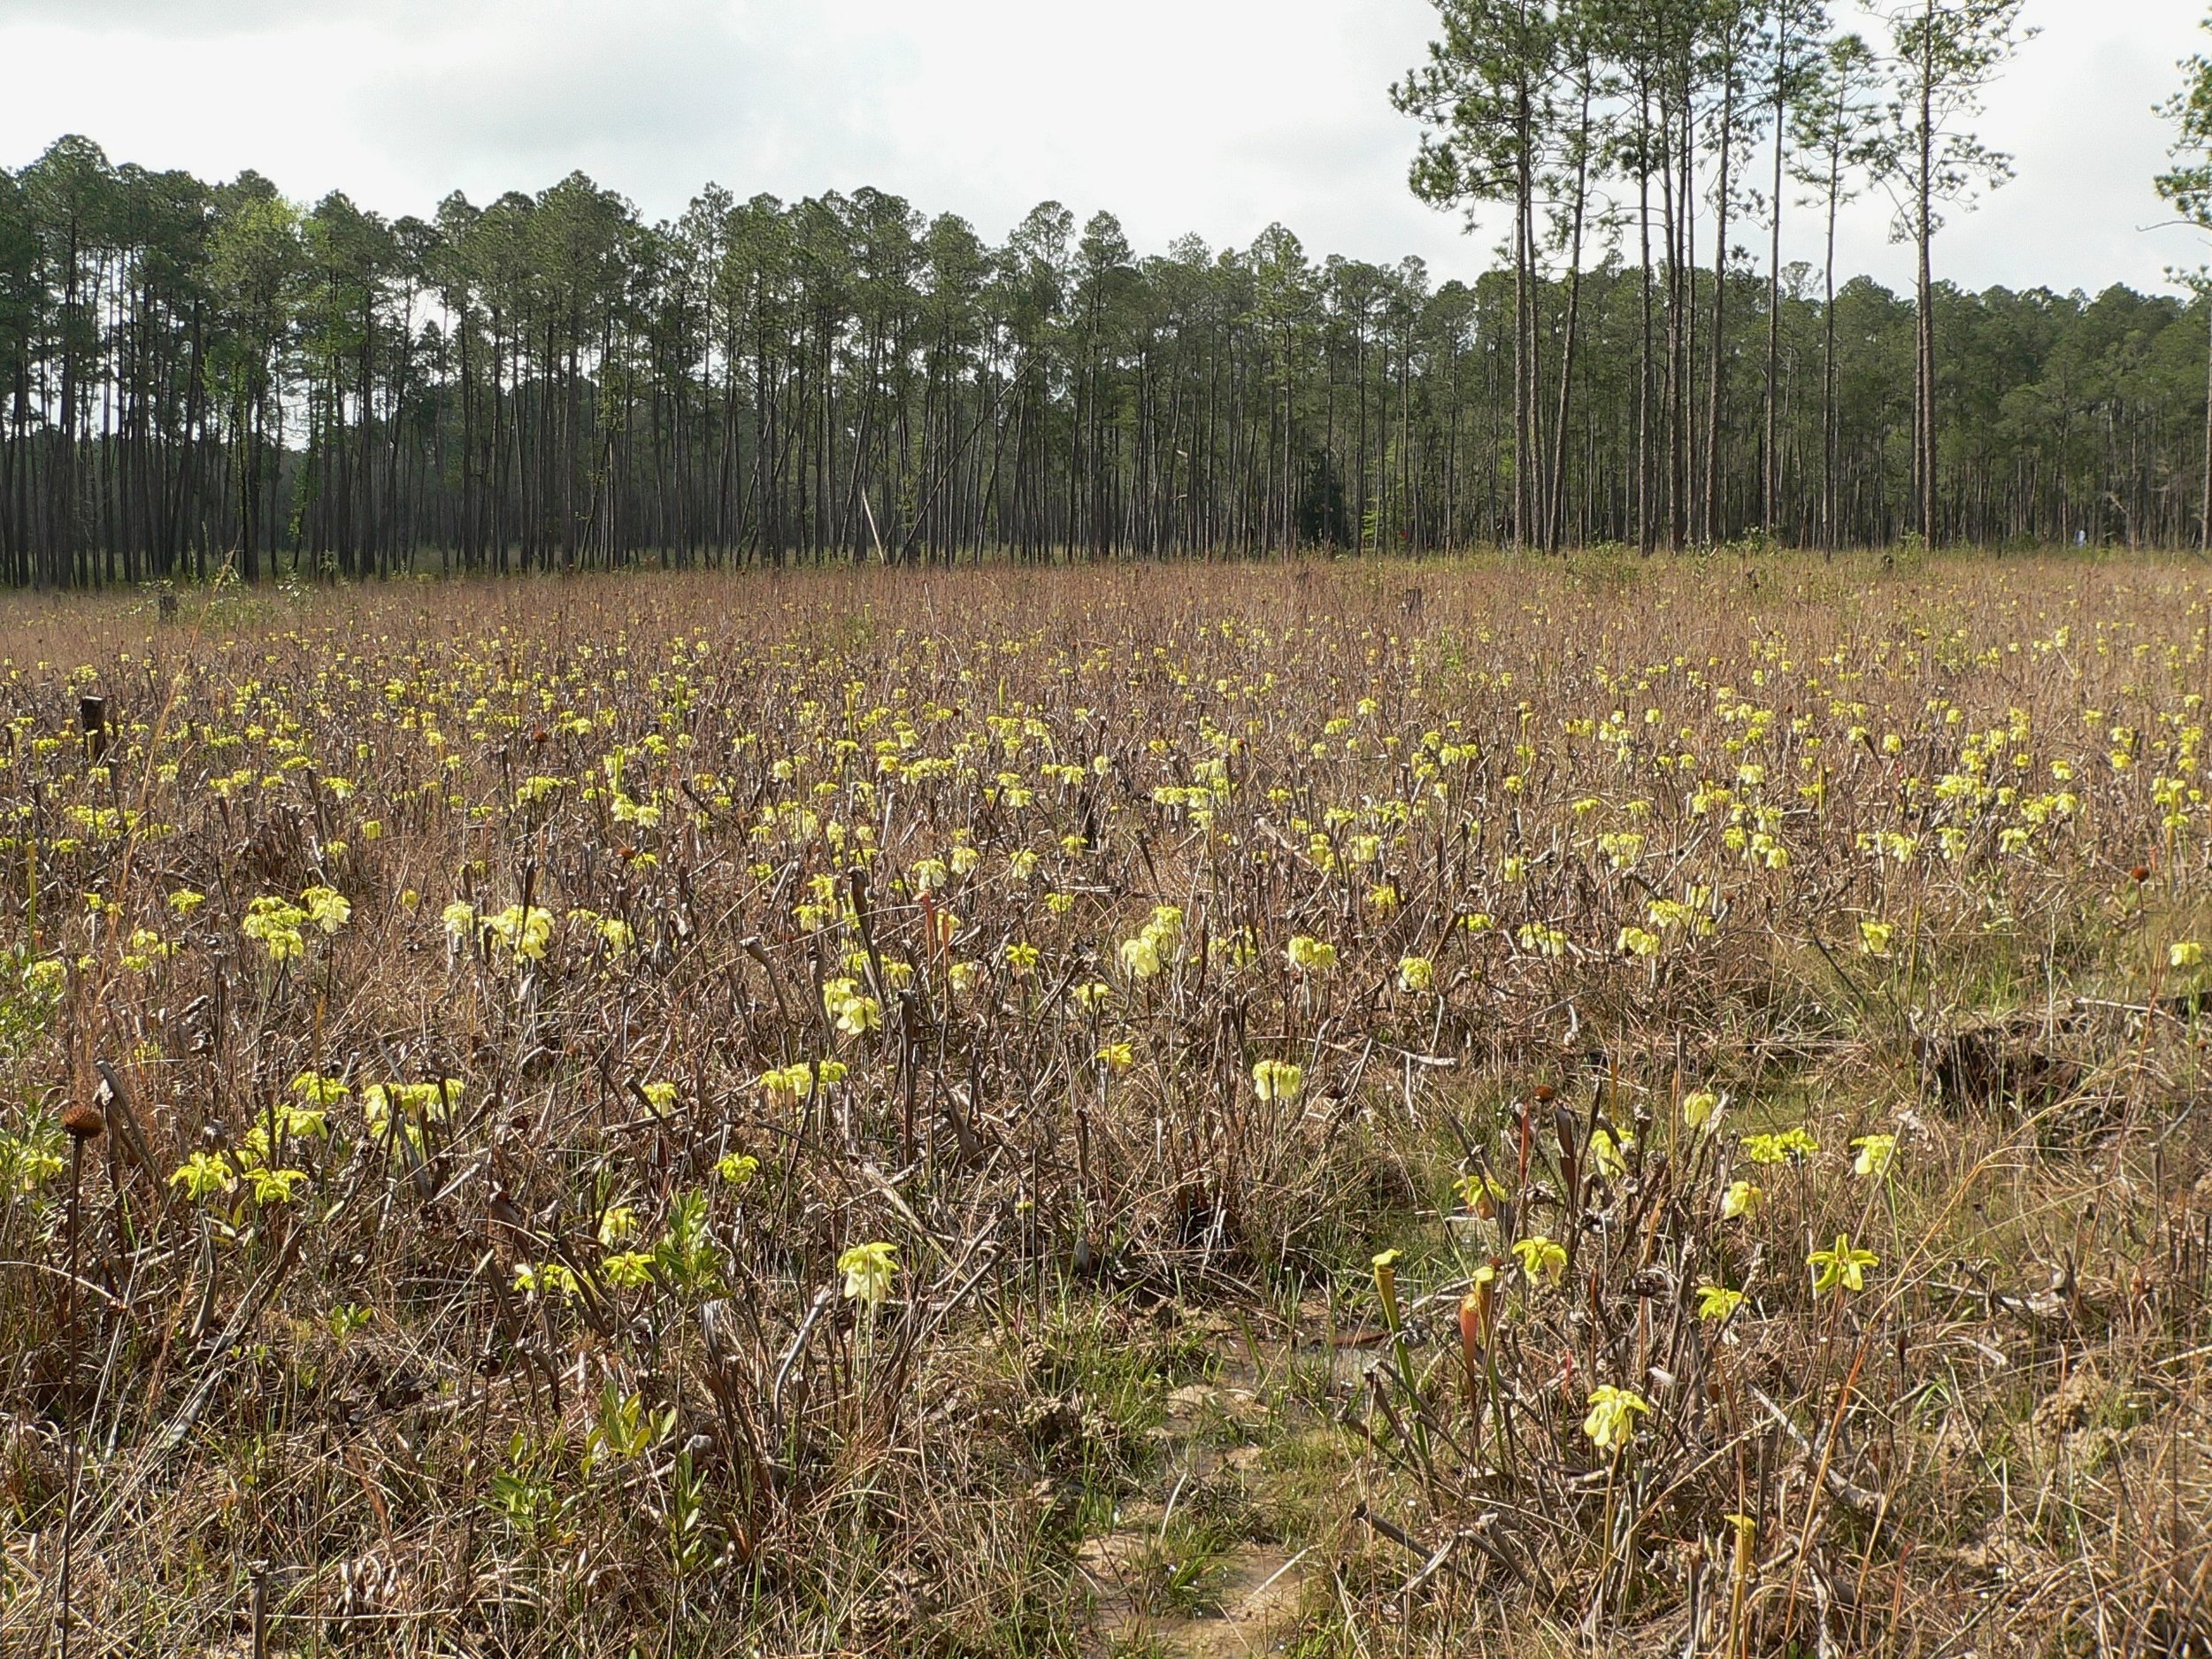
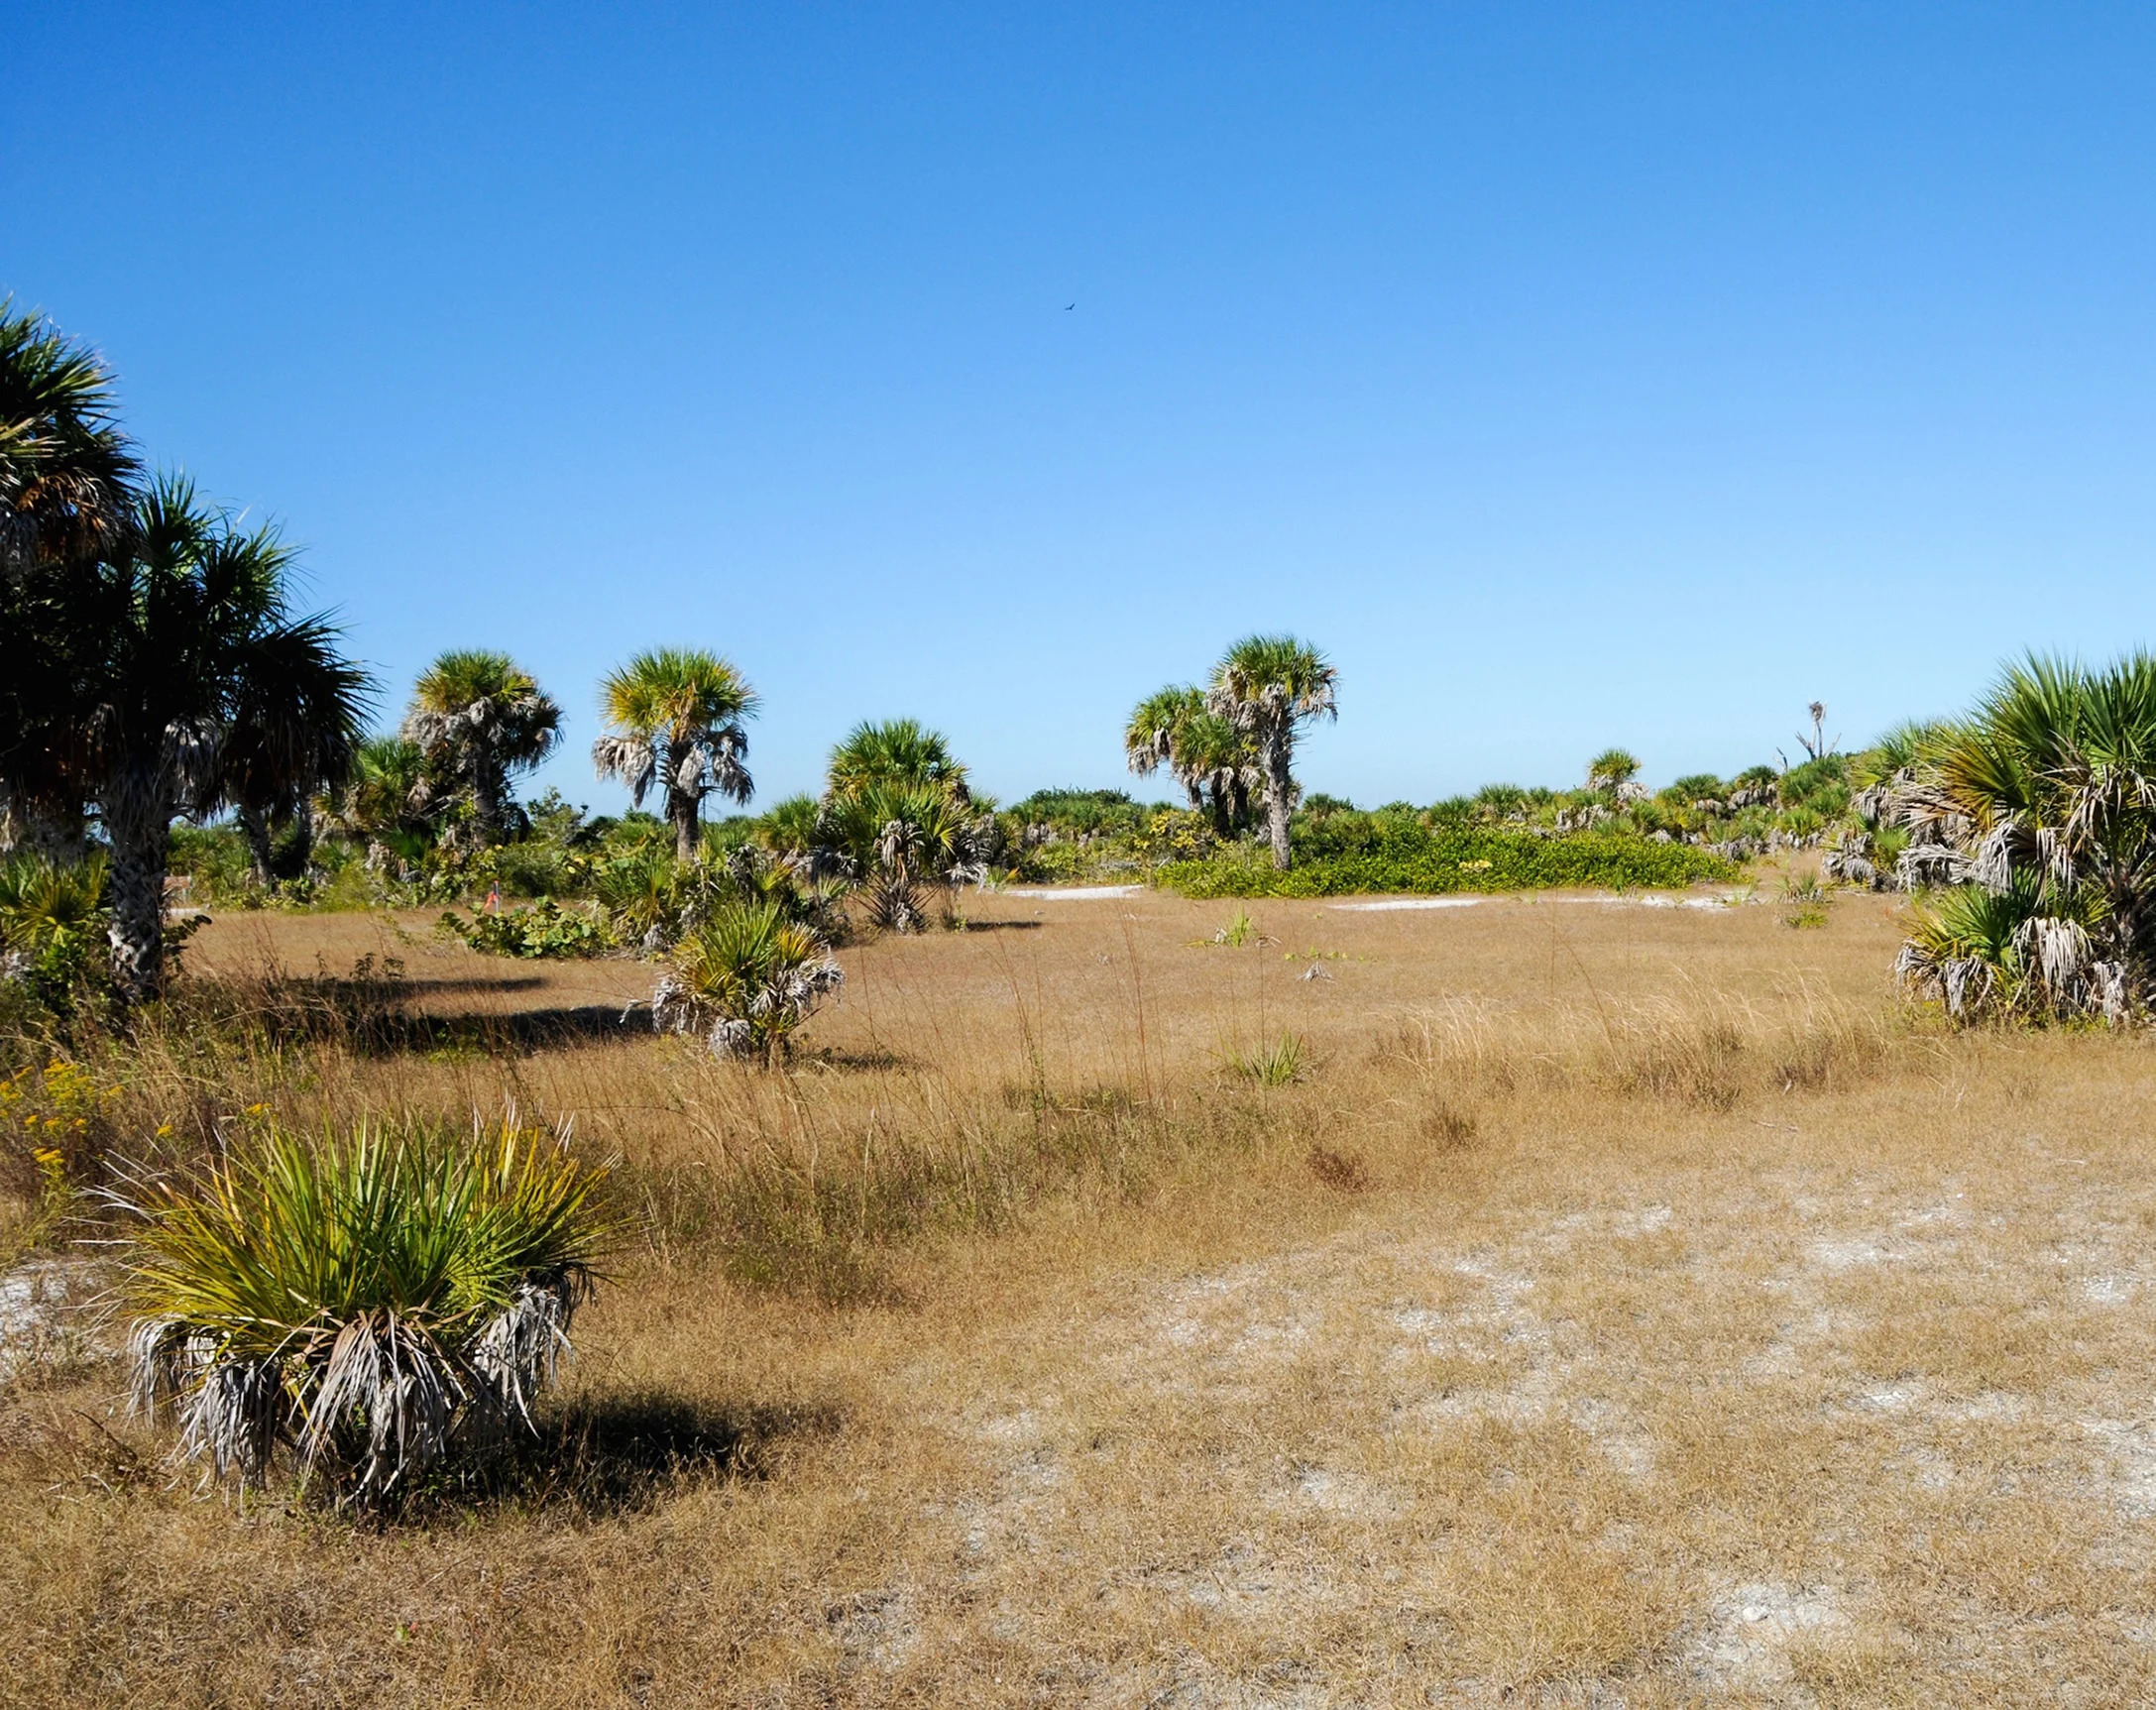
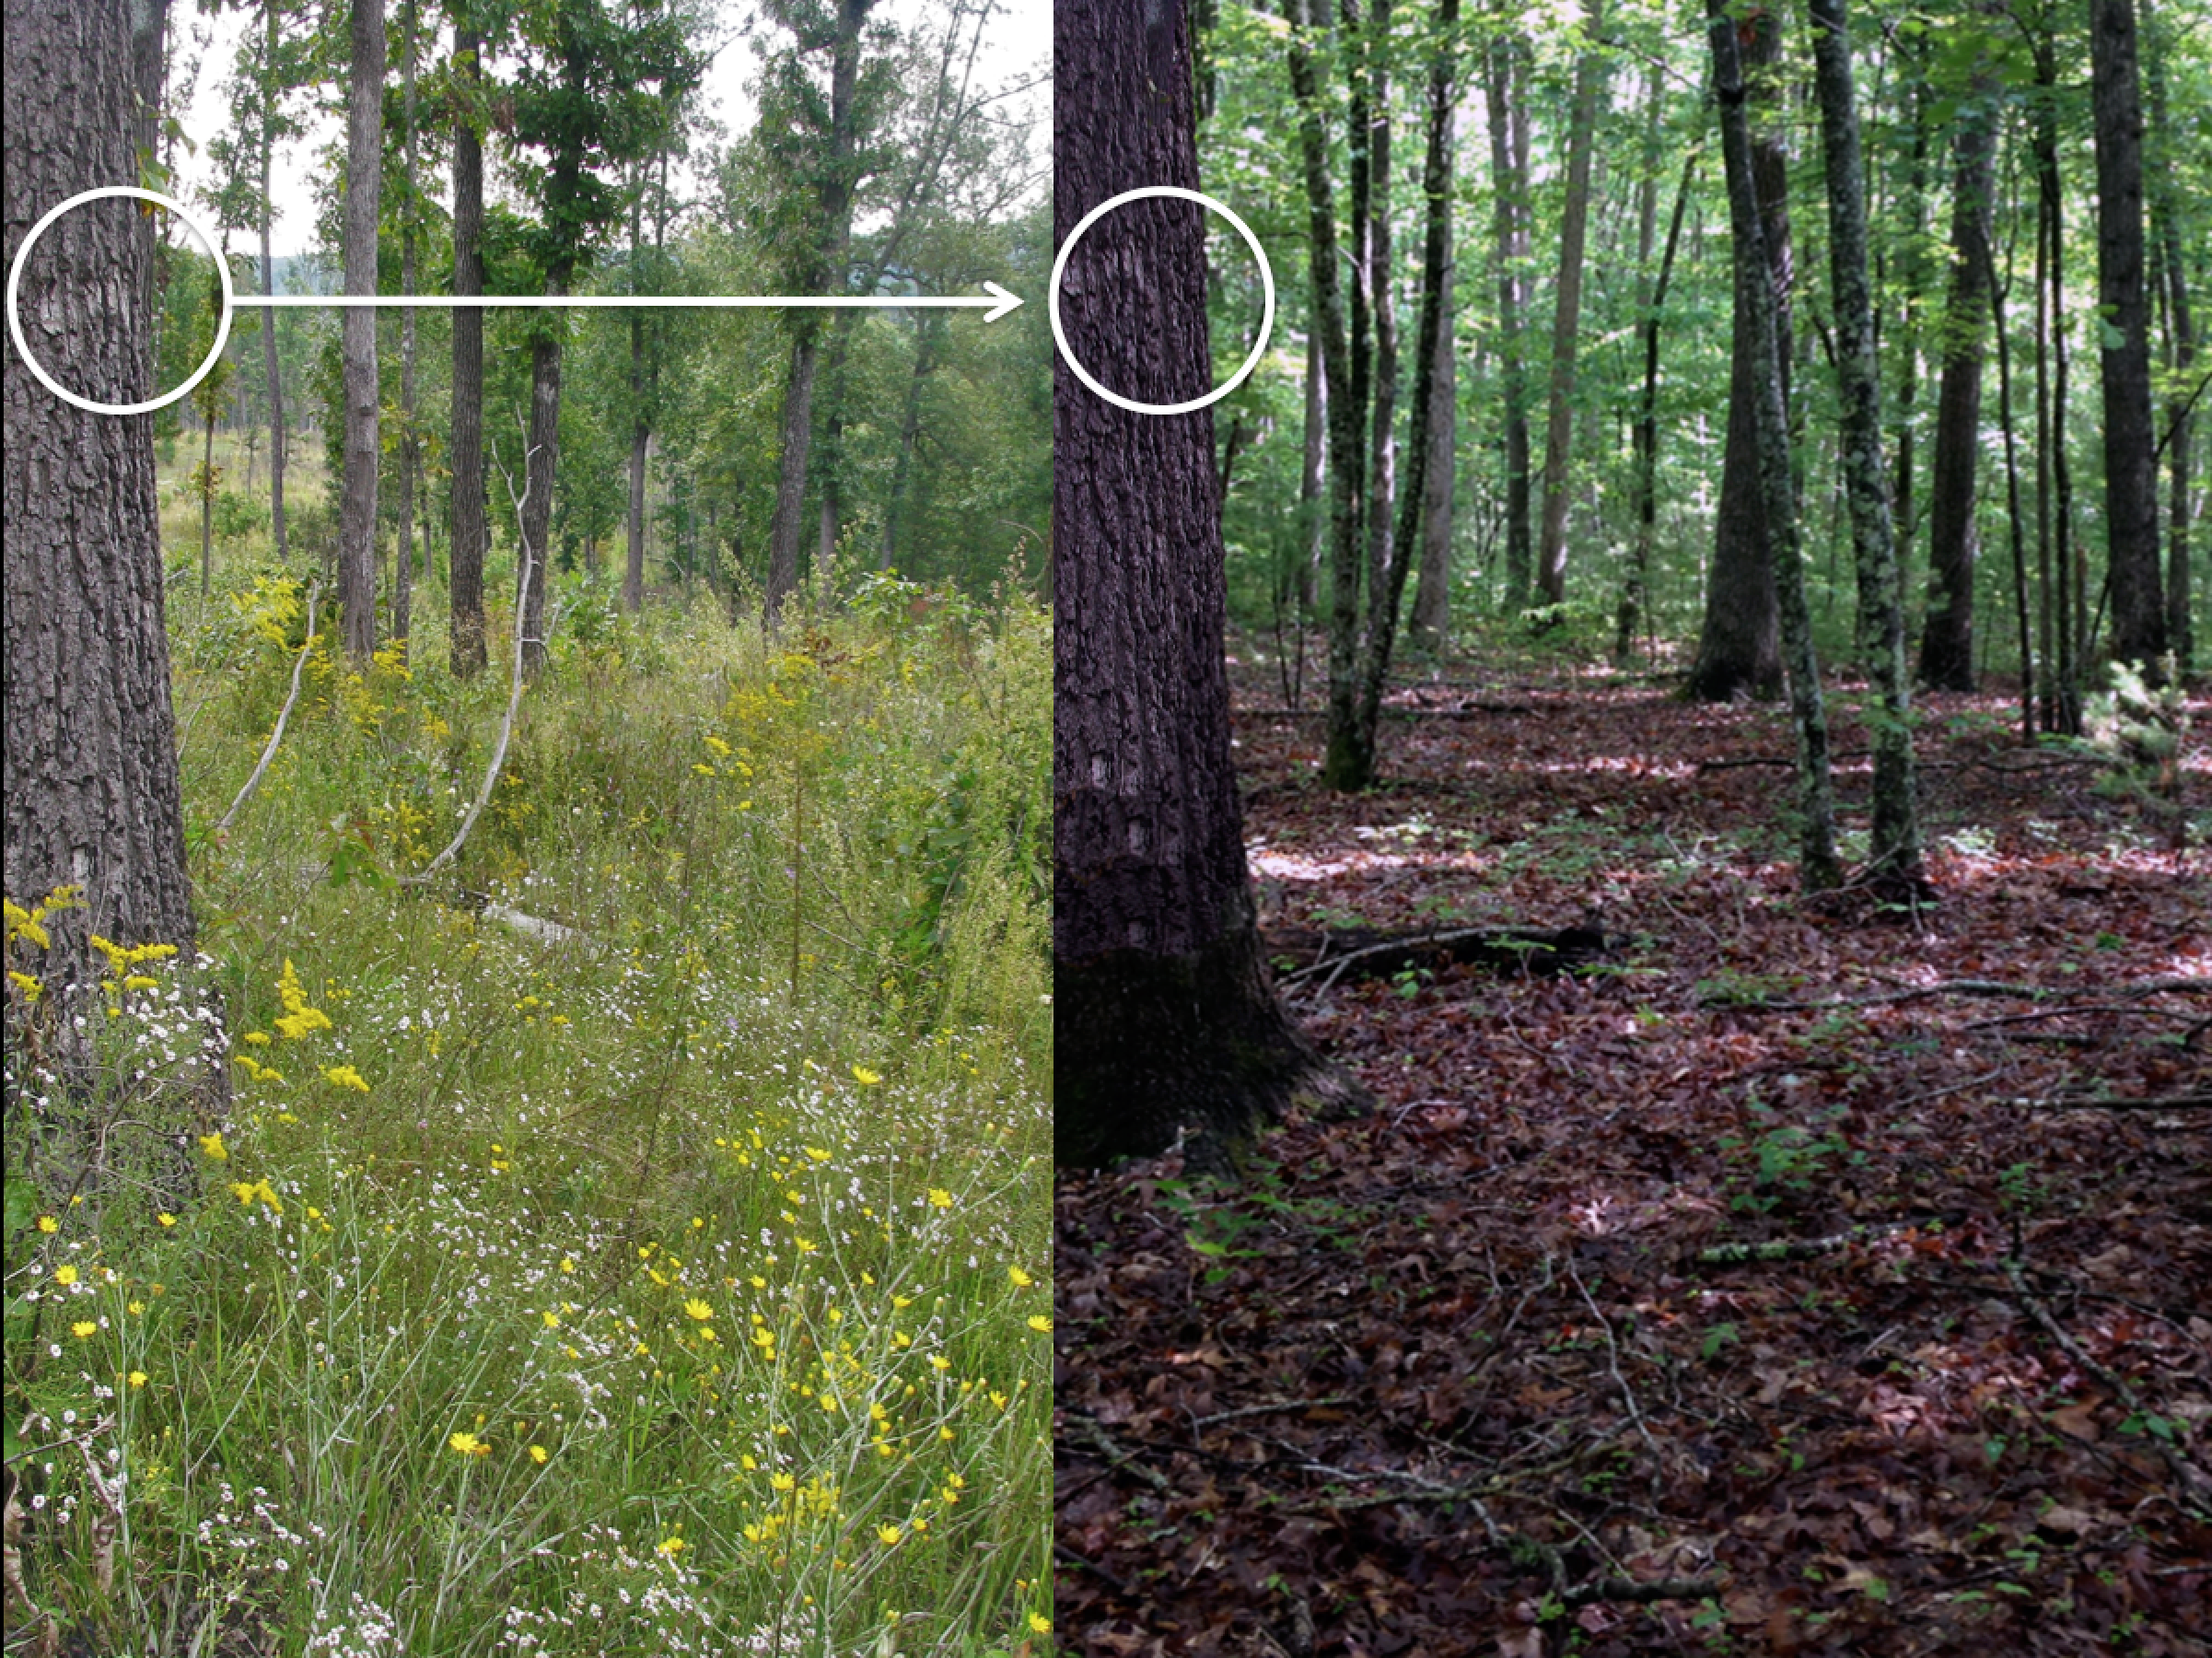
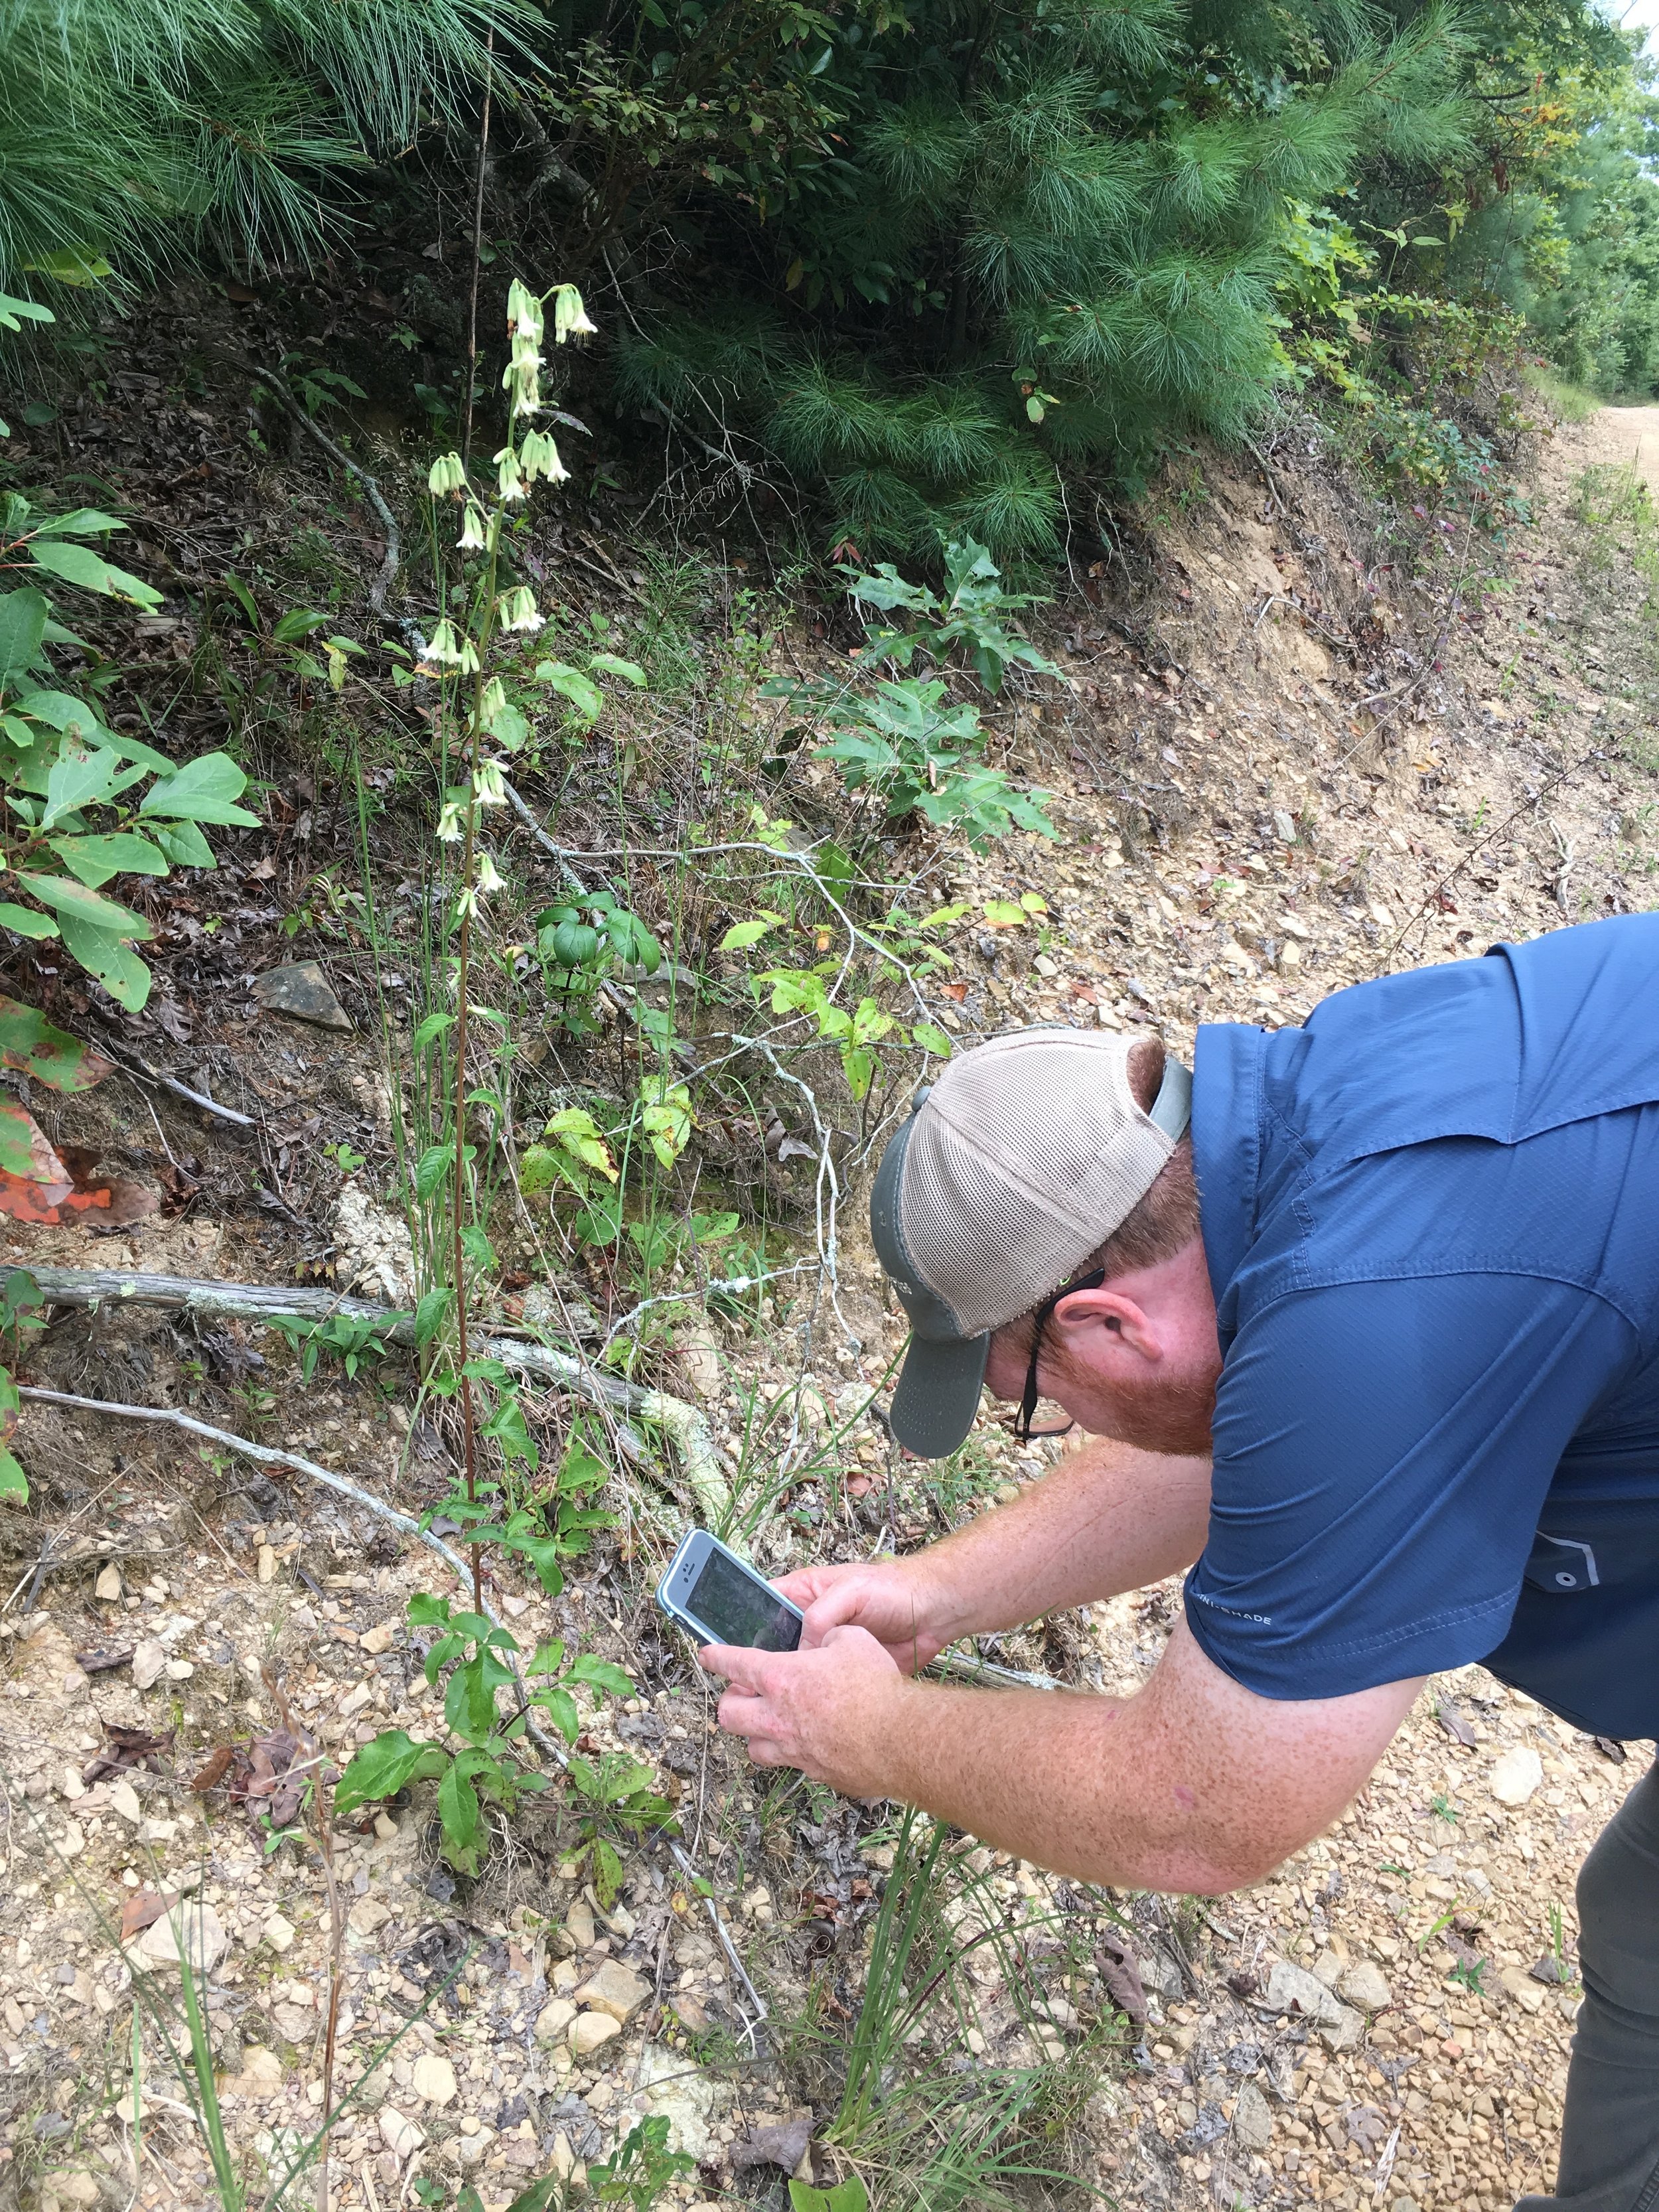
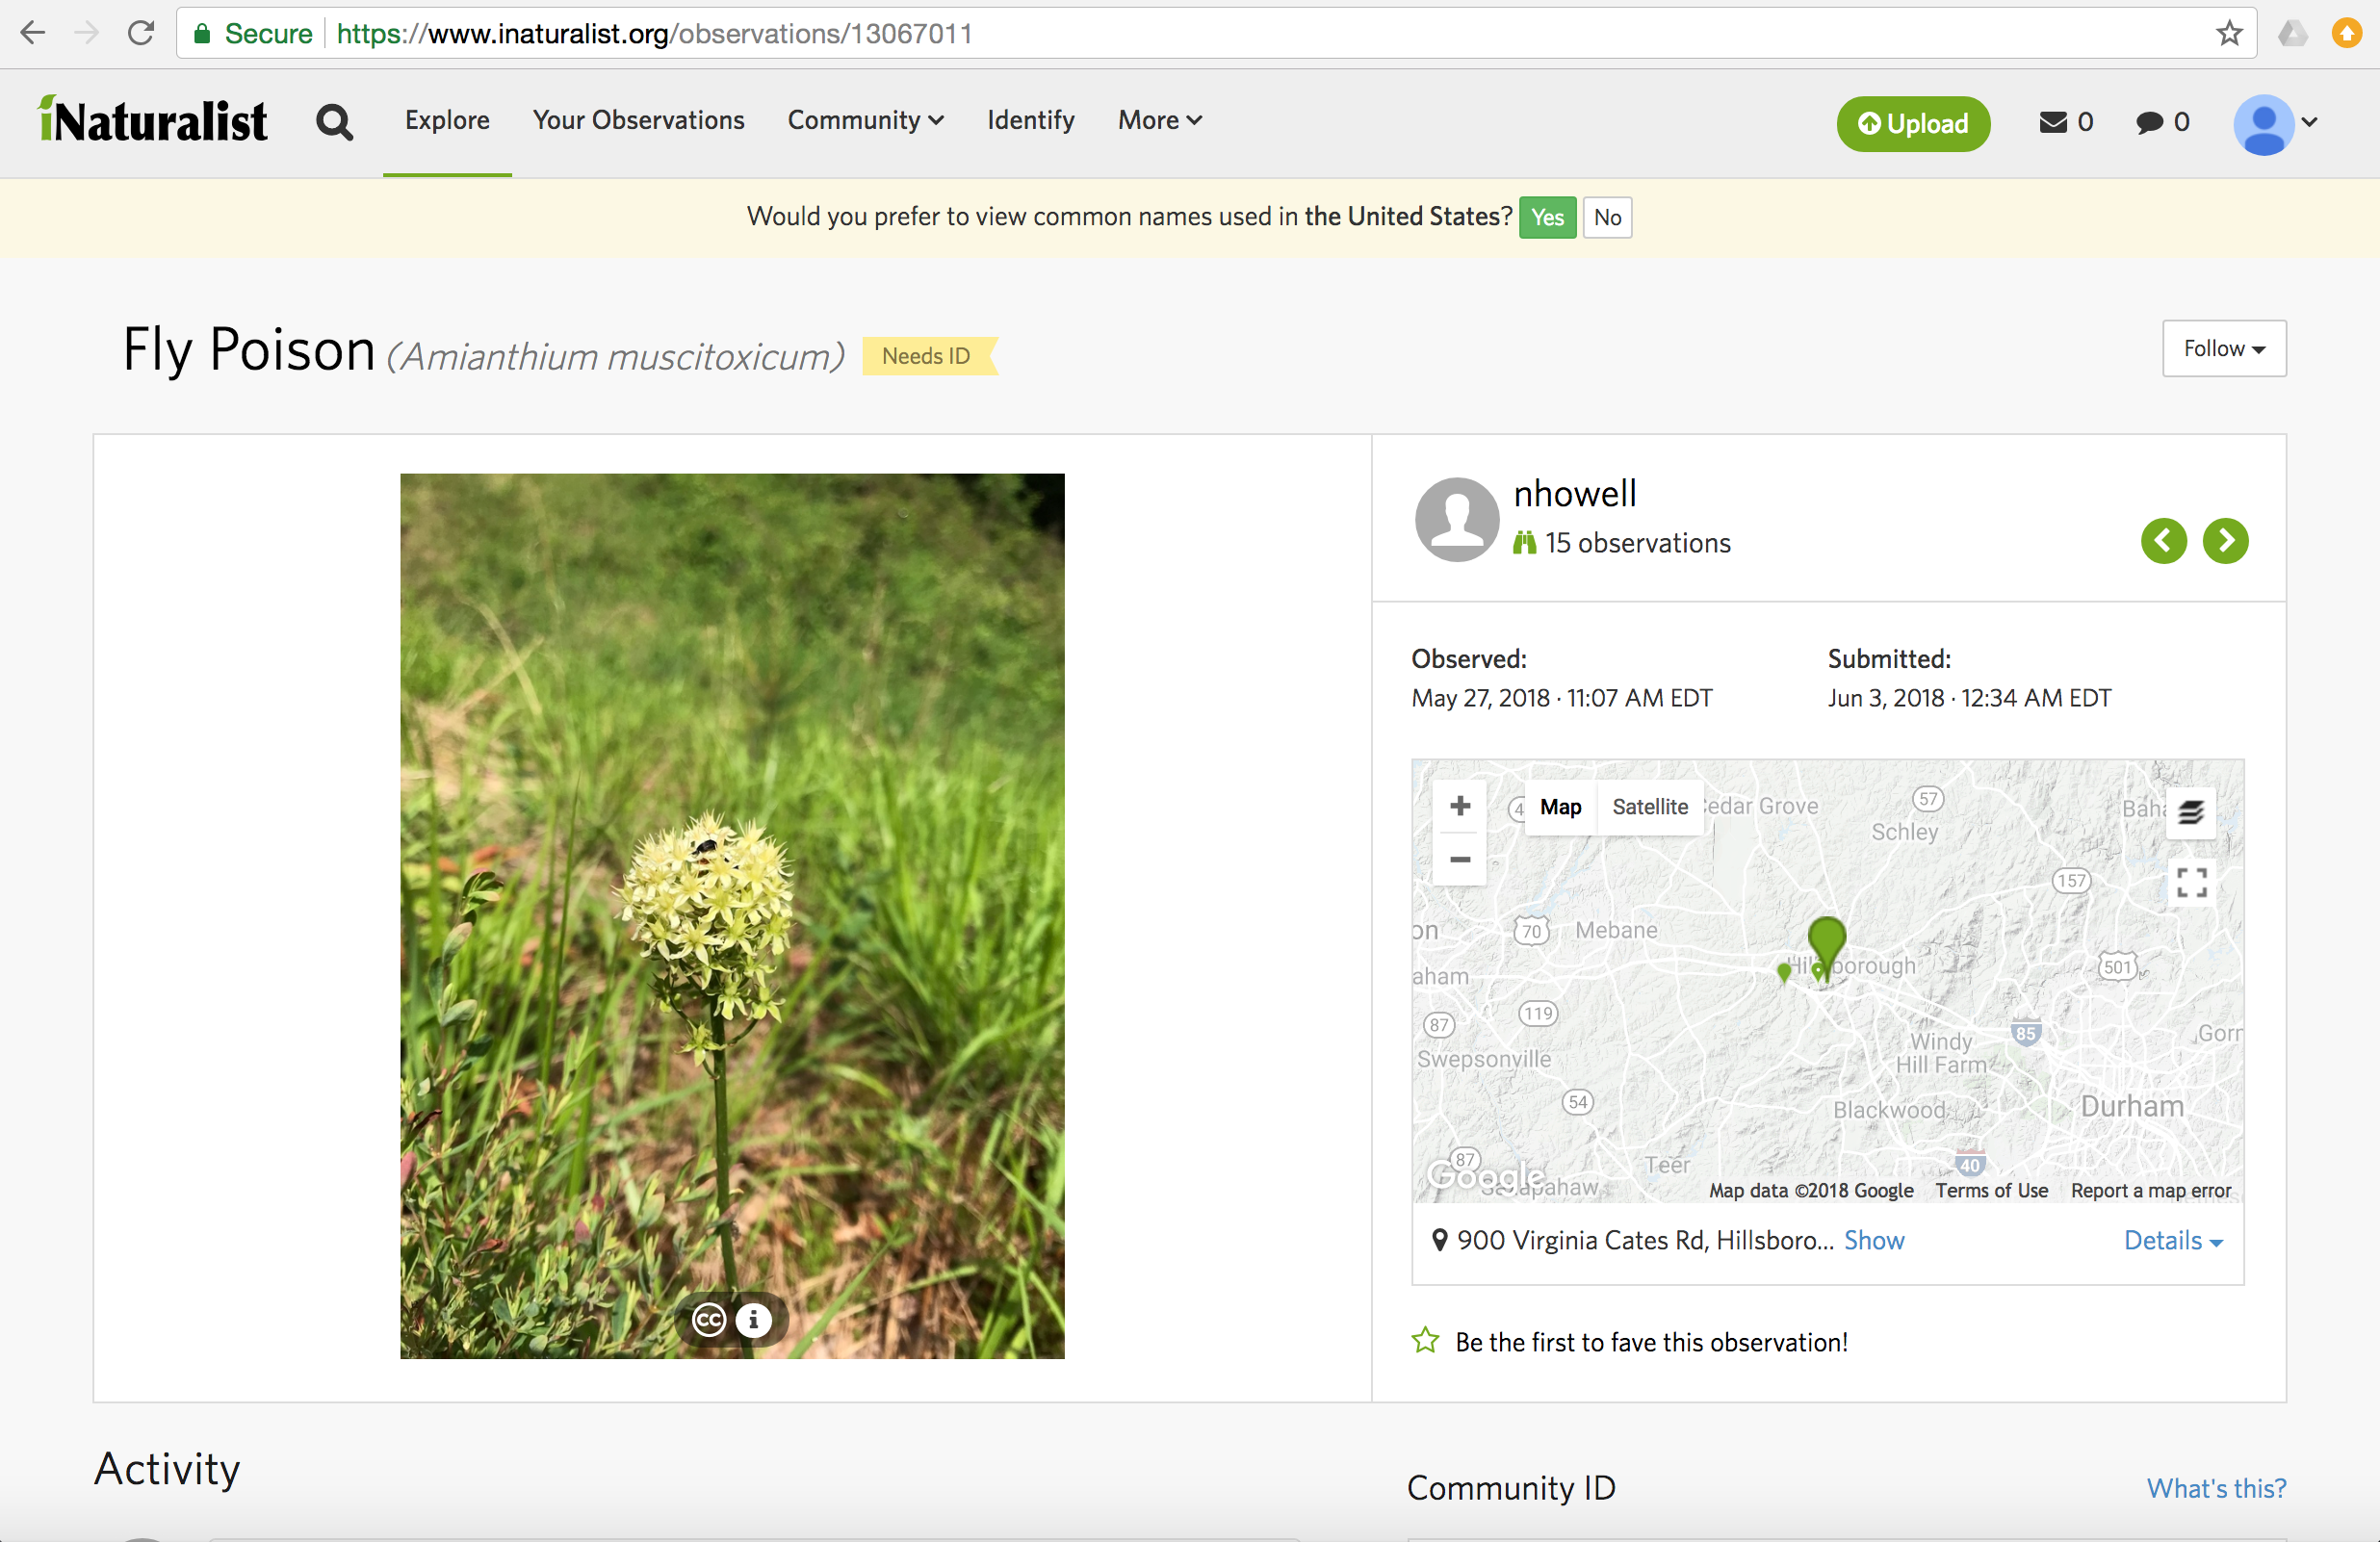
Biodiversity documentation is the process of identifying/recording species of plants, animals, fungi, etc. in a given area such as a prairie remnant. Methods to document may include photography, sound recordings (for birds and frogs), and collection of voucher specimens such as pressed plant specimens or butterflies (note permits are needed in some areas for specimen collection such as on public lands). Until recently, much of the work being done to document biodiversity has been done by professional conservationists who have received training in university classes, workshops, etc., mostly using published field guides or identification manuals to identify species. Now, thanks to recent technological advancements, it is now possible for a wide range of people to play leading roles in biodiversity documentation thanks to iNaturalist. This program is easy to use, whether you are 13 or 90 and whether you have a PhD in rocket science or are an eighth grade student who loves butterflies. It gives the average person the power to identify potentially thousands of species.

157-original.png
logo-academy.gif
 

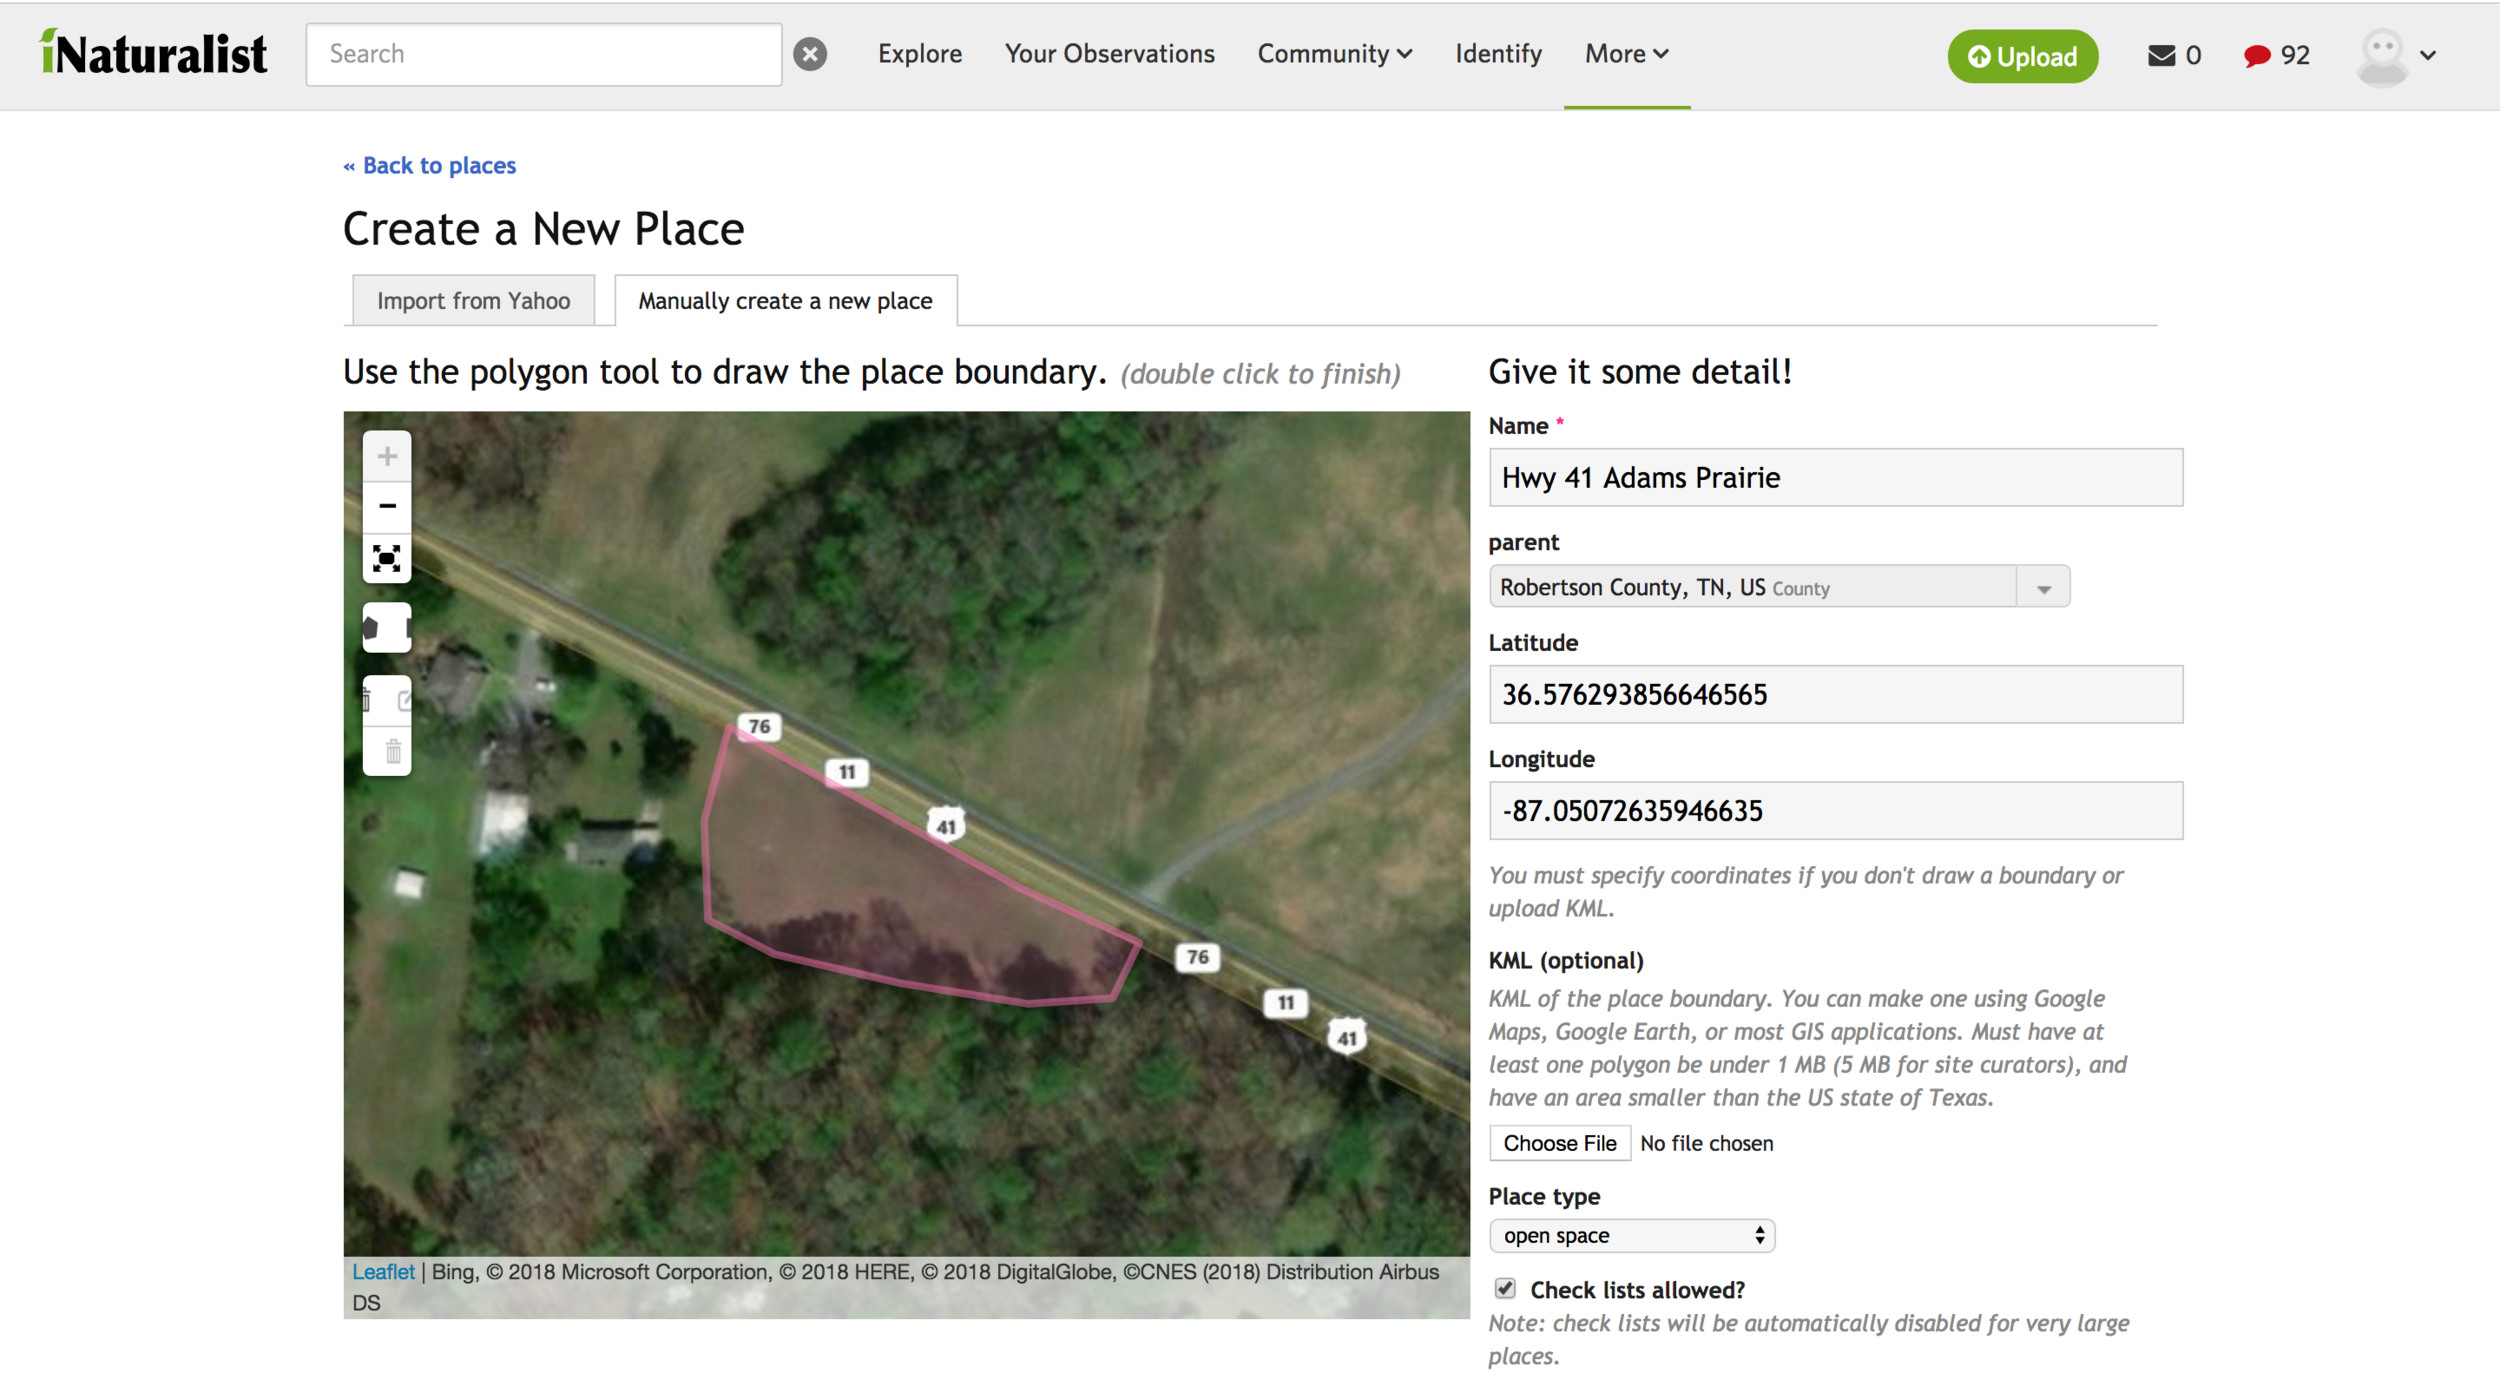
step 1 -- how do I get started?

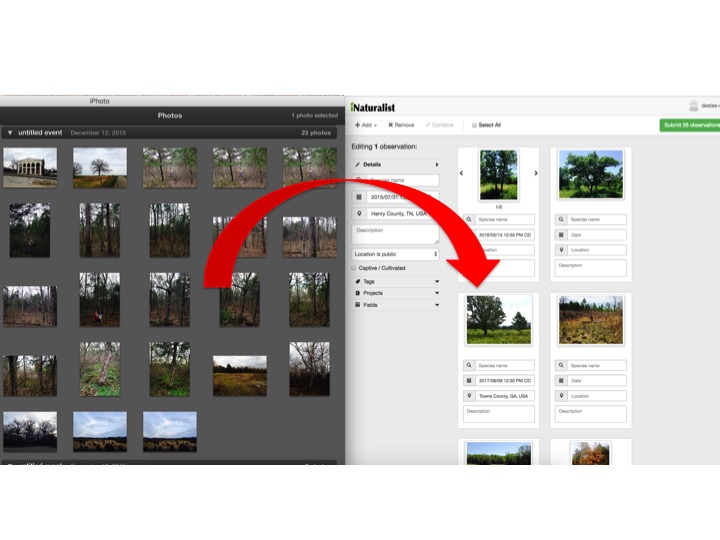
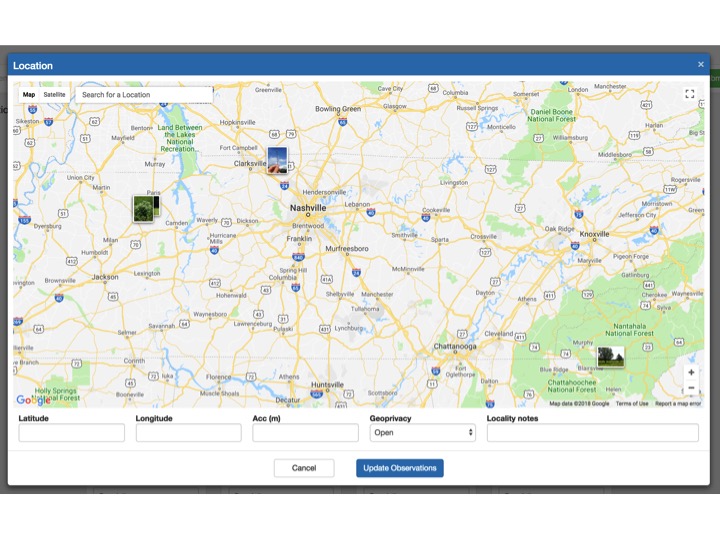
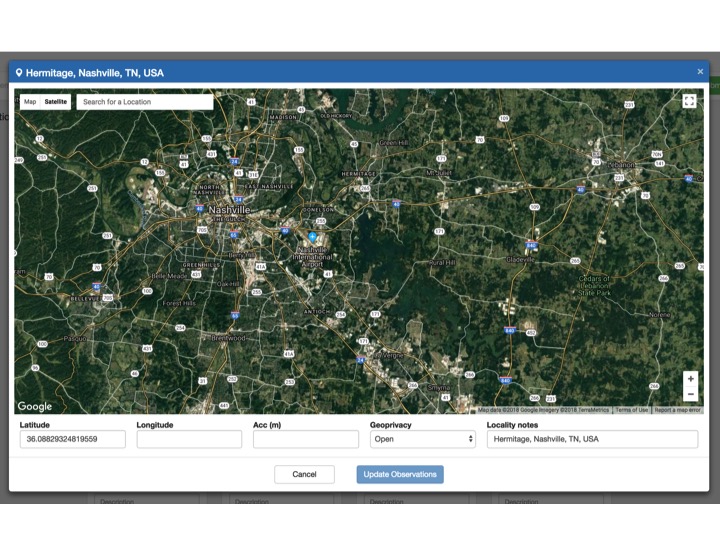
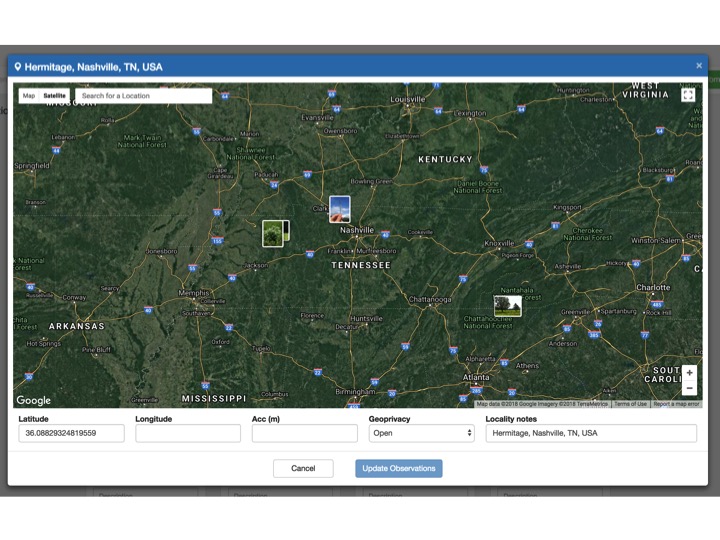
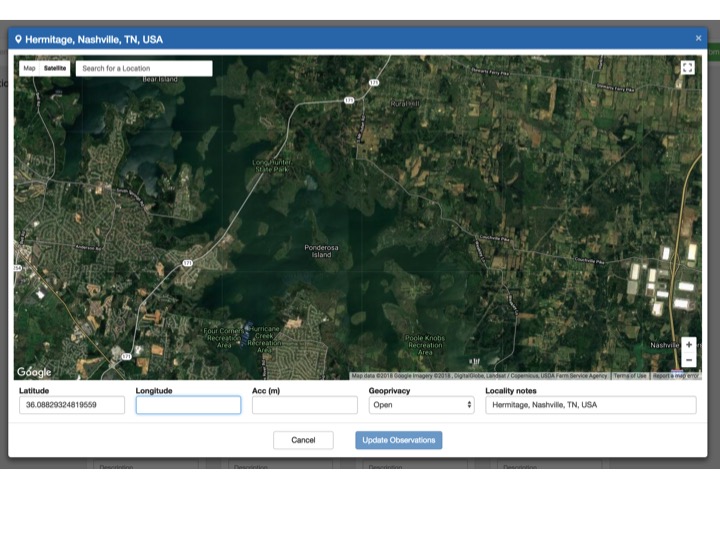
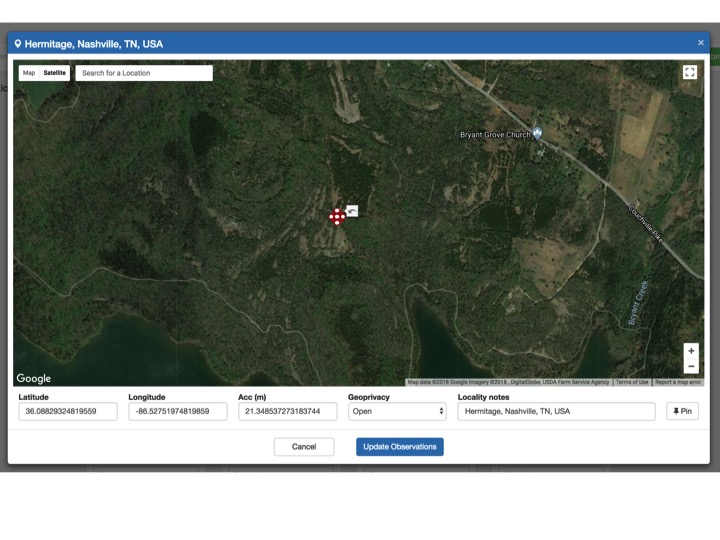
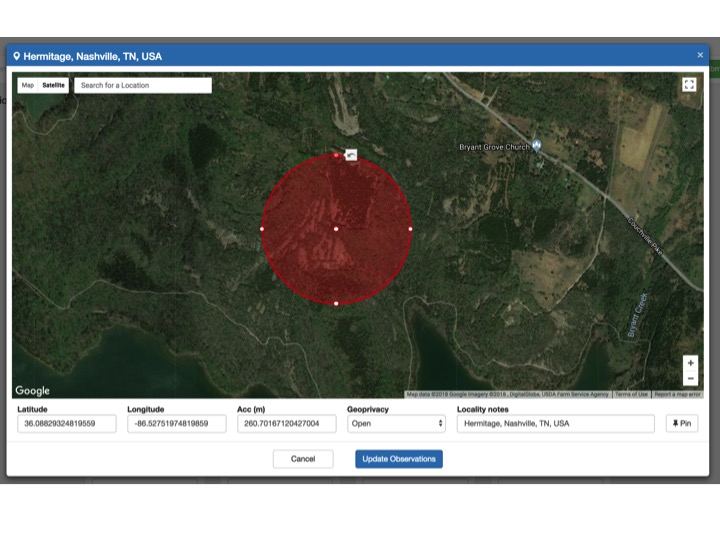
Download iNaturalist on your smartphone or tablet to Explore, Learn, Record.

Check out www.inaturalist.org for more information and to download our mobile apps for iOS and Android. Directed, shot and produced by Tony Iwane. Co-produced by Winn Brewer. (c) 2016 California Academy of Sciences. All rights reserved.


LESSON 2

finding grasslands near you using inat website

Now that you have the iNaturalist App, the next challenge is to find a grassland to survey. We recommend spending some time on iNaturalist’s website as viewed on your desktop computer to familiarize yourself with the program. Under the Projects page, below, enter "Southeastern Grasslands Initiative" into the search menu and then click "Go" (see below). You can also find grasslands near you by using the mobile app (click here to learn more).

Screen Shot 2018-06-03 at 12.55.43 AM.png

Screen Shot 2018-06-03 at 12.59.43 AM.png
  • The Southeastern Grasslands Initiative Project is an “umbrella” project that includes dozens of smaller “collection” projects, each representing a different type of grassland found in a specific region. These appear under the Leaderboard, which allows you to compare various types of grasslands. Scroll down the page below the Leaderboard until you see the Map of Observations.

Screen Shot 2018-06-03 at 1.06.35 AM.png
  • We have created dozens of SGI projects, and are in the process of creating many more. In the top left corner of the map, use the + symbol to zoom in on the southeastern U.S. to find a grassland project near you. If you don’t see a project near you it could be that we are in the process of creating one. Or, click here to learn how to establish your own project.


In the map series above, as you zoom in on the SGI project map, you can see as an example “Biodiversity of Western Valley Limestone Barrens” in west-central Tennessee. Continue to zoom in and you can see that we have mapped more than 130 examples of this rare, hillside rocky grassland type (click here to see what this grassland looks like on the ground). Zoom in on a particular set of barrens and you can see where they are in relation to roads, trails, etc. Finally, zoom all the way in to see a close-up aerial image (if viewed on satellite view) of the individual barren. Many of these barrens are on private property so part of the challenge is (1) navigating to an individual barren and (2) securing permission from landowners to visit a particular barren.

If you don't see a project in your area, don't let that stop you. Contact us and we will help you find local grasslands in your area that you can help to document or simply go exploring for them on your own. On our main website, click on "Galleries"in the dropdown menu to see examples of some of the best remaining grasslands in the southeastern U.S. to see examples of what you might expect for your ecoregion. But keep in mind many grassland remnants are tiny, degraded, and may not look like these high quality examples.


LESSON 3

finding nearby projects with inat mobile app

You can find iNat grassland projects near you by using the iNat mobile app. Log in to your iNat account and look at the lower right corner and click the “More” icon with three dots above it. On the “More” page, click on the “Projects” folder. On the “Projects” page, click the “Nearby” button and it will list the nearest iNaturalist projects located close to you. The list will include all sorts of projects. Look for those with SGI’s logo to find grassland projects near you; however, there are may be other grassland projects to choose from as well, such as “Dunbar Cave Prairie Restoration” below.

Ways to contribute to a project

  • visit a known grassland preserve

  • visit one of SGI’s mapped grassland types and help visit each mapped locality

  • visit one of SGI’s general projects and drive backroads to search for new remnants


What if I want to create my own project? Click here for more information.


LESSON 4

where to find & how to recognize grasslands?

To develop a concept for what a natural grassland looks like, it is best to go visit preserves or natural areas that are actively being managed or protected (click here to see a list of known grassland preserves by state). Be aware that some of these are not open to the public and can only be visited with permission or an escort. Also search our Galleries link to see photos of many of the best grasslands per ecoregion (e.g. Arkansas Valley Grasslands).

Prairies

When people think “grasslands” most automatically imagine a tallgrass prairie. There were at least 10 million acres of prairie in the Southeast prior to European settlement that represent at least a dozen types. Their fertile soils have made them highly desirable for row crop agriculture, as a result more than 99.99 percent of our prairies have been lost. But a few remain, like those pictured below.

prairie hunters needed!

So if you are hunting for remnants of prairies, then you will most certainly be in for disappointment because the chances of finding intact, high-quality prairies is small and getting smaller all the time. But, that also makes finding them more challenging and more rewarding…it can almost be like a game. SGI needs trained “prairie hunters” to be able to use forensic clues to spot the tiny fragments that still linger on the landscape. Check out the gallery below for the kinds of clues to watch for as you travel the backroads of the southeastern U.S.

Things to watch for when searching for prairies

Savannas

By far, the largest grasslands (some 100 million acres) of the southeastern U.S. at the time of European settlement were pine- and oak savannas. They existed across the region from Maryland to Texas. Very few intact savannas exist that look like they did 300 years ago but there are a few. The four photos below show natural savannas for reference. Click here for links to savanna preserves in the southeastern U.S. ((Coming soon: a map of the savannas of the southeastern U.S.).

In contrast to prairies which occupied the most fertile lands, savannas occupied rolling to flat landscapes with infertile soils, especially soils that are sandy, seasonally wet, gravelly, have a clay hardpan, or that are fairly shallow over underlying bedrock. Most savannas were fire maintained so with widespread fire suppression in the 19th & 20th centuries, the once open savannas became overgrown and succeeded to forests. Millions of acres of forest land across the Southeast that are oak- or pine-dominated in rolling landscapes were once open savannas.

The savannas that once covered millions of acres of the Southeast have largely been replaced by closed-canopy hardwood forests. The scene above on the right shows an oak forest at Catoosa Wildlife Management Area, Cumberland Co., TN that was selecti…

The savannas that once covered millions of acres of the Southeast have largely been replaced by closed-canopy hardwood forests. The scene above on the right shows an oak forest at Catoosa Wildlife Management Area, Cumberland Co., TN that was selectively logged and now has been managed with prescribed fire for several years, resulting in a beautiful restoration of the savannas that were once the dominant ecosystem in the area.

Today, after nearly 300 years of landscape change in the southeastern U.S., the large prairies and pine/oak savannas that once existed have disappeared by >99 percent. What remains is largely confined to edges or sites too rocky, sandy, or wet to cultivate or atop mountains, along beaches, or riverbanks.

Too rocky

If rocky soil or outcrops are frequent in your region, then you may have rocky grasslands known as glades or barrens. Click here to read more about the kinds of grasslands in the Southeast. Drive backroads and look for thin, soiled areas with exposed rock or gravel that supports sparse covering of grasses, wildflowers, cacti, shrubs, and stunted trees. Often, such habitats will be located near rock quarries. In areas with limestone or dolomite bedrock, look for areas with abundance of eastern redcedar (Juniperus virginiana) which can be an indicator for rocky glades and barrens.

Too Sandy

If your soils are composed of deep sands, then you may have sand barrens.


too wet

A variety of wet grasslands occur in the southeastern U.S. Seepage grasslands occur on slopes. Meadows are encountered along creeks in valleys. Bogs are associated with mountain coves or high-elevation sites. Certain types of natural ponds support grasslands as well.

high in mountains


on beaches or riverbanks

If you live along coastal areas, you may encounter coastal grasslands on sand dunes along beaches or if you live along large rivers such as the Mississippi, Missouri, and Arkansas rivers, then you can find dune grasslands on point bars.


What distinguishes a natural grassland remnant from a typical old-field, hayfield?

  • presence of grassland indicator species

  • high percentage of “native” grasses

  • high percentage of plants in the sunflower, pea, grass, and sedge families

  • high diversity

  • bunchgrasses vs. sod

  • low incidence of invasive species and common, annual weedy species


LESSON 5

how to create your a new grassland place in inaturalist

If you can’t find an existing project to contribute to by (1) searching the iNaturalist website or (2) searching for projects near you with the iNat mobile app, then you may need to consider creating your own. Please read iNat’s recommendations on creating new projects. But before you create a new project, you have to define the place you will be documenting. Read on!

you need a place before you can create a project

Before creating a new project, you first need to define the place you are interested in documenting, which ideally is a grassland. This place can be of any size, from a small prairie remnant along a roadside bank to something much larger. First, do a quick check to see if your place already exists within iNat’s place name database. Let’s pretend for a moment that you drive a certain section of interstate every day to work and one day in September you spotted what looks to be a prairie remnant along the south edge of the freeway. After securing permission from the Department of Transportation, you safely pull off to examine the site more closely and discover it is a diverse roadside prairie. In this example, if you want to create an iNat project for this site you can almost bet that one doesn’t exist and since it is a roadside bank you can bet that no formal place name has ever been assigned to that specific site. If you want to establish an iNat project for this prairie then first create a place.

Step. 1. On your desktop version of iNat click “More”

iNat.jpg
 

Step 2. Now select “Places” from the drop-down menu

inat 2.jpg
 

Step 3. Now click on “Add a New Place”

Slide1.jpg

Step 4. Click the tab that reads “Manually create a new place”

Screen Shot 2018-11-16 at 9.10.38 PM.png

Step 5. Now it’s time to give your new place some details:

  • Give it a name such as “Hwy 41 Adams Prairie”

  • Assign your place to a parent. For example, you can tell it what county to include it in, such as “Robertson County, TN, US

  • For “Place type” look at the drop-down list and select “open space”

  • Click the checkbox to enable “Check lists allowed?”

Slide3.jpg
 

Step 6. Next you have to specify your project location. You have two options. Option 1 is that you can map your project area in GoogleEarth and save the file as a .kml file and upload it directly to iNaturalist. Option 2 allows you to map your project area directly with iNat. Here, we describe how to do the second option. First click on the box in the upper left corner of the map that has the pentagon shape in it. This allows you to draw in the boundaries of your project area. Next zoom in on the map to find your project site. The example below shows a real roadside prairie remnant in Robertson Co., TN in the town of Adams.

Slide4.jpg

Step 7. Once you’ve zoomed in to your project area, now click the small box with the pentagon in it and you’ll be prompted to start drawing a polygon around your project boundary. Trace the boundaries of your site. It’s usually a good idea to give yourself a buffer. For example, if you are drawing the outside border of the field shown in the photo above, draw your line as to include the adjacent roadbank and forest margin. This is because when you later return to the site to collect iNat records your phone’s GPS may be slightly inaccurate. If you are near the edge of your site and your phone’s GPS is accurate only to the nearest 5 meters then you stand a good chance of having your observation not be mapped within your polygon. Map your project site a bit larger and you will improve your chances of including all observations made within your project site. When done drawing a line around your site, click the first point you made to close the polygon you’ve just drawn. This will complete your project area. You can always click on the same pentagon icon on the upper left if you need to edit your new project area polygon.

Step 8. Now you are ready to “Save place” by clicking the blue button at the bottom.

Screen Shot 2018-11-16 at 11.12.05 PM.png

Step 9. Congratulations! You have just learned how to create a new place in iNaturalist. This is what it should look like when you’re project has been successfully created and imported into iNat. Now you are ready to create a project. Once you’ve created a project, you’ll need to link the new place and the new project together and you’ll be ready to start making observations for your new project.

Screen Shot 2018-11-16 at 11.12.44 PM.png

LESSON 6

how to create your own grassland project in inaturalist

If you can’t find an existing project to contribute to by (1) searching the iNaturalist website or (2) searching for projects near you with the iNat mobile app, then you may need to consider creating your own. Please read iNat’s recommendations on creating new projects.

Step 1. Using the iNaturalist desktop version, on your iNat homepage, click “Community” and select “Projects” from the dropdown menu.

Screen Shot 2018-11-17 at 1.13.05 AM.png

Step. 2. Now click “Start a Project”

Slide5.jpg

Step 3. Under “Collection Projects” select “Get Started”. See iNat’s website for the distinction between a Collection Project and an Umbrella Project.

Slide6.jpg

Step 4. Now you’re ready to start filling out the form for your new project. Click here for iNat’s guidance on how to fill out this form. The important part now is that you must link your newly created project to the new place you just created. See the red box below. This step is critical and yet it is not that intuitive.

Slide7.jpg

Here’s the “Places” box from a more zoomed-in perspective.

Screen Shot 2018-11-17 at 2.23.00 AM.png

Step 5. In the “Places” box, start typing the new place that you created for your project. As you begin typing, you will likely see a dropdown with a bunch of place names that iNat is trying to match as you type. However, if you are careful and type your new place name verbatim then you should see your place name. Select it.

Screen Shot 2018-11-17 at 2.27.39 AM.png

Step 6. Now you have linked your new “Place” and your new “Project”. At the bottom of the “Project Details” page click the green “Done” button.

Screen Shot 2018-11-17 at 2.32.28 AM.png

Step 7. Now your completed project page will appear and should look something like this. Consult iNaturalist’s help section for more information on customizing your project pages, such as how to add a banner photo, icons, change background color, and add text, or how to control who can post to your project.


LESSON 7

OK I Found a Grassland, Now What?

How to Document a Grassland with iNaturalist 

Screen Shot 2018-11-18 at 7.51.29 PM.png

When you find a grassland remnant then you need to know how to “work it” like a botanist. Even for trained botanists it can be difficult to walk into a diverse prairie or savanna and break the survey process down into easy steps. The trick is you have to compartmentalize. That is break the site down into sections and then work each section systematically. We don’t expect all of our volunteers to document every plant or animal at the site and often you may be crunched for time and have to survey it quickly. What we want to do is (1) teach you how to maximize your time to survey the site; (2) how to photograph enough to give others who’ve never been to the site a solid idea of what the site is like and what species grow there; (3) how to search for particular species of conservation concern that land managers want to know about to help them make the best decisions. The process of documenting the biodiversity of prairie remnants can be an extremely fun, educational, and rewarding process. We’d love for you to spend all the time you need and visit the site multiple times throughout the year, but sometimes you may only have one time to visit or you may need to do a very quick visit if the work is part of larger time-sensitive project. Practice the steps outlined below and you can find out how to do this as swiftly as can be expected.

Screen Shot 2018-11-18 at 1.07.33 PM.png

Study the photo above of this 3-acre prairie remnant. A site like this could easily support 150 plant species. After securing permission to visit the site and finding a safe spot to park, you walk into the prairie and are ready to begin. Study this photo a minute and consider the following questions:

  1. Where do I begin to survey first?

  2. It all looks the same from a distance, how do I know if I’m photographing what I should?

  3. How will I use iNaturalist to photograph species that live here?

  4. How should I take general site photographs to document the site?

Step 1. Break the site down into zones. These may correspond to different habitats, landforms, land features, soils, moisture levels. The slideshow gallery below shows representative grassland types along roadsides and how we would suggest breaking them into different zones.

Slide1.jpg
Slide03.jpg
Slide06.jpg

At this site, no trees exist in the open grassland zone. They are only along the edge and because we have separated the edge zone from the open grassland zone into two separate zones, then we don’t have any trees to document here.

Slide07.jpg
Slide08.jpg
Slide09.jpg
Slide10.jpg
Slide04.jpg
Slide05.jpg

Pace Yourself

For the site above, two botanists spent 30 minutes on site and walked over about half of the 3-acre prairie. In that time, they made 89 iNaturalist observations documenting a total of 68 species, 64 of which were plants and 4 were pollinators.


LESSON 8

How to photograph PLANTS

IMG_5784.jpg

Before you become addicted to iNat (which is very possible), take a few minutes to review our guidelines on how to photograph different kinds of plants to ensure that your photographs will be of maximum use to the scientific community and to ensure that they show the necessary parts that allow them to be accurately identified.

For some species, one good photograph will suffice, such as for a whitetail deer or a post oak leaf. For many species, one photo is not sufficient. iNat makes it easy to upload four photographs per observation, but with a couple of added steps it is possible to load many photos. How do you know when numerous photos are needed? Below, we provide guidance for how to photograph different types of plants with multiple photos.


Grasses, Sedges, Rushes

Grasses, sedges, and rushes are all “grass-like” plants or what botanists call graminoids. Graminoids are tricky to photograph because they often are not easy to photograph (i.e. not photogenic), there are many look-alikes that differ in small-scale technical features that are difficult to photograph, and often numerous features are needed for accurate identification such as underground parts and fruits. The good news is that skilled botanists can still usually identify photographs of graminoids to species as long as the photographer takes good care to take careful photos. When done right, even the novice can take several quick photos that can be of research quality even if the person making the observation doesn’t know where to even start in identifying the specimen.


Forbs (wildflowers)

When photographing herbs, resist the urge to take one photo. At the very least, take a photo of the whole plant, photos of the inflorescence (flower cluster) from different angles, close-up of individual flowers or parts of the inflorescence, the stem, and take pictures of leaves at different places on the stem such as those at mid-stem and those at the base. If there are fruits or seeds then photograph those too. Try to capture the habitat of the plant too by taking a landscape photo.


FERNS

For ferns, take a picture of the whole plant or colony. Also photograph a typical frond (leaf) to show its shape and dissection type. It is sometimes hard to see patterns of dissection if the background of your photo is too busy so be aware of this. Some ferns such as the one pictured below has both sterile and fertile fronds which differ in shape and size. Try and pay attention to this and photograph differently shaped leaves. Fertile leaves have structures on the lower side of the leaf in most cases known as sori and these contain sporangia. Try and take close-up photos to show the shape of the sori (oblong vs. circular) and their placement on the leaf surface.


shrubs, trees, woody vines

For woody plants (trees, shrubs, and woody vines), try to take pictures of leafy twigs from a couple of different angles. It is especially important to show leaves from the upper and lower side and to show how the leaves attach to the twig (e.g. alternate, opposite, whorled). Consider taking close-up photos of twigs and if you have a knife then slice the twig lengthwise and photograph the pith (center of the twig. Sometimes the pith may be white or it can be tan or other colors. It may be solid, missing (hollow), or chambered. If flowers or fruits are present, or even if old fruiting structures are around then photograph them. Consider taking photos of the whole plant if possible to show its growth form. For large trees it might be best to obtain a silhouette photo.


trees & shrubs in winter condition

For trees and shrubs in winter, try and photograph the whole plant which may require a silhouette photo. These photos are important to show growth form, branching pattern, shape, etc. Be sure and photograph the trunk to show bark of the main trunk. There may no longer be leaves attached to twigs but you can make do by taking photos of the winter twigs. If you can get a twig to photograph, then take close-ups of the twig and especially the buds at the tip of the twig. If all leaves have been lost, take photos of leaves on the ground beneath the tree because usually at least some of those leaves, if not most, will have come from the tree above it. If you are pretty sure which leaves on the ground came from the tree above it, then take a few of those leaves and photograph them up-close. If any fruits are present (e.g. acorns, berries, etc.) then photograph them.


LESSON 9

Recording & Uploading Observations in iNaturalist

Once you've successfully found a grassland, then you are ready to begin documenting the site's biodiversity. Be sure your phone, iPad, or camera is fully charged and prepare to have fun!

TWO OPTIONS

Option 1: Use THE INATURALIST mobile app to TAKE PHOTOS & upload your observations DIRECTLY INTO THE MOBILE APP

First, you can use the iNaturalist App directly in the field. This requires that you have internet access. This works well in urban or suburban areas but does not work in some back-country areas. Using the App can be data-intensive so be aware but if you are doing only a few records in an area with WIFI reception then this may be the way to go.

 
IMG_6095.jpg

Option 2: use your camera to take photos & upload them later via inaturalist website with your computer

Second, you have the option to use your phone’s camera and take pictures of everything and upload them at a later time with either the iNat App (via smart phone) or via the iNat website (via desktop computer). Using this approach is best if you intend to take a lot of photos in a short period of time or if you don’t have WIFI reception.

in the field…

With this approach, you can use your phone’s or tablet’s camera, or another camera, to survey a site, stopping frequently to photograph each species you encounter. If using a phone or tablet, be sure to enable autolocate to allow your photos to be georeferenced. Some cameras will do this too but if your photos aren’t georeferenced automatically you’ll have to go in and manually pinpoint the location in iNat.

later at home or in the office…

Ok, let’s say you’ve been out for a few hours photographing species in a prairie remnant. Now, later in the evening you’re sitting in your recliner ready to upload your observations to iNaturalist using your laptop. What do you do?


Step 1. Log in to your iNaturalist account. Look for the green “Upload” button in upper right and click it.

Slide01.jpg
 

Step 2. You’ll now see a page asking you to drag & drop your photos.

Slide02.jpg
 

Step 3. Now, you are ready to drag the photos from your camera, tablet, or smartphone or already on your computer and perform what is known as a “batch upload” to iNaturalist. Select the photos you wish to upload and drag & drop them onto the page above. As you do, the page above will begin to look like that one at bottom right.

Slide04.jpg
 

Step 4. Once you are done dragging your photos into iNat, you may realize that some of them need to be combined. In the example below the three photos bounded by colored boxes represent different photos from the same observation. Rather than upload these as separate observations, it is best to combine them into one observation that has multiple photos to show variation. Of the three, select the one you want as the primary one to represent the set, then drag the other two (in red boxes) onto the one blue box. This will merge the three into one observation with 3 photos.

Slide05.jpg
 

Step 5. This zoomed image below shows four of the records to be uploaded. Notice under the first photo you see “1/3”. This means there are 3 photos as part of this observation. Below that are four fields. One for species name, one for the date and time stamp, one for location, and one for description. In most cases, smartphones, tablets, and some cameras automatically record the date and time and longitude/latitude coordinates. Some don’t however. Notice that all four records have dates and times that autofilled; however, only the last record has locality data that automatically uploaded. This means that you now need to fill out species name for all records and location for the first three records. If you wish to add notes, then these go in the Description field.

Slide06.jpg
 

Step 6. Filling in the species name in a batch upload. Just click inside the “Species name” box and your iNaturalist’s algorithms should begin to attempt to identify your photo based on the default image you select as your #1 or primary photo. In this case, it correctly identifies the tree silhouette as “Oaks” and below the genus it recommends the top 10 species it might be. Unfortunately iNaturalist does not apparently use geographic location in its algorithm because Western U.S. species such as Oregon Oak and Valley Oak are listed as possible top choices. The correct answer in this case is Post Oak which is the third choice. If you know what it is, then great, you don’t have to wait for iNaturalist. But if you don’t know what kind of tree it is, no worries. If you are confident in the genus only, then just select “Oaks” but if you don’t know the species then don’t try to force it. If you aren’t confident that is an oak and have no clue what it is, then you can leave it blank. The beauty of iNaturalist is that there is a whole community of experts out there who will often chime right in and help you identify it, assuming your photos are good quality.

Slide07.jpg
 

Step 7. Filling in location information. Now to fill in the location field for those observations that did not autofill, you will need to tell iNat where you found it. This requires that you know how to read a map and that you can pinpoint on a map the place where you observed your record. First, look back up at Step 5 (above) and click inside the field labeled “Location.”

When you do, you will see a map that shows a broad area. Some of your other records that you are attempting to batch upload that have longitude/latitude coordinates become visible and you’ll see icons of their photos. For a record without locality data, you’ll need to be able to find where you observed and begin to zoom in. The slideshow below shows how you might progressively zoom in on an area southeast of Nashville.

As you zoom in, hopefully you can identify where you observed your record. Click on the map at the spot where you are pretty sure you made your observation. See the red circle on the figure below. The size of the circle indicates the accuracy of the record. The smaller the red circle, the more confident you are of the exact location. In the first photo below, look below the map and you’ll see a field labeled “Acc (m)” which means “accuracy in meters.” This circle has a radius of 21 meters meaning that you are sure your observation was made somewhere in that circle. If you think you can map it even more accurately, then make your circle smaller.

Slide14.jpg

But if you just aren’t sure of where exactly you observed it, then make your circle larger. This large circle below has an accuracy of 280 meters. Ideally, you don’t want to get in the habit of not being able to relocate your observations. If you realize your camera will not automatically collect coordinates, then be sure and keep accurate notes so you can find your location on a map later when you’re doing your batch uploads.


Step 8. What if I don’t want the public to see the exact location of my observation? There are times when you will want to obscure your locality data or make it private. If you observed a threatened or endangered species, then you probably should consider obscuring your observation. This is particularly true of charismatic species that are prone to being poached. For example, pitcher plants and Venus flytraps are often illegally collected. By posting a location on iNat, people can learn the location of these sensitive species. It is probably best to obscure the record. If there are species that often are associated with endangered species, these can often serve as flags or indicator species. To some people, they will know that if they can’t see your record of an endangered pitcher plant, but they can see your unobscured record of a species that isn’t rare but commonly grows with pitcher plant then they can probably guess where you found the pitcher plant. In such cases you may want to obscure all the records found with the endangered species if you are unsure.

At the bottom of the map below you’ll see a box for “Geoprivacy”. If you click in it you’ll see three options, “open, obscured, and private.” Click “Obscured” for cases like those discussed above. Click here on iNat’s help age to learn how to adjust privacy settings and get answers to more questions: https://www.inaturalist.org/pages/help.

Slide15.jpg

The map below is an actual map of showing a mapped record of the federally-endangered Green Pitcher Plant (Sarracenia oreophila) in northern Georgia. The rectangle below represents one US Geological Survey topographic quadrangle. The green dot within the rectangle ordinarily would be the location of the actual observation, but in this case since the record is obscured, then iNaturalist randomly assigns the location within the quad. Therefore, the green dot you see is not the actual location of the observation. That information is only known to the person who observed it.

Screen Shot 2018-11-20 at 11.07.20 PM.png

When we explore iNaturalist, we can see that a different person made another observation of Green Pitcher Plant from the same region. I happen to know they were observed at the same site on the same day. One person “Obscured” the record (above) but the other person made their record “Private” (below). This means that no information is available. In both cases if you want to know more about the records, then you need to contact the people who made the observations.

Screen Shot 2018-11-20 at 11.15.46 PM.png
 

Reviewing Your Observations

Screen Shot 2018-06-03 at 1.39.21 AM.png

For example, if you click on the name or photo of Fly Poison on the right side of the above image, then the profile page for that species comes up. You can click on the map and zoom in and out to see all of the observations for this species throughout its range. Scroll down and you will see a place where others can comment on your record. For example, if you photographed and didn't know what to call it, then likely someone from the scientific community will be able to provide an answer or at least point you in the right direction.


Congratulations! You've completed the module!